

Learn to sew custom pillows on your own with this tie closure tutorial. Includes step-by-step directions that are easy to follow. Only straight line sewing required!

Pillows. Who doesn’t love them? They are, in my opinion, the universal go-to decorating accessory. Even if, secretly, you think they are a pain, chances are you still have several on your sofa! One of the prettiest sites ever is a sofa with 4 or 5 perfectly placed and puffed throw pillows. Switching out your pillow covers is a great way to change the look of a room…but it can be pricey. Custom pillows are not cheap…but if you learn to sew your own, the sky is the limit.
This post may contain affiliate links. See my disclosure statement.
Learn To Sew Custom Pillows
I’m sharing how I make my own custom pillows, so if you have even a lick of sewing skills, you can learn to sew your own. This tutorial is for a 20 x 20 pillow cover, but I am including the measurements for a smaller one at the end of the post. I use twill tape for the ties, but ribbon works very well too.


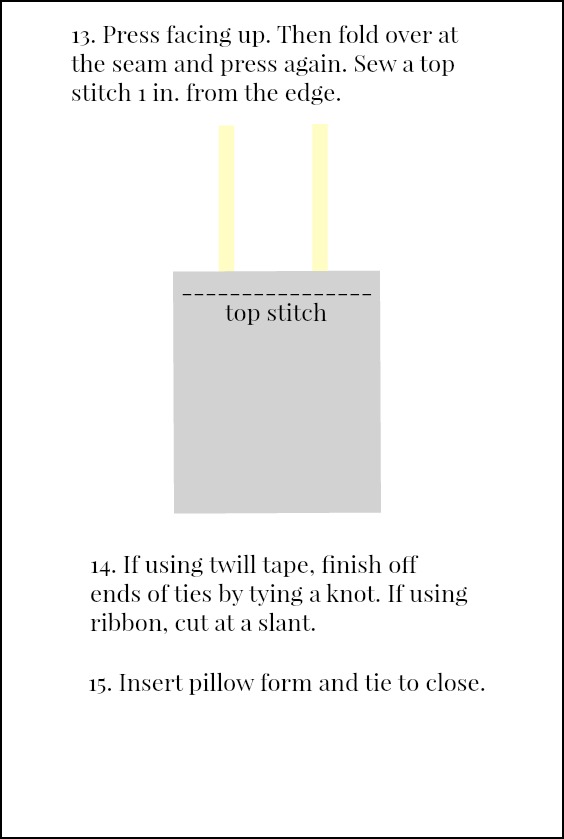
Basically what you are making is a bag with ties. This is the exact method I use to make my tote bags. Depending on the look you want, you can use two different fabrics: one for the pillow cover body and one for the facing. Coordinate your ties with the facing. The distance between the ties is really a matter of taste. Put them where ever you think they look best. I have also made pillow covers with just one tie in the center.

Measurements for an 18 x 18 pillow cover
- One piece of fabric measuring 19 in. wide x 43 in. long. About 2 yards twill tape or ribbon.
Grain sack sources
- My favorite grain sack seller on eBay
- Antique grain sacks on eBay
- Antique grain sacks on Etsy (the Etsy search filter included other grain sack items so you need to sift through to find the actual sacks.)
- Grain sack inspired new fabric
Ticking sources

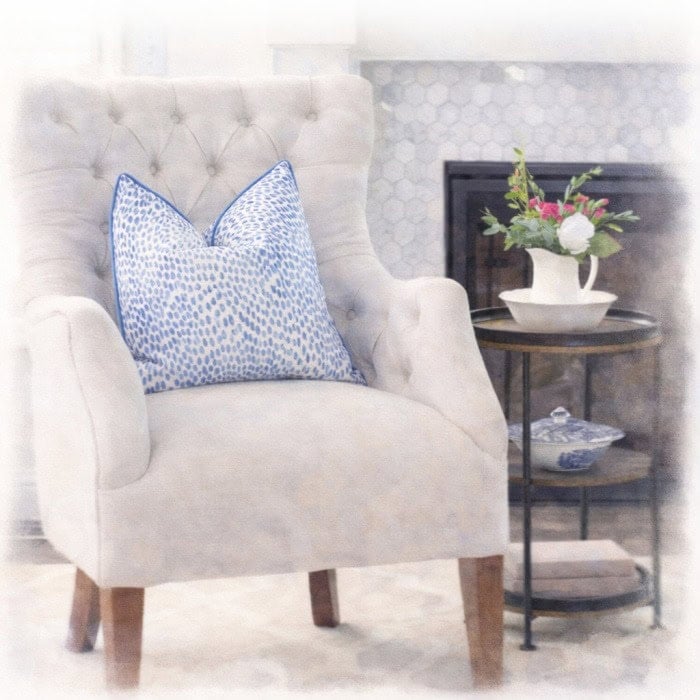
I so love these pillows with the tie closures! Your pillows are indeed stunning Ann! Have a great week!
Ann, your pillow tutorials are always the very best. I love to make pillow covers and I find myself referring back to your tutorials frequently. I made some covers out of old grain sacks for my porch bed and I did the tie closures but that before this tutorial and I was kind of winging it. I think, after reading this, I may need to re-do them! :-) – Dori –
I usually make the envelope style pillows (mostly because I hate zippers!) so I made this one of yours the other day and love it! I used rope to tie it off since it was nautical themed fabric and I think it turned out great. I’ll be doing more this way. Many thanks for the tutorial!
I am going to make several of these for summer! Thanks so much for the great tutorial, Ann! Pinning!
Geez! I wish I had a sewing machine because I want to make some of these pillows! I adore the tie closures!
Love this tutorial! Can’t wait to make some pillows!
Perfect directions Ann, and I also love the contrasting facing fabric you used.
Very inspiring and for my money easier than a zipper. Although, I’m a bit lazy and use an envelope back most of the time. But am make my next summer pillow your way.
Great tutorial Ann! Love your pillows :)
I have this ticking material in my closet not knowing what to do with it…Now I know & it’s such a wonderful idea…Thank you so much for sharing!!
Thank you so much Ann for sharing this well-written information. You work is always so nice.