
As someone who has lived in Ohio all my life, the changing seasons are part of my everyday rhythm. I look forward to welcoming each one and finding simple ways to reflect it in our home and garden. Adding seasonal touches is one of the easiest ways to refresh a space without making big changes.
filling out the form
at the end of the post.
Over the years, I’ve gathered many ideas for embracing spring. From wreaths and porch updates to flower arrangements, garden inspiration, and a collection of free printables. This guide has been completely updated and reorganized for 2026 so everything is easy to browse and beautifully gathered in one place.
This post may contain affiliate links. See my disclosure statement.
Spring Decorating Ideas
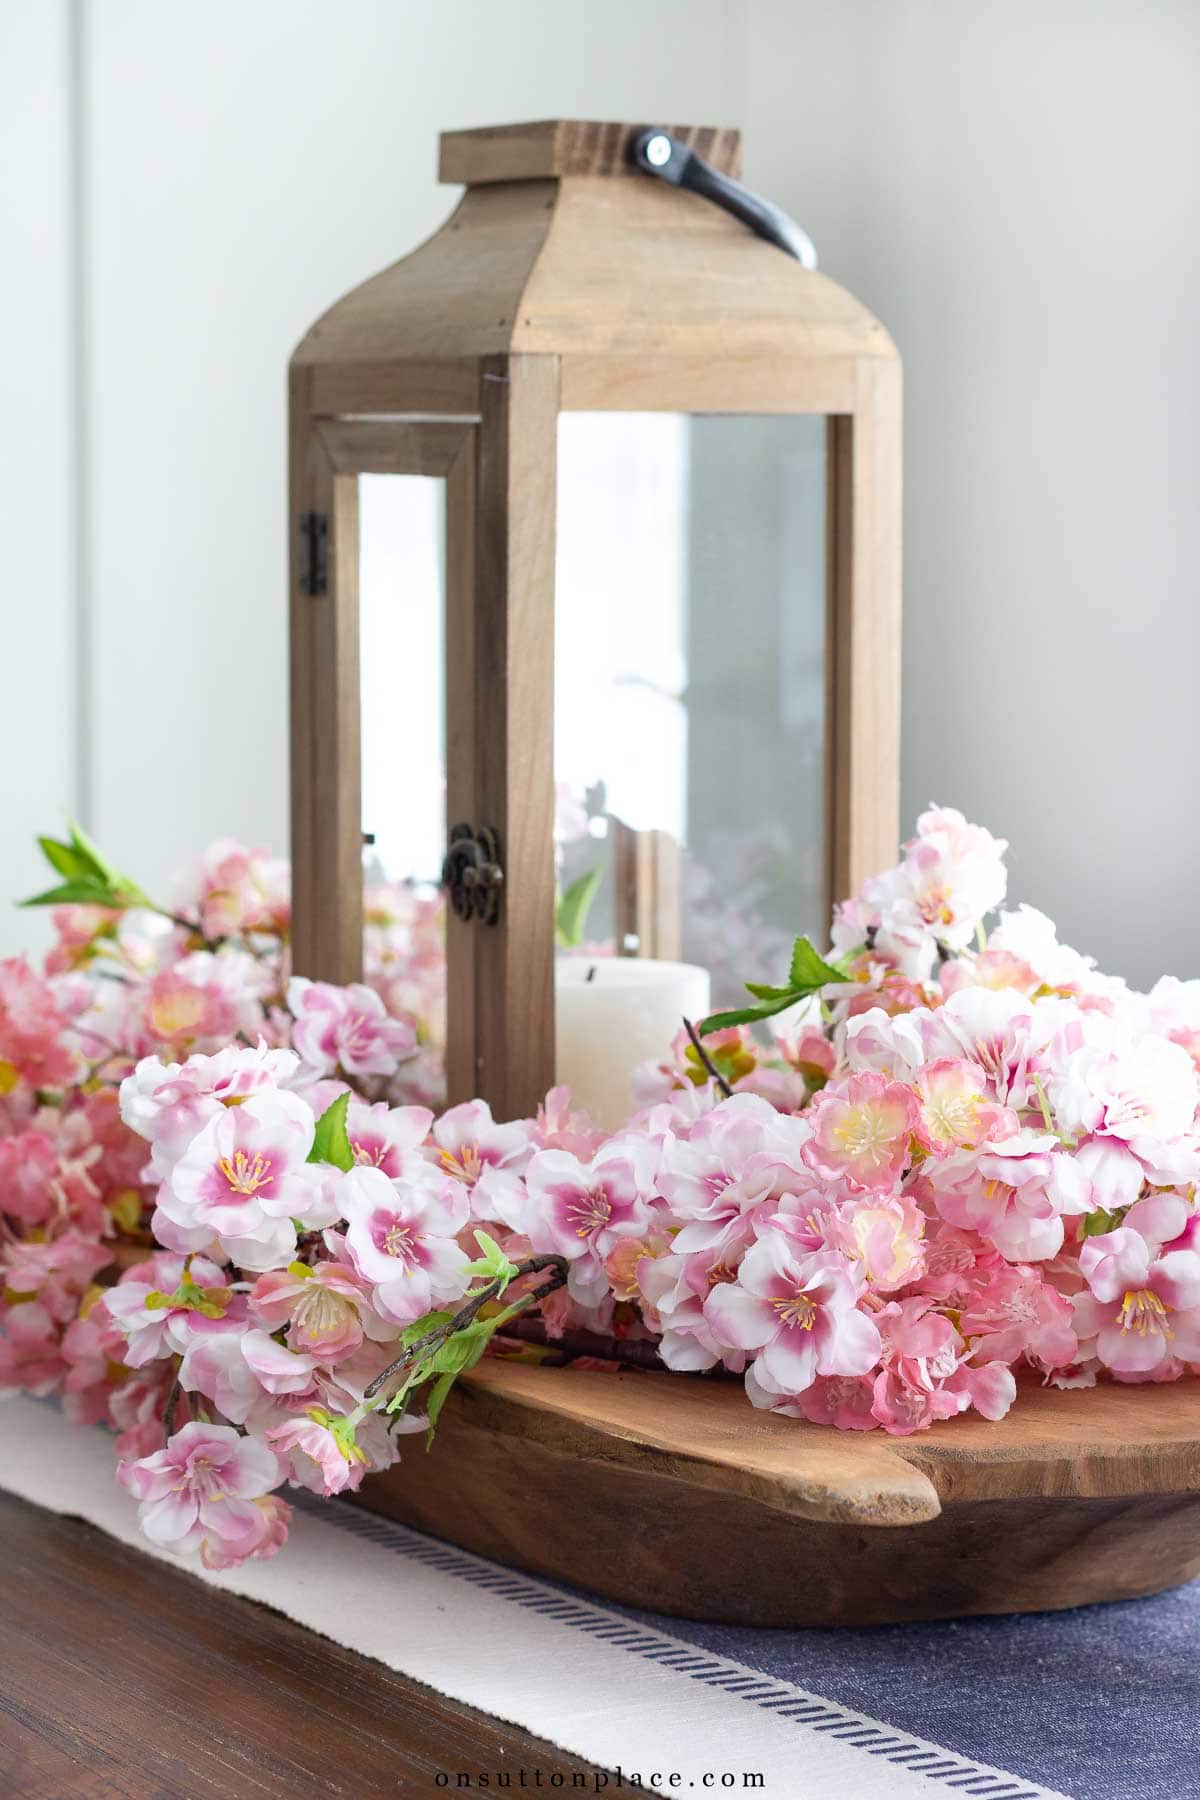
- Fill your dough bowl with gorgeous pink cherry blossoms.
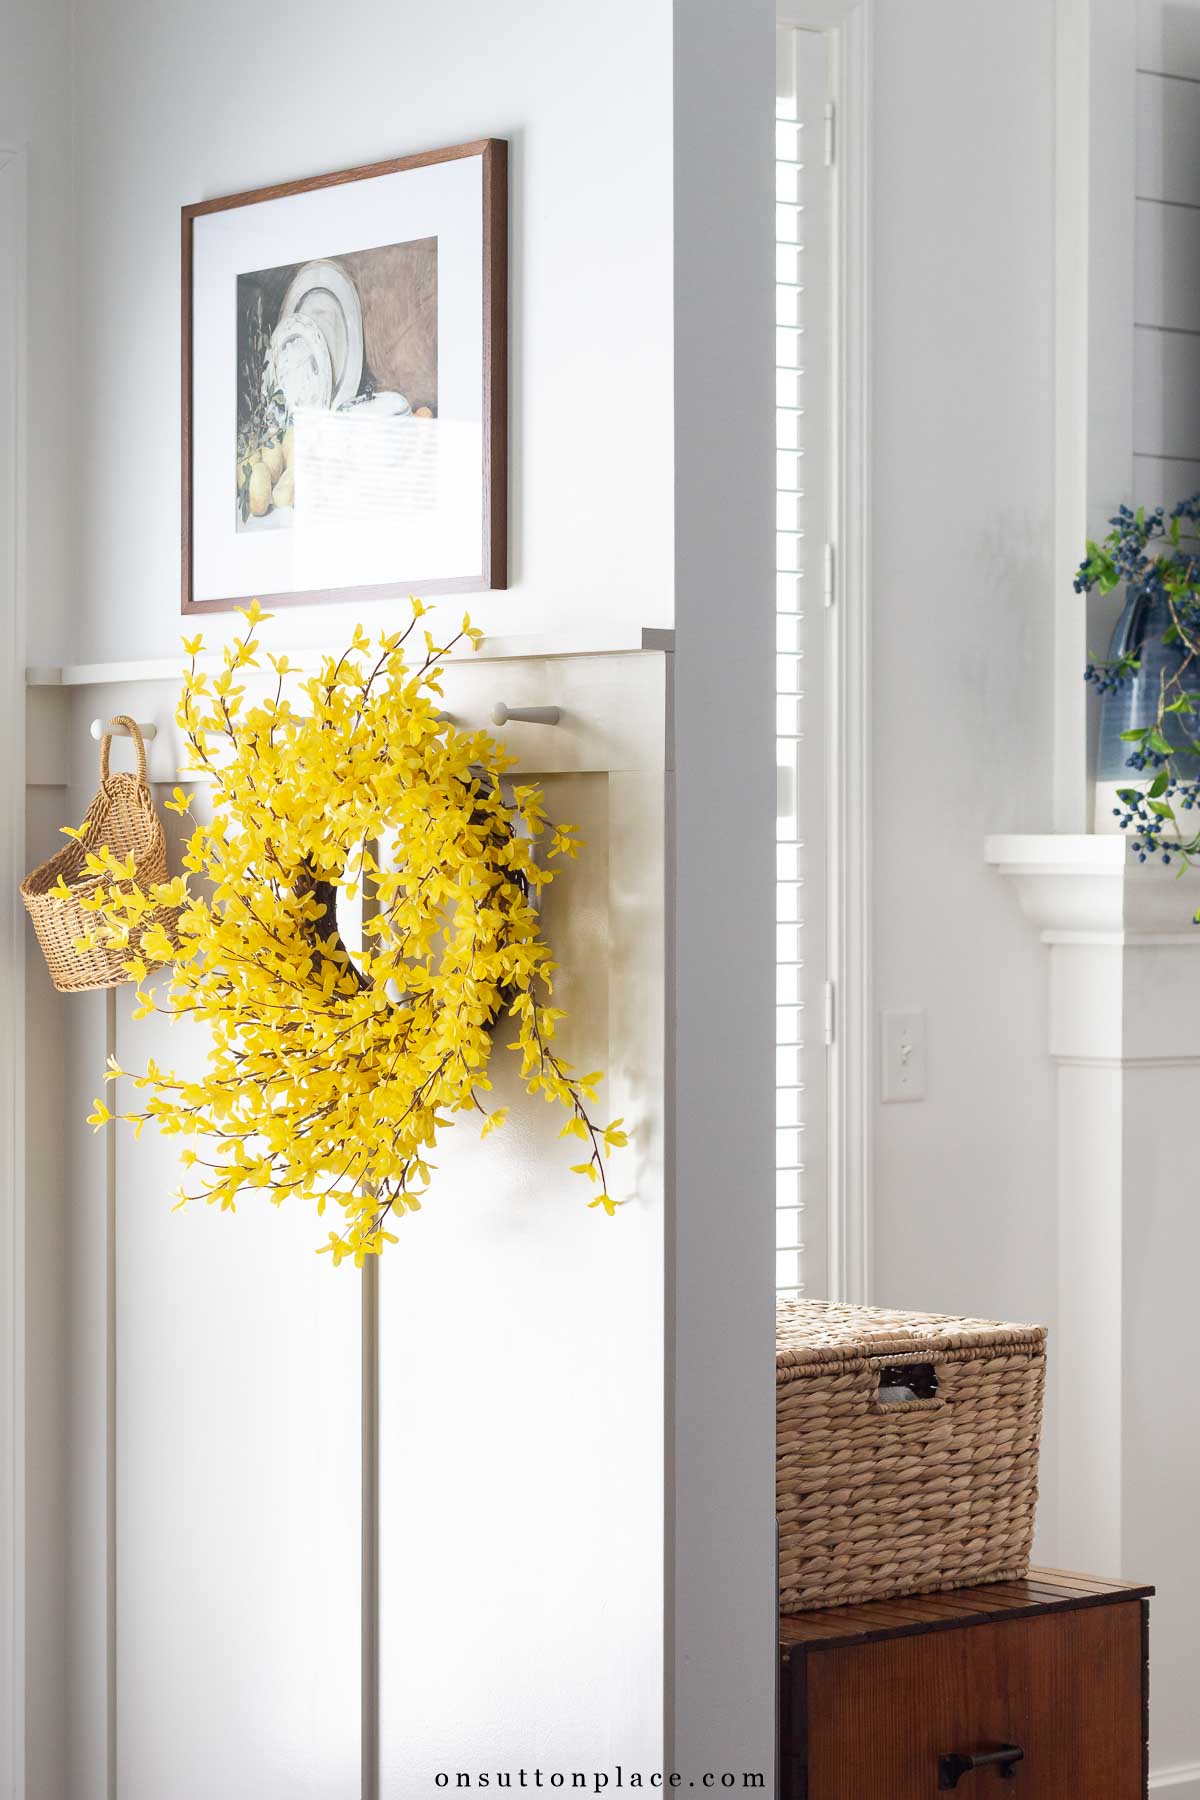
- Love forsythia? Make a DIY wreath in no time, or buy one ready-made (pictured above). Either way, it’s a pop of sunny yellow just when you need it.
- See this pretty and super easy centerpiece for a dining table.
- Pull out your market basket and add some spring blooms. Set it in an empty corner, on a chair, or hang it from a doorknob.
- Tips for arranging tulips…and how to make them stop drooping.
- Add some yellow. It’s bright and so cheerful!
- Check out my best ideas for the easiest spring decor for the living room.
- Pull out your rain boots, treat yourself to a bunch of tulips, and make a simple yet stunning spring flower arrangement.
- Put this pussy willow centerpiece together in just a few minutes!
- Assemble this simple centerpiece with Meyer lemons and greenery.

- Set a pretty spring table with blue and white items.
- Add soft pastel hues like pale pink, light blue, mint green, and lavender into your decor.
- Treat yourself to a fun and relaxing craft session! Make these DIY Mod Podge terra cotta pots to add to your spring decor. Fill them with faux greenery, dried flowers, or use them as table setting favors. They also make the perfect Easter or Mother’s Day gift.

Spring Outdoor Decor
- A spring into summer porch refresh.
- A unique but so simple door decorating idea.
- Refresh your front door with a fun spring-inspired doormat.
- Paint ugly planters to match your front door!
- Our first spring porch at the Sugar Maple house.
- Two stunning blue paint colors for your front door.

Easter Ideas
- A sweet, tried + true Easter bunny pillow craft.
- A super simple DIY Easter Bunny Nest that’s charming and sweet.
- See how easy it is to put together this Easter tablescape. Includes a darling and very simple Easter favor.
- Make a long, easy-to-see-over centerpiece for your Easter table.
- Looking for Easter-specific artwork and tags? Browse the complete Easter Printables Collection.
- Ideas for hosting a simple and family-friendly Sunday brunch.
- Looking for seasonal recipes? Browse my complete recipe collection here.

Spring Garden
- See how to plant ferns in vintage galvanized containers.
- Plant a small herb garden for your kitchen.
- Learn all about beautiful spring-blooming bleeding hearts.
- Think ahead to warmer weather and plan your summer gardening by considering this list of hardy perennials.
- New to gardening? Take a look at these tips to get started.

- Start a journal to record the progress of your garden.
- Learn everything I know about growing Limelight hydrangeas.
- In the garden at the Sutton Place house, I grew gorgeous peonies. I’m sharing everything I learned along the way.
- When peony season arrives, these tips on arranging peony blooms will come in handy!

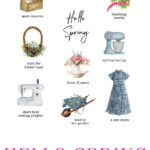
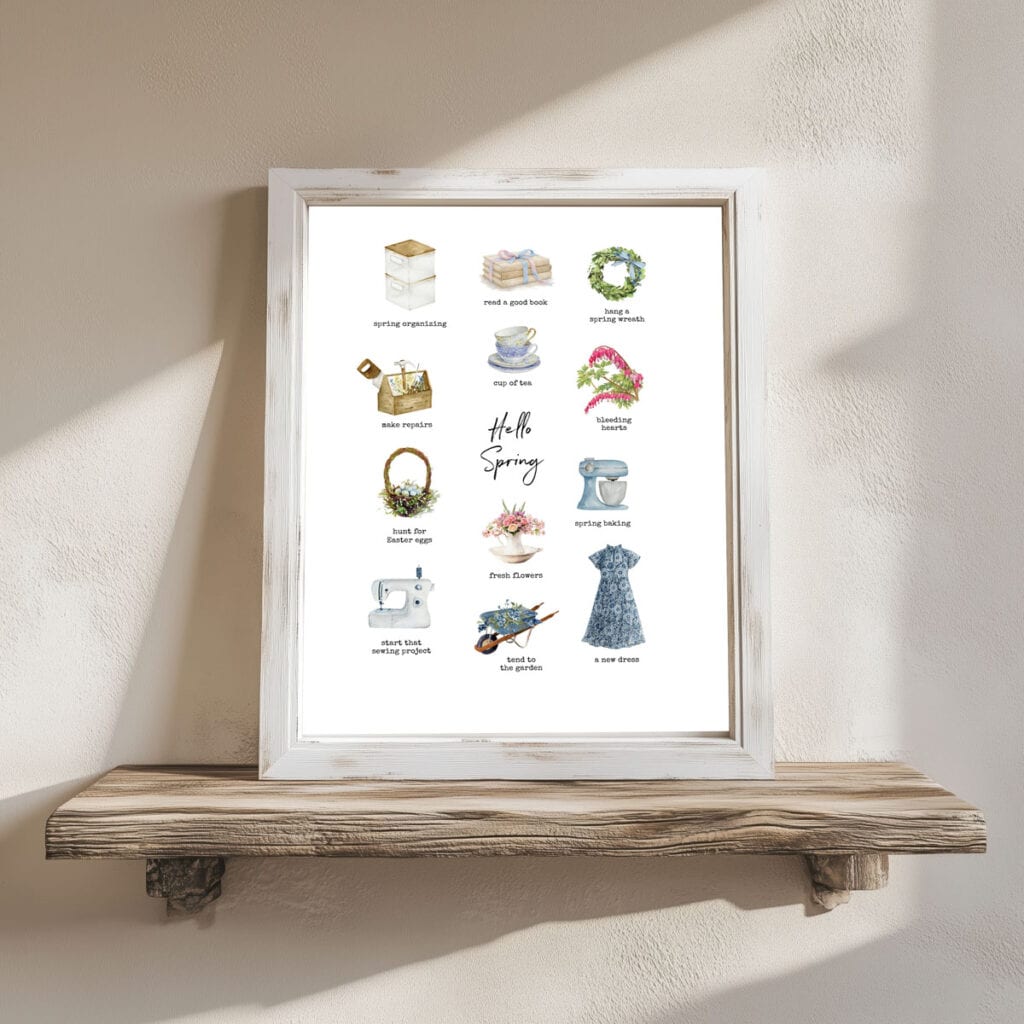
Spring Printables
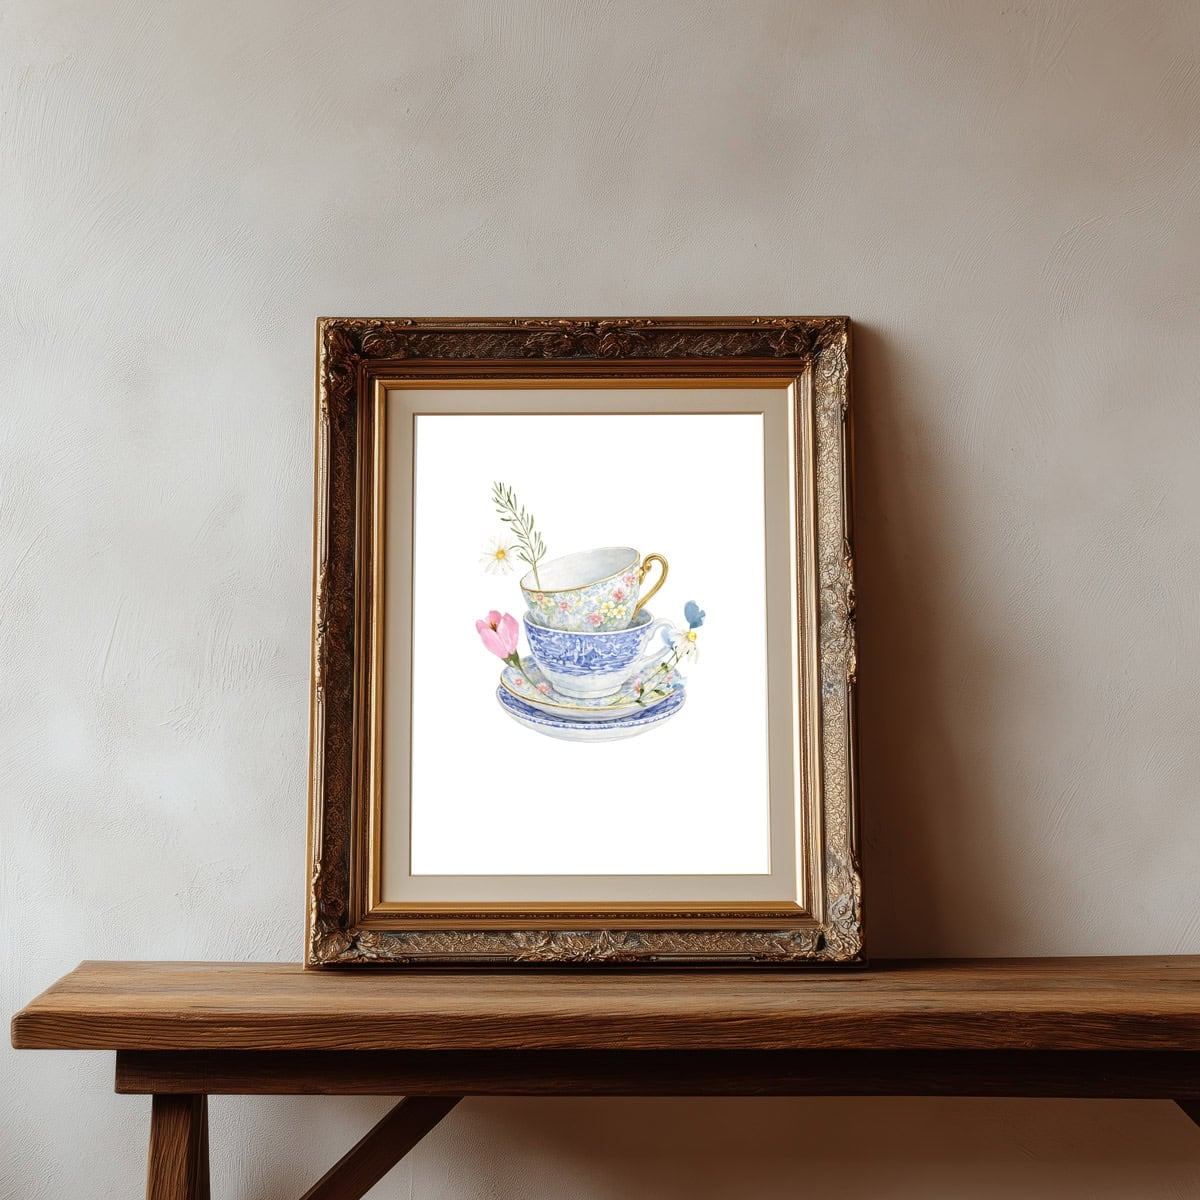
Each year I rotate this collection of spring printables, and add a few new designs. This season includes 9 spring-themed wall art printables, featuring three brand new tea cup florals, along with a variety of gift tags perfect for the season.
To receive this updated collection, simply fill out the short form below. You’ll immediately receive an email with the download link, along with new posts and seasonal inspiration delivered straight to your inbox.
IF YOU DON’T SEE THE FORM, PLEASE CLICK HERE.

COLLECTION OF SPRING PRINTABLES
Fill out this form and I’ll
send these spring printables
straight to your inbox!


amazon storefront
Discover simple and affordable
ways to refresh your home.
Follow my Amazon Storefront
for all my favorite finds!
Hi Ann, I sent in the form for the pretty blue flowers in a teacup Spring tags and nothing has arrived in my email. I love your webpage and a lot of your ideas and suggestions. I would appreciate if you would send me the working link for the Spring tags. Kindest regards, Nan
Hi Nan…I don’t see in your subscriber account where the spring printables form was filled out. Can you go to this link and fill out the form? https://on-sutton-place.kit.com/f71a594bfa Thank you, Ann
Thank you so much, Ann! I got them!! I love the tags! :) Nan
On Sutton Place is my time, and I truly enjoy taking a break and scrolling through the post. I LOVE and look forward to my calendar every month and any new ideas, decor or creative projects that might be on tap for the month. I truly enjoy all the printables, and I get a ton of use out of the tags, and I feel like it’s a special gift just for me.
Thank you for what you do and the time you thoughtfully put into each week.
Please send me your printable Spring Collection. This post has so many wonderful ideas! Thank you for sharing them!
Hi Jan…please go to this link and fill out the form. https://on-sutton-place.kit.com/f71a594bfa Thank you!
I know that your posts take such time … time, time, and more time to organize your thoughts, create your vignette, take the pictures, and then write the posts. I, and I’m sure all of your readers, appreciate you very much. Thanks for giving us a wonderful site to return to time and time again. Happy March!
Thank you for so many ideas. Im updating my porch wreath today
What a great post! Thank you. I will keep this and use many of your ideas this year and beyond!
Thank you for free printables
LOVE LOVE YOUR WORK!
Your printables are darling!
Love all these pictures!
Beautiful prints!
Awesome post! So many great ideas….your time pulling this together is appreciated. I will spend days and days coming back to this one for “cheering up my home” & all the yummy recipes. Thanks Ann!
As always, beautiful and so much inspiration. Thank you for always sharing such wonderful ideas.
I live in Canada and right now it’s snow and cold. But I am already getting ready for spring. And I have already tried your strawberry scones and they are to die for.
Thank you. Enjoy your day.
Such a lovely post! I’m dreaming of spring but the weather isn’t co-operating. More snow is in the forecast for this evening. While I wait for warmer temps, I will enjoy your spring ideas. Thank you!
Thank you for sharing
Happy Spring!
This post is awesome. I just skimmed it quickly but will sit down and read every word with my coffee. I will definitely be making the strawberry scones – probably today! I already have plans to refresh the French blue on my front door – along with the wooden plant table in the same color. I am a planner by nature, and every year I break the year down in quarters and list projects to be accomplished and check them off. I’m on to quarter #2 in a few weeks. It’s a real sense of accomplishment.
I love your print outs. I have used them in the past.
Everyone who receives them comments on their beauty.
Thank you for doing this for me (and everyone else)
Barbara
Thank you for the
Spring prints
Thanks so much. Such sweet tags and prints.
Sandi
Love these prints
Fantastic guide, Ann! Lots of great spring inspiration!
I enjoy your blog very much. I just live south of you in KY (Lexington). I found this post especially helpful. I’m looking for a blue for my front door and had already pinned your front door a long time ago. All week I’ve been on a search for new planters and found on this list about painting them. Fantastic idea! Looking forward to more posts as you work on your new home.
This is a wonderful post, Ann. Very uplifting and helpful at this time of year. Thank you and happy Spring!!
So much inspiration in this post! Hope you have a happy spring!😊