
Learn how to dry hydrangea flowers and turn them into a simple wreath that can be used on your front door or indoors year after year.

This post may contain affiliate links. See my disclosure statement.
How To Dry Hydrangea Flowers
- The easiest way to dry hydrangeas is to let the blooms remain on the shrub until they dry naturally. As long as the flowers are not touching the ground, they can stay on the stems until they are ready to harvest.
- Cut the blooms when they have deepened to a darker green and have started to develop pink tones. The petals should feel slightly papery and dry to the touch.
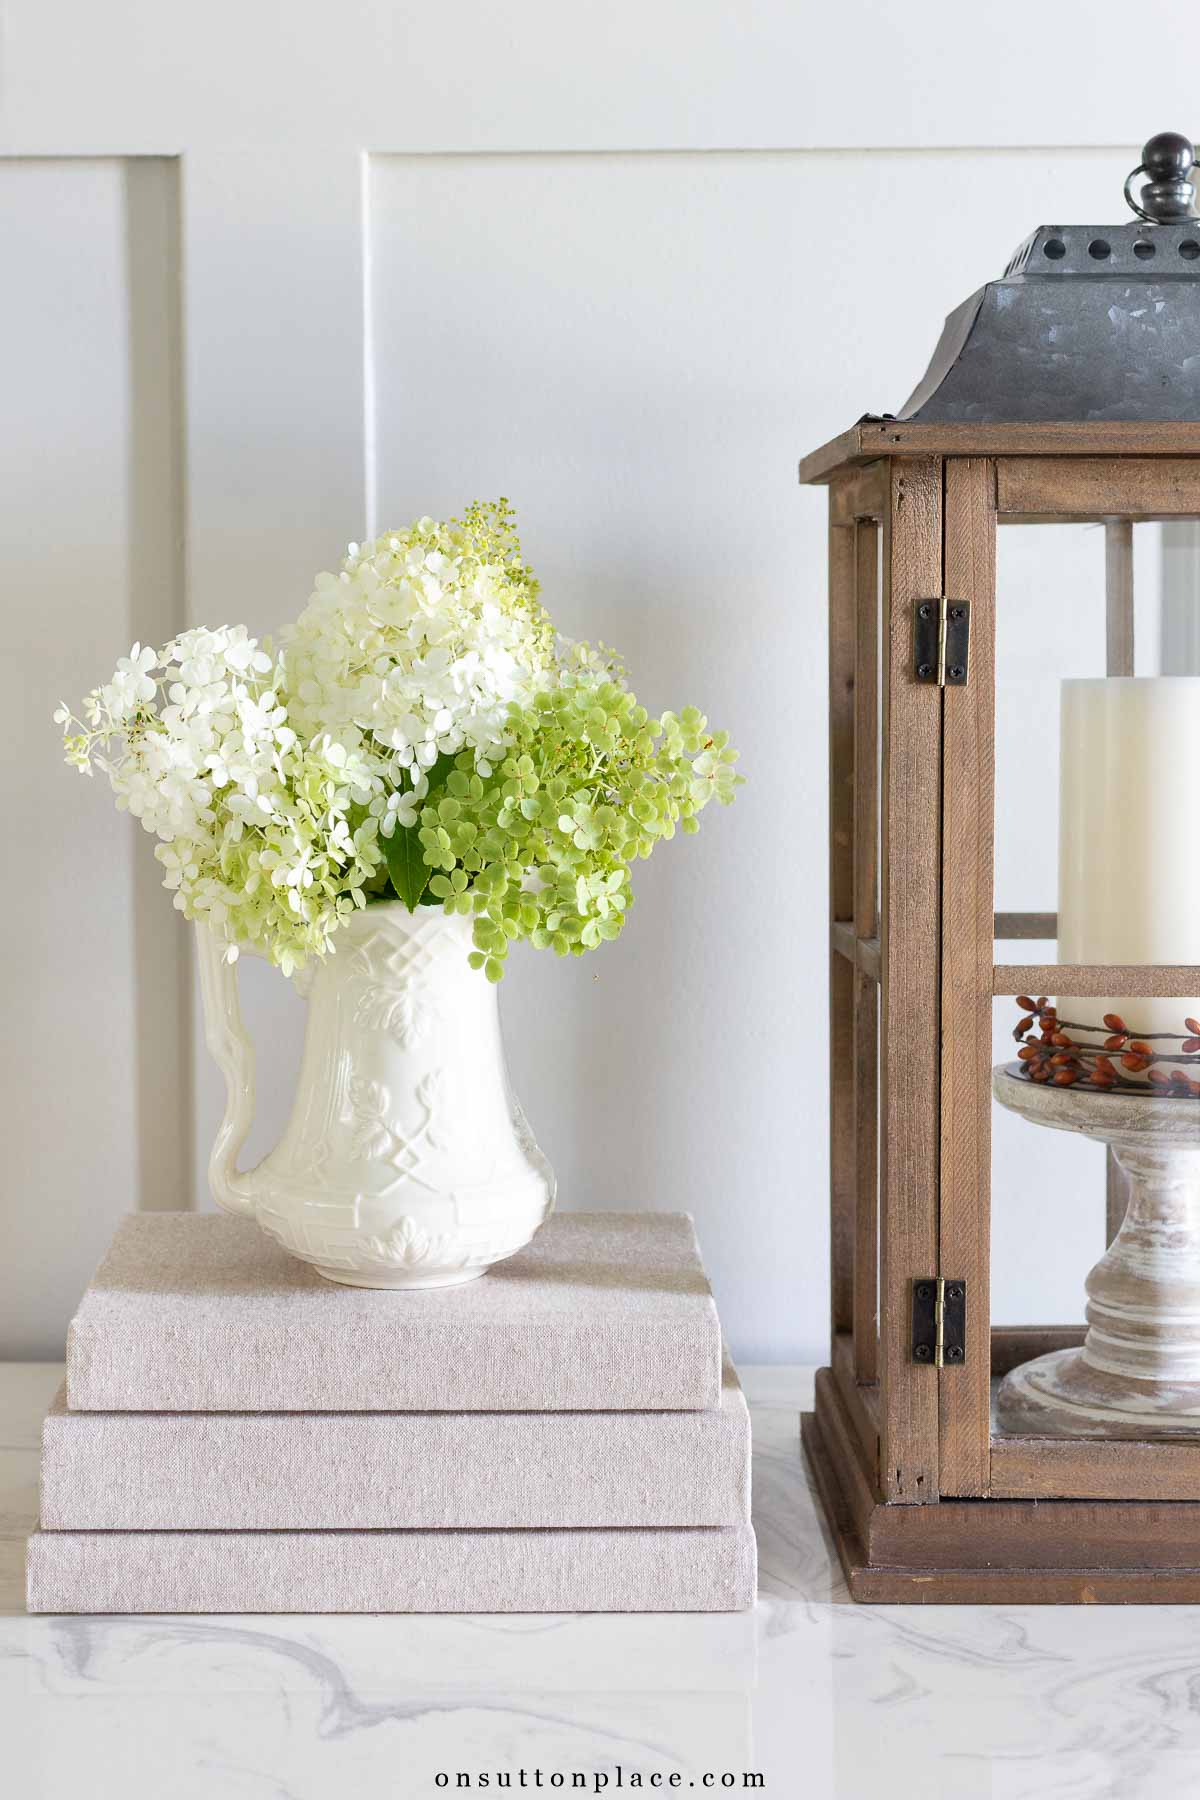
- If you prefer to dry hydrangeas indoors, wait until late summer or early fall. Cut long stems and place them in a tall vase or pitcher with no water. The blooms will dry naturally over the next few weeks.

Once the blooms are completely dry, they can be used in arrangements, tucked into baskets, or turned into a simple wreath for your front door. This project comes together quickly and requires only a few basic supplies. Depending on the size of your wreath form and the fullness of your blooms, you may need more or fewer hydrangea flowers.
Supplies Needed

- 14 inch straw wreath – if your wreath is wrapped in plastic, leave it ON.
- a puncher tool
- scissors
- about 25-30 dried hydrangea blooms
- styrofoam wreath (can be used in place of the straw wreath)
How to Make a Dried Hydrangea Wreath

- Trim the stems of the dried hydrangea blooms to about 3 to 4 inches long.
- Sort the blooms from smallest to largest.
- Place the wreath form on a flat work surface.
- Using the punch tool, make a hole near the outer edge of the wreath. Insert the smallest blooms at a slight angle so they radiate outward like the spokes of a wheel. Continue around the entire outside edge. I used about 15 blooms for this first layer.
- Next, insert the larger blooms into the top of the wreath, again placing them at a slight angle. This second layer took about 10 blooms.
- Fill in any open spaces with the remaining blooms until the wreath looks full and balanced.
- Some blooms will extend farther than others, and that is perfectly fine. The variation adds depth and gives the wreath a soft, natural look.
Tips For Working with Dried Hydrangeas
Making a dried hydrangea wreath is simple, but the blooms can be fragile, so it helps to work slowly and gently. If stems begin to break, make sure the holes in the wreath form are deep enough before inserting the blooms. Dried hydrangeas tend to shed as you work, so covering your surface with an old sheet or towel makes cleanup much easier. If you don’t have dried blooms from your garden, faux hydrangeas can be used to create the same soft and timeless look.

If you grow your own hydrangeas, limelight hydrangeas are one of the best varieties for drying because their large blooms mature beautifully right on the shrub. For planting and pruning advice, see my guide to Limelight Hydrangeas: Care, Pruning & Growing Tips. And if you’d like to enjoy fresh arrangements before the blooms are dried, my post on How to Make Cut Hydrangeas Last Longer shares simple tips for keeping hydrangeas fresh and beautiful indoors.


JOIN THE OSP COMMUNITY
Sign up to get uncomplicated recipes, unlimited seasonal decor, and
understated ways to refresh your home sent straight to your email inbox!
Hi Ann,
Beautiful wreath. So you have a source for faux hydrangeas. Thanks
Hi Liz…yes. These are my favorite faux hydrangeas. https://amzn.to/4uqYqIT Thank you!
Thank you