

Simple kitchen coffee station ideas to elevate your morning routine! Includes storage solutions and decor tips to create a stylish and functional coffee corner.

Are you a coffee lover looking to spice up your kitchen? Creating your own coffee station can be a fun and very simple project. My morning routine always begins with a cup of coffee, so a coffee station with easy access to everything I need helps keep me organized. From choosing the right spot to picking the best accessories, the process was amazingly easy!

This post may contain affiliate links. See my disclosure statement.
Pick Your Spot
Depending on the size of your kitchen, picking the perfect spot may be a big decision! In my case, there was only one place that would work, so the decision was basically made for me. This small section of countertop has an outlet, and after I found the perfect tray, the rest just fell into place. Begin by determining what you want to include, and proceed from there. Whether simple or elaborate, just let your personal style be your guide.

The Tray
Begin with a tray. This will make any coffee station more functional because it corrals all your essentials together. Make sure it’s durable and washable. Your tray needs to be big enough to hold several items. Since I was working with a small space with no wiggle room, I looked a long time before I found the perfect tray. But my search paid off…and when I slid the tray neatly into that tiny spot, I was so happy!
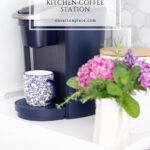
The Coffee Maker
Next is the coffee maker. Choose what best fits your lifestyle. In my case, I’m the only one who drinks coffee, and I usually have just one cup in the morning. My navy blue Keurig K-Select fits seamlessly into my morning routine, and it fits nicely on the tray.

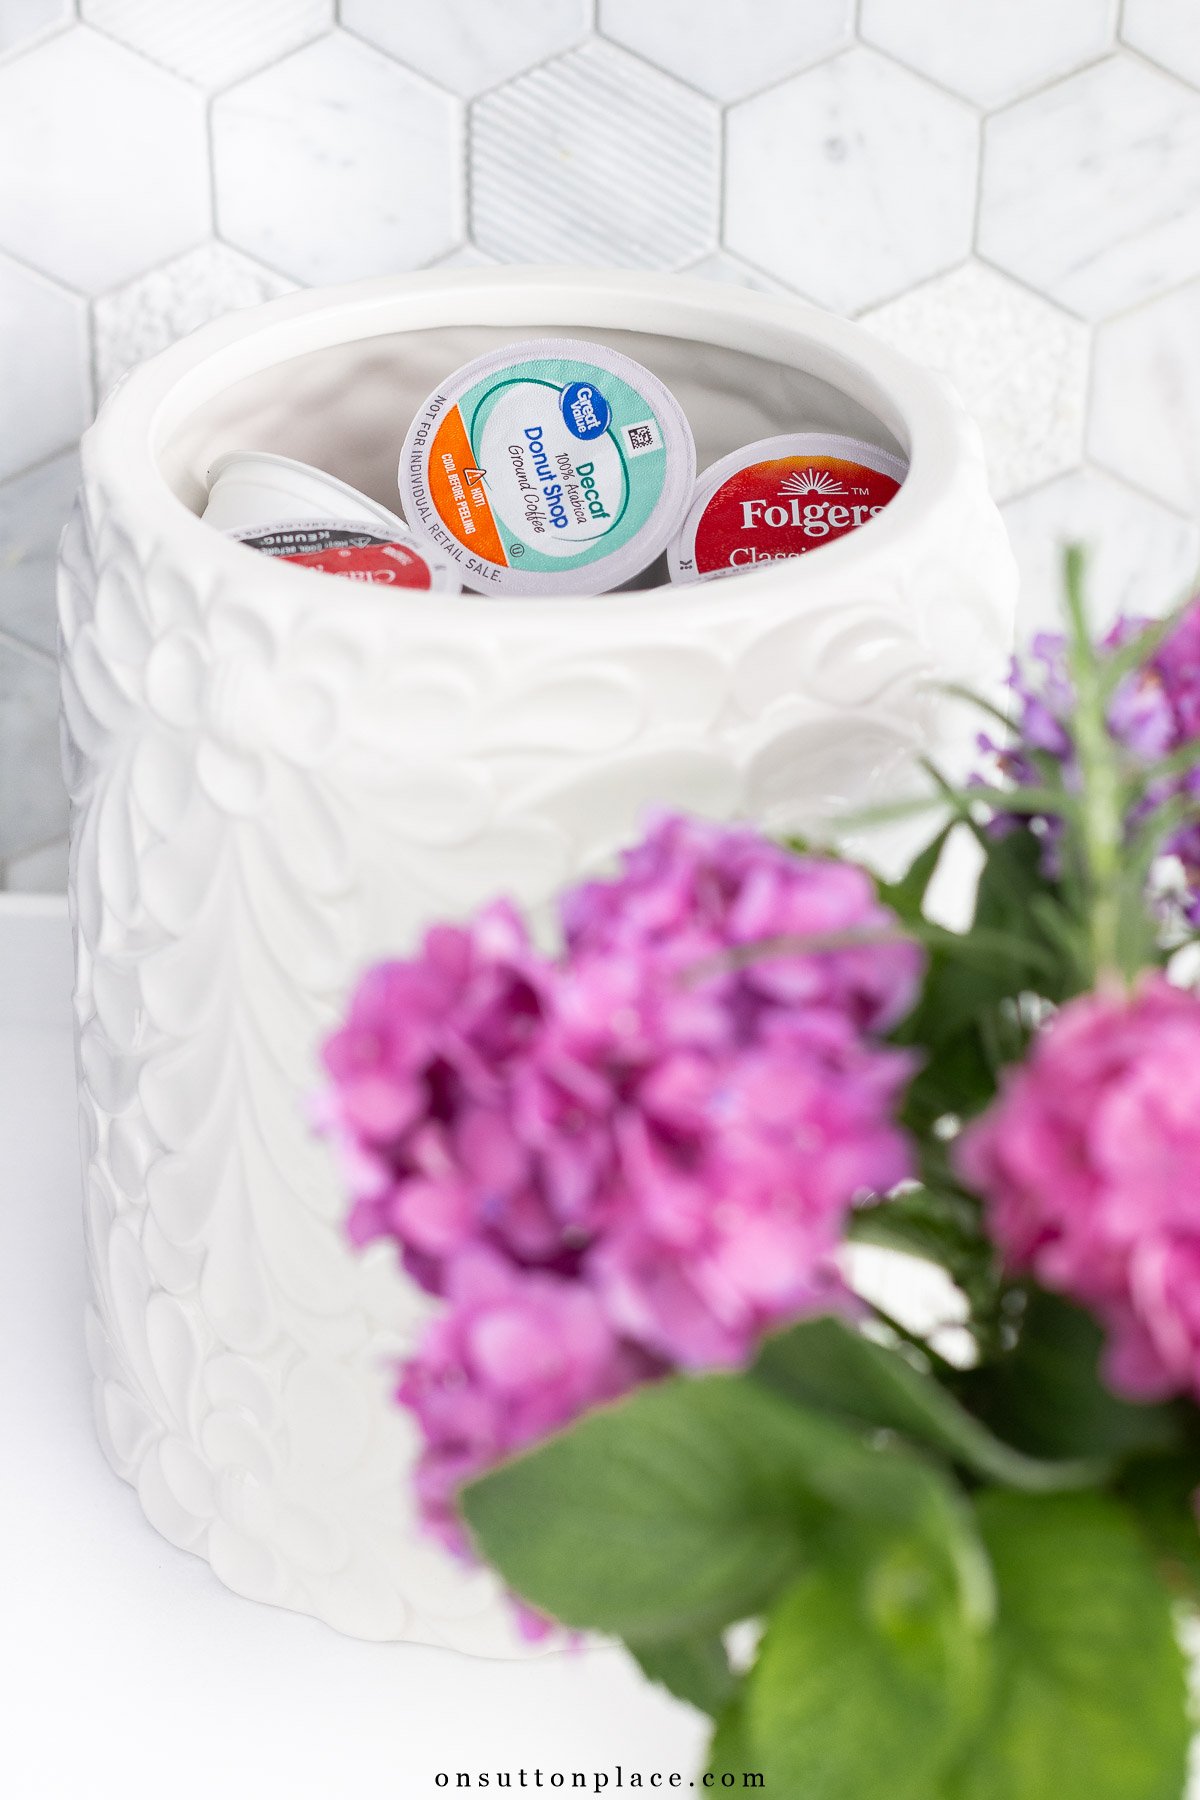
The Coffee
After the pot comes the coffee. I found the prettiest canister to hold my K-Cups. I will readily admit that I’m not a coffee snob…and that plain old Folgers is fine by me! If you don’t have a Keurig, an airtight canister is a great way to store ground coffee, or coffee beans as well.

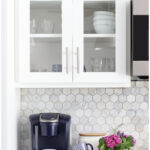
Mugs + Accessories
Some people like a variety of mugs, others like matching sets. I’m in the matching set group! Mugs are definitely a personal choice. Everyone has an opinion about what kind of handle they like, and how big a mug should be. I was able to make room for mug storage directly over the coffee station. If your coffee station has ample room, you can store your mugs on a separate tray right there. Other accessories you can include:
- a small pitcher of spoons or stirrers
- a pretty container for sugar/sweetener
- a coffee grinder
- a milk frother
- napkins
- flavored syrup

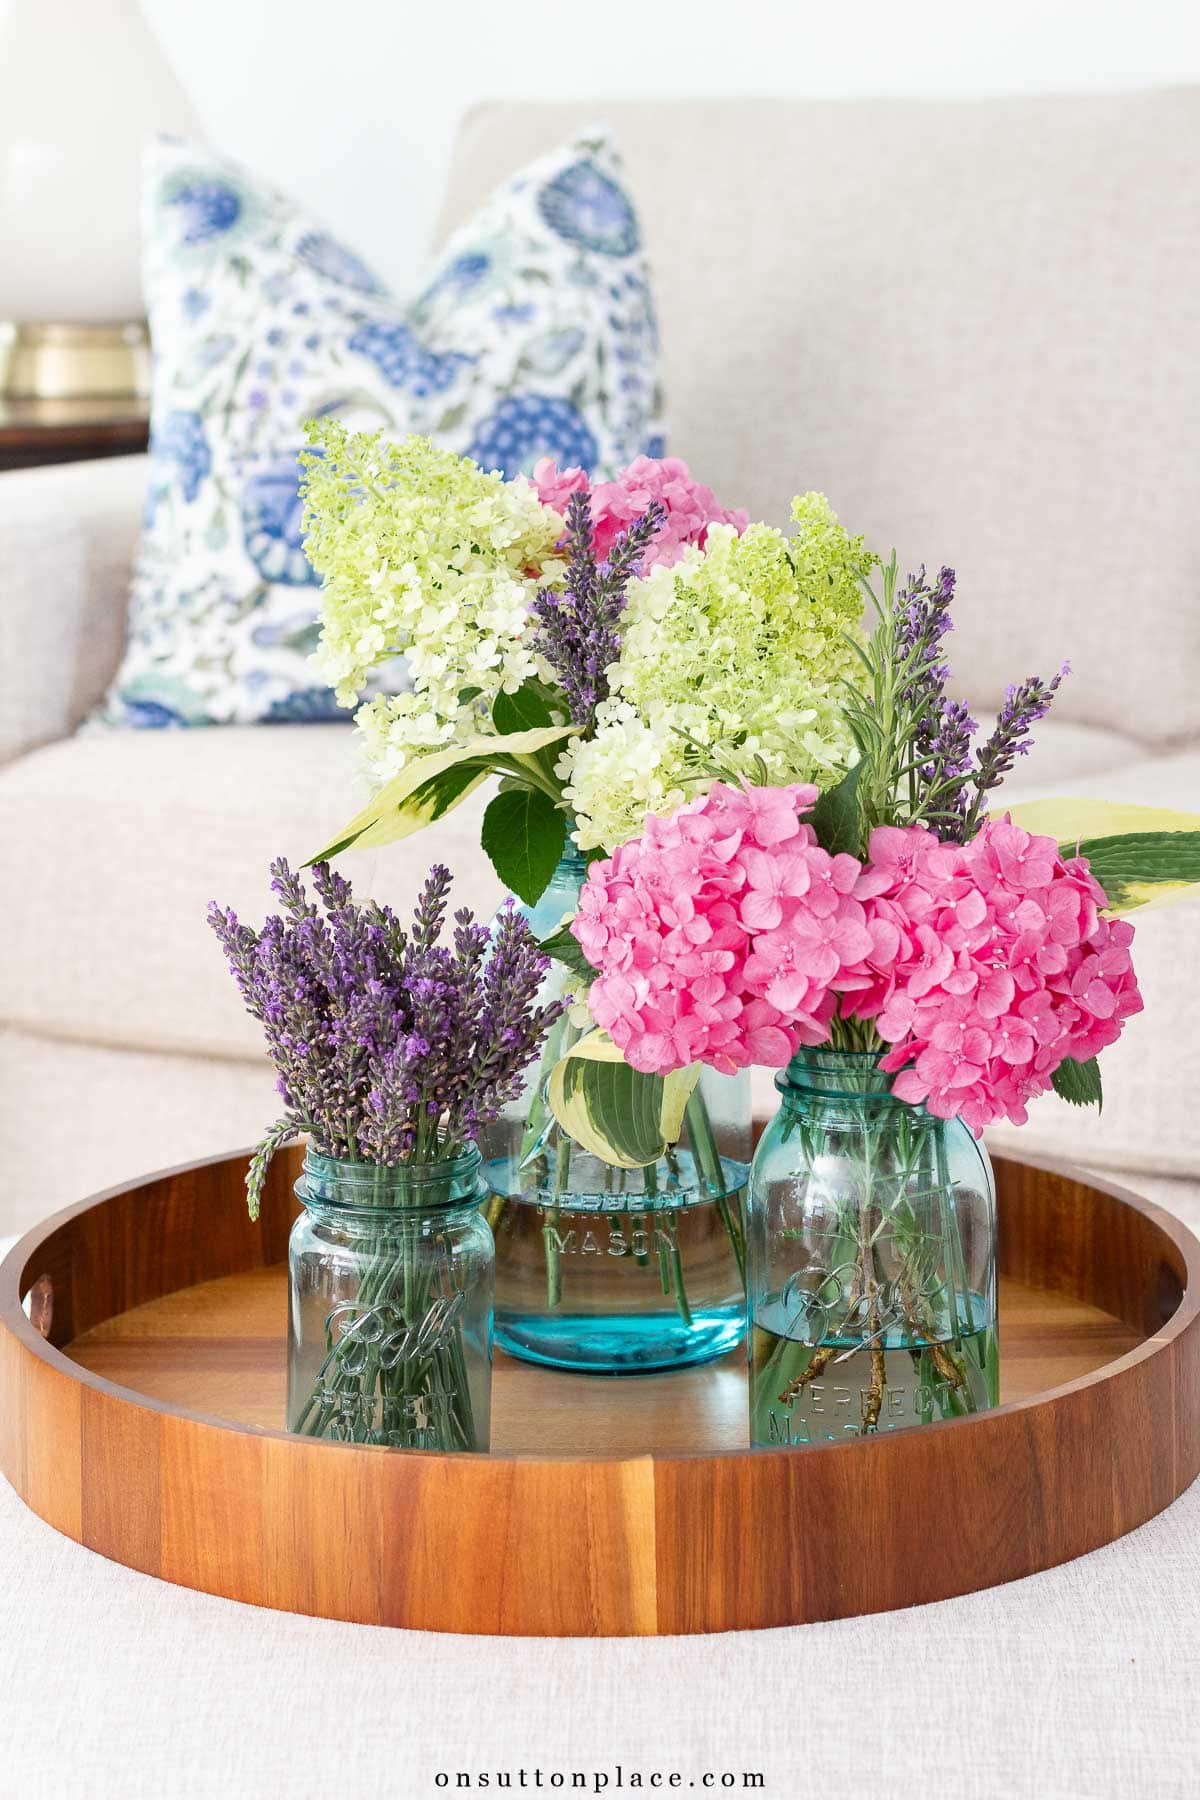
Flowers
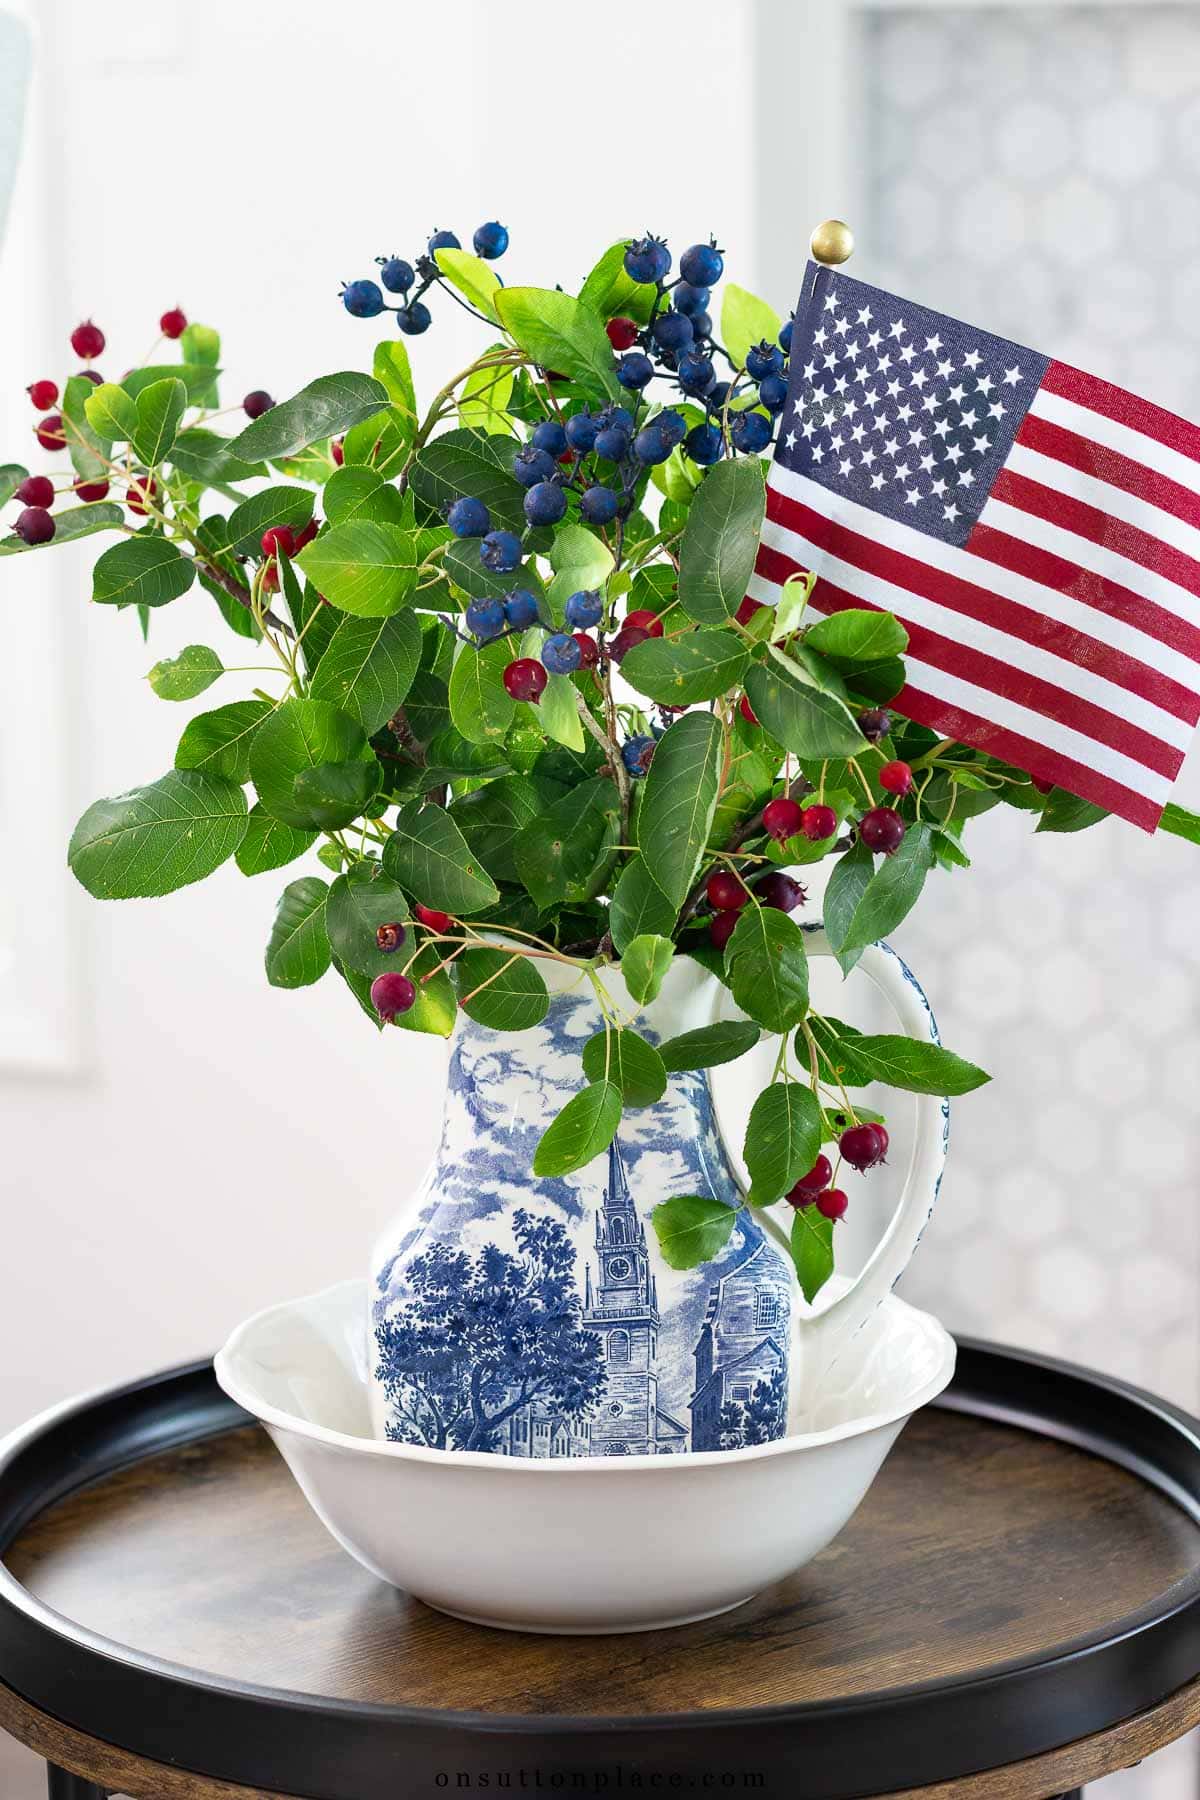
Although not technically functional, adding fresh flowers to your kitchen coffee station will transform it into a lovely and inviting spot. Flowers are so naturally beautiful, and I firmly believe they enhance any space in your home. It’s a simple but very special way to personalize this area. Use a small pitcher or vase, and just a few stems will do the job.

More Coffee Station Ideas
- Coffee Cart: If you have limited counter space, a mobile coffee cart or trolley can be a great option. You can easily move it around as needed and tuck it away when not in use.
- Vertical Wall Space: Install easy-access open shelves on an empty wall in your kitchen. Use them to store your coffee mugs, canisters, and other accessories. Or hang a cup rack on a wall to hold your favorite mugs. Both of these ideas combine form and function, which is always a smart idea!
- Built-in Coffee Nook or Coffee Bar Cabinet: If you’re renovating or designing a new kitchen, think about adding a built-in cabinet specifically for your coffee station. This can help keep your coffee essentials organized, and out of sight when not in use.
- Coffee Station Hutch: If you have ample space, add a hutch or a freestanding cabinet in your kitchen. Transform it into a coffee bar by adding shelves, hooks, and storage bins for your coffee supplies. I love this idea!
- Drawer Organizer: Convert a kitchen drawer into a coffee station by using drawer dividers or organizers to neatly store your coffee pods, filters, stirrers, and other accessories.
- Incorporate a Beverage Center: If you have the space and budget, consider incorporating a dedicated beverage center into your kitchen design. This can include a built-in coffee machine, mini fridge for milk and flavored cream, a small bar sink, and storage for coffee accessories. If you like to entertain, this idea would make serving drinks so simple.

For me, sitting with a hot cup of coffee is truly one of the most comforting things in the world. When I wake up in the morning, it’s the first thing I think about! If you are a coffee lover too, you will find a home coffee station to be functional and enjoyable, and it can definitely become the focal point of your kitchen. A beautiful coffee station is a great way to personalize your own kitchen, and it’s a lovely way to enhance in your daily coffee ritual.

Shop + Source
*As an Amazon Associate, I earn from qualifying purchases.


JOIN THE OSP COMMUNITY
Sign up to get uncomplicated recipes, unlimited seasonal decor, and
understated ways to refresh your home sent straight to your email inbox!


Love your coffee bar, Ann! We have one, too, as this is so necessary for people who love their coffee. I really like your tray and your k-cup holder. Have a great weekend, Ann, and thanks for your post today.
A coffee station is very important in our house. The coffee pot sits right under the cabinet where we keep the coffee. We drink ours black. When we have company we have a tray for cream and sugar or sweetener. In our library/study where we sit every morning, we have a tray that holds the stainless carafe so we don’t have to go far for our second cup.😀
Good morning Ann! I liked this post being a coffee lover too. Thanks for giving me a few takeaways to inspire me to up date my coffee corner.
So sorry for the repeated comment, I was kicked out a couple times trying to write the post.
I did this a couple years ago and love my coffee bar! Bought a wall kitchen cabinet at Restore, refinished it, added an 3/8 inch piece of glass on the top and casters to the bottom. WALA… a coffee bar! And, extra storage. Love your coffee bar set up! Beautiful Hydrangeas!
I did this a couple years ago and love my coffee bar! Bought a wall kitchen cabinet at Restore, refinished it, added a 3/8 inch piece of glass on the top and casters to the bottom. WALA…a coffee bar and extra storage!
I did this a couple years ago and love my coffee bar! Bought a wall kitchen cabinet at Restore, refinished it, added a 3/8 inch piece of glass on the top and casters to the bottom. WALA…a coffee bar and extra storage!
Your coffee station looks lovely in your kitchen,so nice to wake up to.
Should have known you’d let us know where to find the items in your blog (didn’t scroll far enough). Thanks for sharing!
I check with you everyday. I will look forward to your return. Enjoy your week off and God Bless!
Good morning, fellow Northeast Ohio Neighbor! LOVE your wood topped canister. . . . any idea where I can find one like it (or similar)?
Rest dear friend and enjoy your week off! Thanks for your lovely post (as I sit here gripping my favorite mug of hot coffee…)