How to hang curtains for a custom look using ready-made panels. Simple step-by-step tips for smooth, tailored window treatments.

If you’ve ever hung ready-made curtain panels and felt like something was missing, this simple method makes all the difference. It takes a few extra minutes, but the result looks tailored and finished instead of flat and wrinkled. This post is not about choosing fabric or installing the rod. This is about what happens after the panels are up. These small steps are what help store-bought curtains look neat and intentional.

This post may contain affiliate links. See my disclosure statement.
The Easiest Way to Remove Wrinkles From Curtains
What is the best way to get wrinkles out of curtains?
- Hang the panels first, then use a garment steamer while they are on the rod. Steaming in place relaxes the fabric naturally and prevents new creases from forming.
- Install the curtain rod.
- Hang the curtain panels.
- Use a standing garment steamer to smooth everything in place.
- Let the panels dry completely before moving to the next step.
Alternate methods:
- Use a handheld steamer. This works but takes longer.
- Iron them. This works, but it’s difficult and time-consuming. Long panels will wrinkle when trying to move them from the ironing board to the curtain rod.
How to Make Ready-Made Curtains Look Custom
- Step 1: Create Soft Pleats by Hand
- Stand in front of one panel and gently gather the fabric with both hands. Form loose, even pleats. The outer edges of the panel should turn slightly toward the window. Don’t rush this. Adjust until the folds feel balanced and natural.
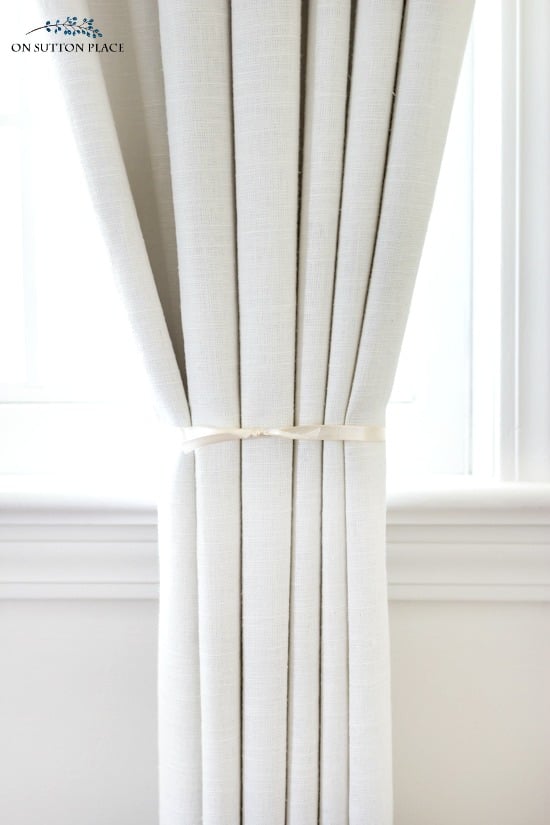
- Step 2: Tie the Pleats in Place
- Cut pieces of ribbon or string about one yard long.
- For long panels, use two ties per panel.
- Tie one ribbon around the center of the gathered panel.
- Follow the pleats downward with your fingers.
- Tie a second ribbon near the bottom.
- Tie them snug, but not tight. You don’t want deep creases.
- Repeat for each panel.
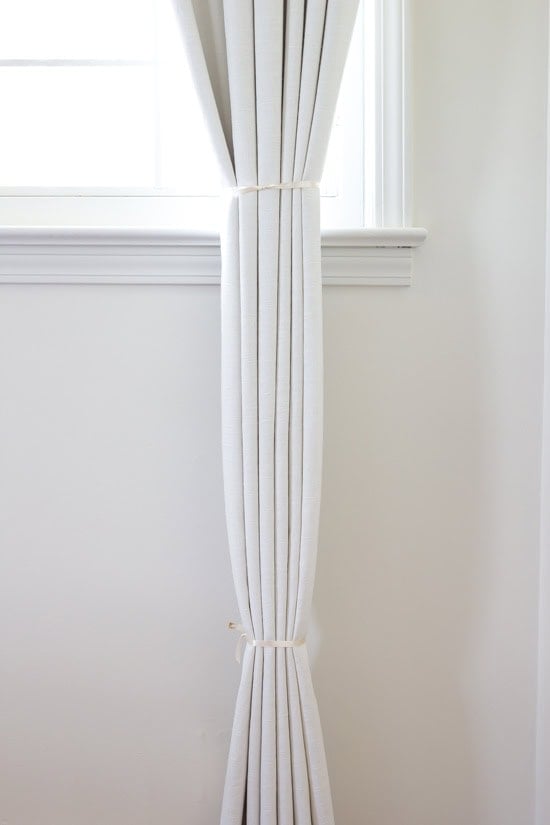
- Step 3: Leave Them Tied
- This is the hardest part. Leave the ribbons on for about a week.
- The fabric will “learn” how to fall in soft folds. After several days, remove the ribbons. You may need to lightly steam the areas where the ties were placed.
- Once you take the ribbons off, the panels should hang in gentle, even pleats that look much more custom than flat fabric straight from the package.

Curtain Hanging Tips for a Finished Look
- Steam after removing the ribbons if needed.
- Make sure panels just kiss the floor or hover slightly above it.
- Keep pleats consistent from panel to panel.
- Step back often and adjust by eye.
The Curtain Panels Used
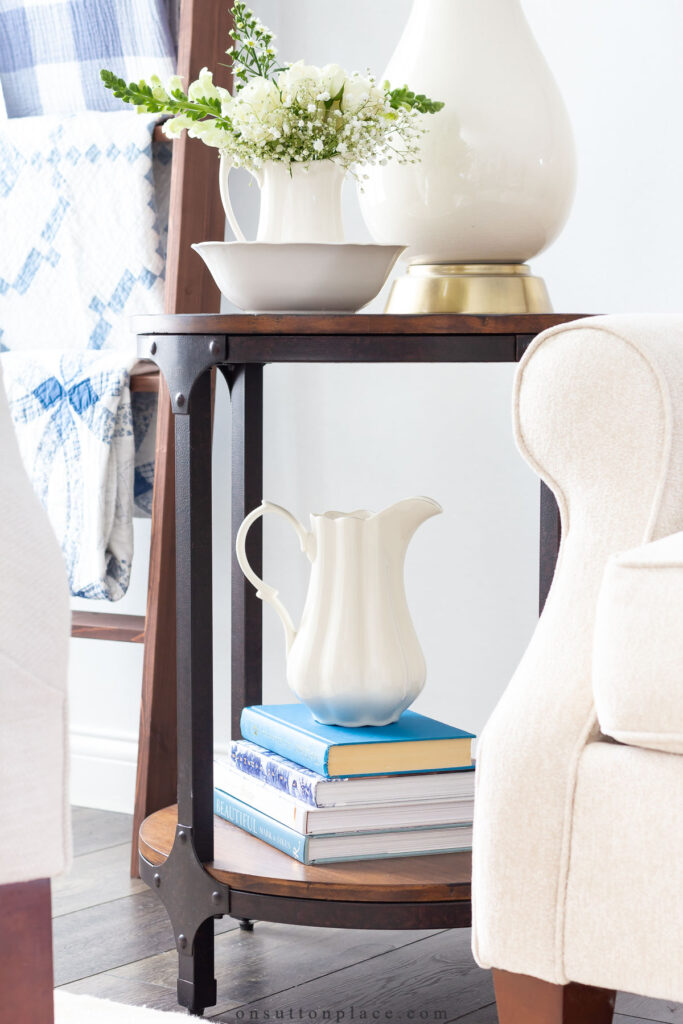
For this guest room refresh, I chose the Emery Linen/Cotton Pole Pocket Drapes from Pottery Barn in ivory with blackout lining. The rooms face east, so the added lining helps keep the space dark in the morning. After refinishing the hardwood floors and painting the walls, these panels were one of the final touches that made the room feel complete. You can see more of this space in my Christmas guest room decor ideas.

Frequently Asked Questions
These are small details, but they matter. Many times it’s not about adding more, but refining what’s already there. If you enjoy simple updates like this, you might also like my post on How to Make a Room Feel Finished. And if you’re tackling other projects around the house, you may find How to Clean Silver and How to Restore White Grout helpful as well. Sometimes the simplest adjustments make the biggest difference, and this is a method I return to every time I hang new panels.


JOIN THE OSP COMMUNITY
Sign up to get uncomplicated recipes, unlimited seasonal decor, and
understated ways to refresh your home sent straight to your email inbox!
Decor Style Guides


amazon storefront
Discover simple and affordable
ways to refresh your home.
Follow my Amazon Storefront
for all my favorite finds!
This helped me decide whether to buy a steamer!!!
This may sound a little obsessive but a technique I read about online helps with keeping the folds in the place especially if the window is open and blows the panel around a bit.
I thread some wide wire-edged gift ribbon in the hem of the panel. Then I shape the folds and the wire of the ribbon keeps the fold in place. This is especially helpful for heavier thicker panels that you don’t move daily and are just decorative.
Did you use clips or the rod pocket? Do they come with both type of headings?
Thanks for your tips.
I used the rod pockets but you can use the clips too. Same heading for both!
Be very careful when using your method for cleaning silver as it can cause permanent damage to your sink. I would say use an old pan or container that can be stored away until you need it again. I had some pitting and damage to the drain part of my sink when using this method. Just a heads up for those of you who might have a stainless sink.
Did you redo the other guest room? Have we seen it? Great idea for getting the curtains to hang straight. Thanks!
Yes. I renovated two guest rooms. I haven’t shown the second one on the blog because it’s not completely finished. Hopefully some day!
This is a very helpful post for a couple of reasons. I have been wondering if steamers really work, but you make me want to try one. Also, like you, I usually make my own curtains, pillows, etc. But I am finding some good options at stores like Homegoods or TJ Maxx. The price isn’t much different (fabric isn’t cheap) and I find I like the look of a solid color these days (so easy to find ready-made curtains in solid colors). But this tip will help those ready made curtains look custom. Thank you!
What a great tip!!
They look beautiful and the way you did them is a great idea!!
Nice tip!!! I might need to get another steamer…I kinda trashed mine after using it on removing wallpaper -_- lol! The curtains look beautiful:) Anxious to see your updates on the rooms!!!
Your drapes look great! And thanks for the tips.
Have a great day.
Thank you so much for this tip. I know what you mean when you say the older you get the longer it takes you, I have slowed down so much I think at times I’m going backwards.
Interesting, I would never have thought of this. I haven’t had curtains in a long time, I have had plantation shutters and roller shades in my last two places. I will be adding curtains in this place and I will use this tip for sure! Your curtains looks so very nice. Fortunately the two rooms I am adding them in are guest rooms, so it should be no problem for me to leave them tied for the soft pleats to set in.
I’ve used this technique for years. Works like a charm!
Thanks for these timely tips Ann. I just made curtain panels for my guest room and living room and was wondering how to get them to hang pretty.
How timely! I’ve just bought a new pair of curtains and have always gone down the ironing board route. Steaming whilst hung sounds like a much more efficient method and I love this idea for creating a much more professional looking finish. Thank you, Ann!
Wonderful idea Ann! I can sew and have a Jiffy Steamer like you. I just love your blog! Great, easy ideas you have, too! Very talented!
Thanks Ann for the great tips! I know I can do this.
What a great tip, Ann! I have quite a few ready made Pottery Barn drapes in our house and I’m getting ready to send them to the cleaners (a few at a time!) I hope they come back with nice pleats in them, but if they don’t, now I know how to get them!
Great tip! Thanks, Ann!
I used this method years ago when finishing pleated drapes but never on gathered. I can’t
wait to try this. I follow you faithfully and so enjoy your blog
I have no curtains in my home but this is excellent to keep on hand for when I do or if I am helping a friend with theirs. Those steamers are so handy, ironing curtains are a pain in the patoot. I, too, usually make my own soft furnishings but sometimes the trade off in saving time is worth the cost difference and many times you can find ready made less expensive.
it surprised me that you didn’t make the drapes because after you fiddled with them they certainly look custom! I’m getting ready to make linen pleated drapes and this is a great idea for the finishing touches. Thanks
Love this. I do drapes for my dollhouse and it is quite difficult to get my hands in the houses to get good soft pleats. I am going to try this for my dollhouse curtains. I’ll let you know how it works.
I used your tips for the living room rug. It looks good.
Your drapes look gorgeous. How do you open and close them? That’s a problem I haven’t be able to figure out. I purchased the drapes with the large grommets from Country Curtains and they slide open and closed but yours are plain on the top. Yours are the type I want to get in my bedroom but can’t figure out how you open and close them easily. I’d be very grateful if you would let me know the method.
Thanks – love your blog!
Margo
Hi Margo! I just reach up and slide them open or closed. There is a generous rod pocket so they are easy to move.
I recently bought a steamer to use for my PB Emery drapes but they didn’t turn out like yours. I’ll try again and tie them with ribbon. Thank you for sharing this tip. By the way, I received the Heritage flannel sheets from LL Bean for Christmas. My husband and I love them – so cozy. Enjoy your day!
Great tips, very clever and helpful, and I love the curtains!
Brilliant idea on how to use the ribbon. I have an industrial steamer and used it all the time in my other home but haven’t used it in the cabin. I will have to get it out again. Thanks for the reminder.
So clever and simple! Thanks for your timely post as I’m finally getting around to hanging a pair of curtains in our little bedroom. I have never seen the above technique of creating pleats, but it’s so simple and pretty! Thank you for sharing and I can’t wait to see what you have done to your extra bedrooms.
I over that tip Ann, thank you so much. Hanging curtains in my office today so I will try. I have a little hand steamer that I think will work
Lydia
I am so pleased you posted this! I especially like the way you made the soft pleats. How clever! You always have such wonderful tips and tricks, Ann! Thanks and Happy New Year!!