This post may contain affiliate links. See my disclosure statement.
Super simple method to make an easy no sew burlap table runner. Anyone can do this because there’s no sewing required to make this burlap runner!

When I showed you how to wash, dry and cut burlap, I promised I would be back with a few burlap table runner ideas. I already shared my no sew burlap ruffled runner tutorial. Today I’m here with an easy no sew burlap table runner that’s even quicker to make. Basically, all you need is burlap, scissors, and an iron!
*Affiliate links included. Click HERE for my complete Disclosure Statement.
Easy No Sew Burlap Table Runner Tutorial
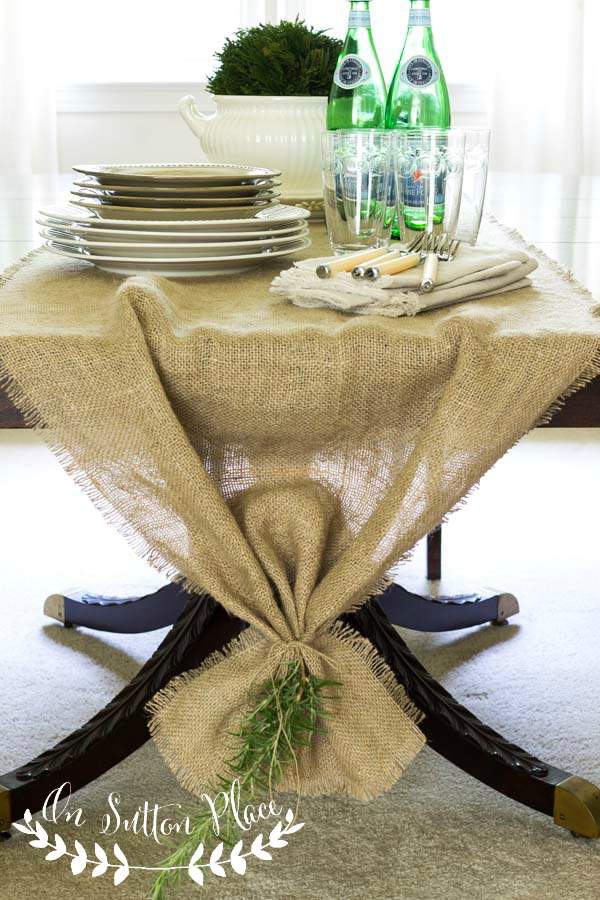
The first look is pictured above.
- Prepare your burlap.
- Cut a piece that measures 20 in. wide by your desired length. To find that length just measure the length of your table.
- Add 20 – 25 inches to each end. For example here’s how I figured mine:
Length of table = 72 in.
72 + 25 + 25 = 122 inches
122 inches = 3 1/3 yards (approx.)
I rounded up and cut my runner 3 1/2 yards long
- Pull 5 or 6 strings from all four sides so each side is fringed.
- Iron, and that’s it!
Burlap Table Runner Variations
First, pictured above, gather one end of the table runner together with your hands, and tie with a piece of twine. Repeat with the other end. Tuck something green, and preferably fresh, in the twine. I used rosemary sprigs, but you could use anything. Bittersweet or colorful leaves would be especially pretty for fall, and boxwood would be perfect for Christmas.
Click for 10 Ways to Use Rosemary!

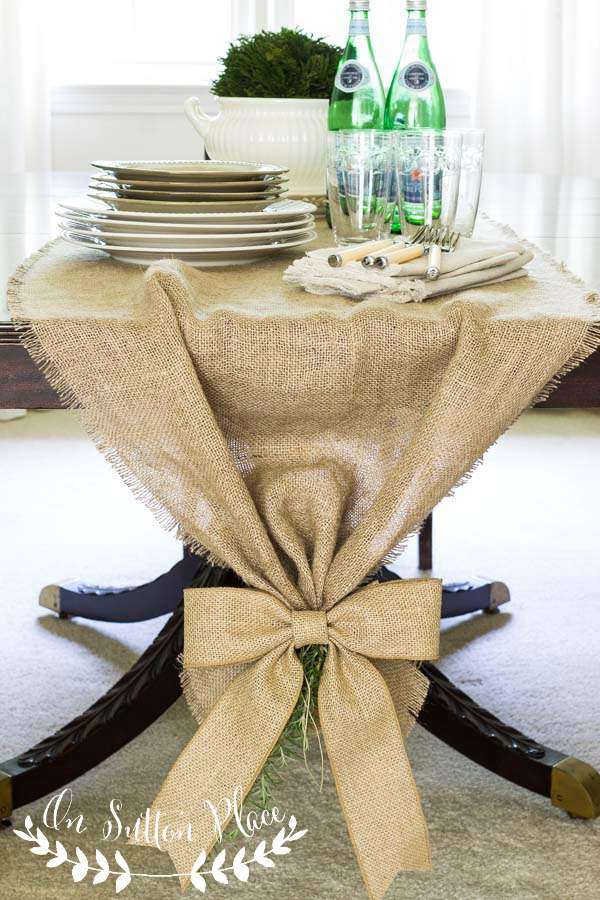
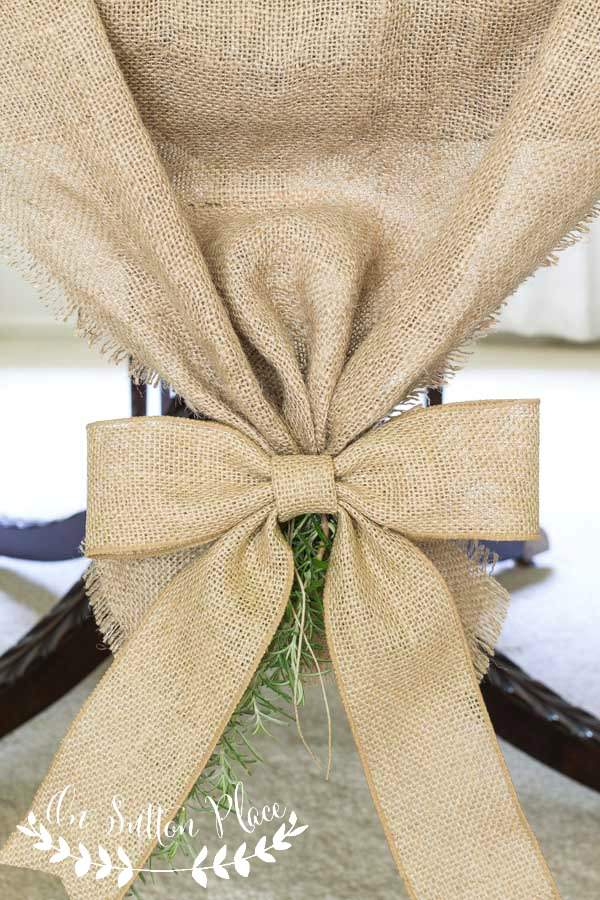
The second look is to attach a bow to both ends of your burlap runner. You will need a roll of 2 1/2 – 3 in. wired burlap ribbon. Make two bows following these directions: How to Make a Perfect Bow.
Thread a piece of twine through the loop in the back of the bow, and tie it to the ends of your runner. As you can see I left the rosemary still attached. I like the way it peeks out from behind the bow.

As always, all the measurements included in this post are just guidelines. Make your easy no sew burlap table runner any width or length you want. The look above with the bow would be really pretty if you were serving a buffet from your table. and could remove the end chairs. The version with the burlap bow is not practical for a real dinner party, where someone will sit at the end of the table. The version with the twine (made a bit shorter in length) would work well for that.
I know burlap isn’t for everyone, but I hope I made at least a few non-believers see the light! I’ll be back in a few days…until then be happy and safe.
Handy Quick Links:
- burlap table runner with ruffles
- burlap table runner with tassels
- how to cut burlap (includes how to wash burlap & drying tips)


Any ideas on how to use burlap as a centre piece for a round table?
Really luv your ideas. I am thinking of using your process to add a burlap “runner” to a standard oval coffee table that I have chalk painted/distressed a Southwestern aqua color. I think it would dress up the table and look really cute…..maybe too low in height for a bow over the edge, but will add some greenery! And red berries for holidays!! And THANKS for the bow tutorial….really needed it!
So simple, yet so pretty! Going to have to try this! Thanks, Ann!
How pretty Ann, and it would fit perfectly into any color scheme or homes decor. Beautiful:)
I love this whole post and want to use this for my table when I host Bunco in October!!!
Love the burlap runner Ann…especially with the twig of rosemary tied at the end!
This is very pretty Ann! I invite you to share at my Thursday Favorite Things blog hop ( you can link up through Saturday at midnight) hugs!
Nice runners. I’ve found if you serge or zig-zag the ends of the fabric before washing it, the fabric won’t shed in the machine as much, and the ends don’t get bunched up and wrinkle; you can just trim the ends and do the fringing afterwards.
Love burlap runners! Yours is wonderful….
I see the light, Ann! It’s lovely! I especially love the rosemary on the ends.