
Vintage silver has a way of making a home feel collected and lived in. Whether it’s a family heirloom, a thrifted find, or a favorite piece that’s been tucked away for years, this simple cleaning method makes it easy to remove tarnish and bring back the shine without harsh chemicals.
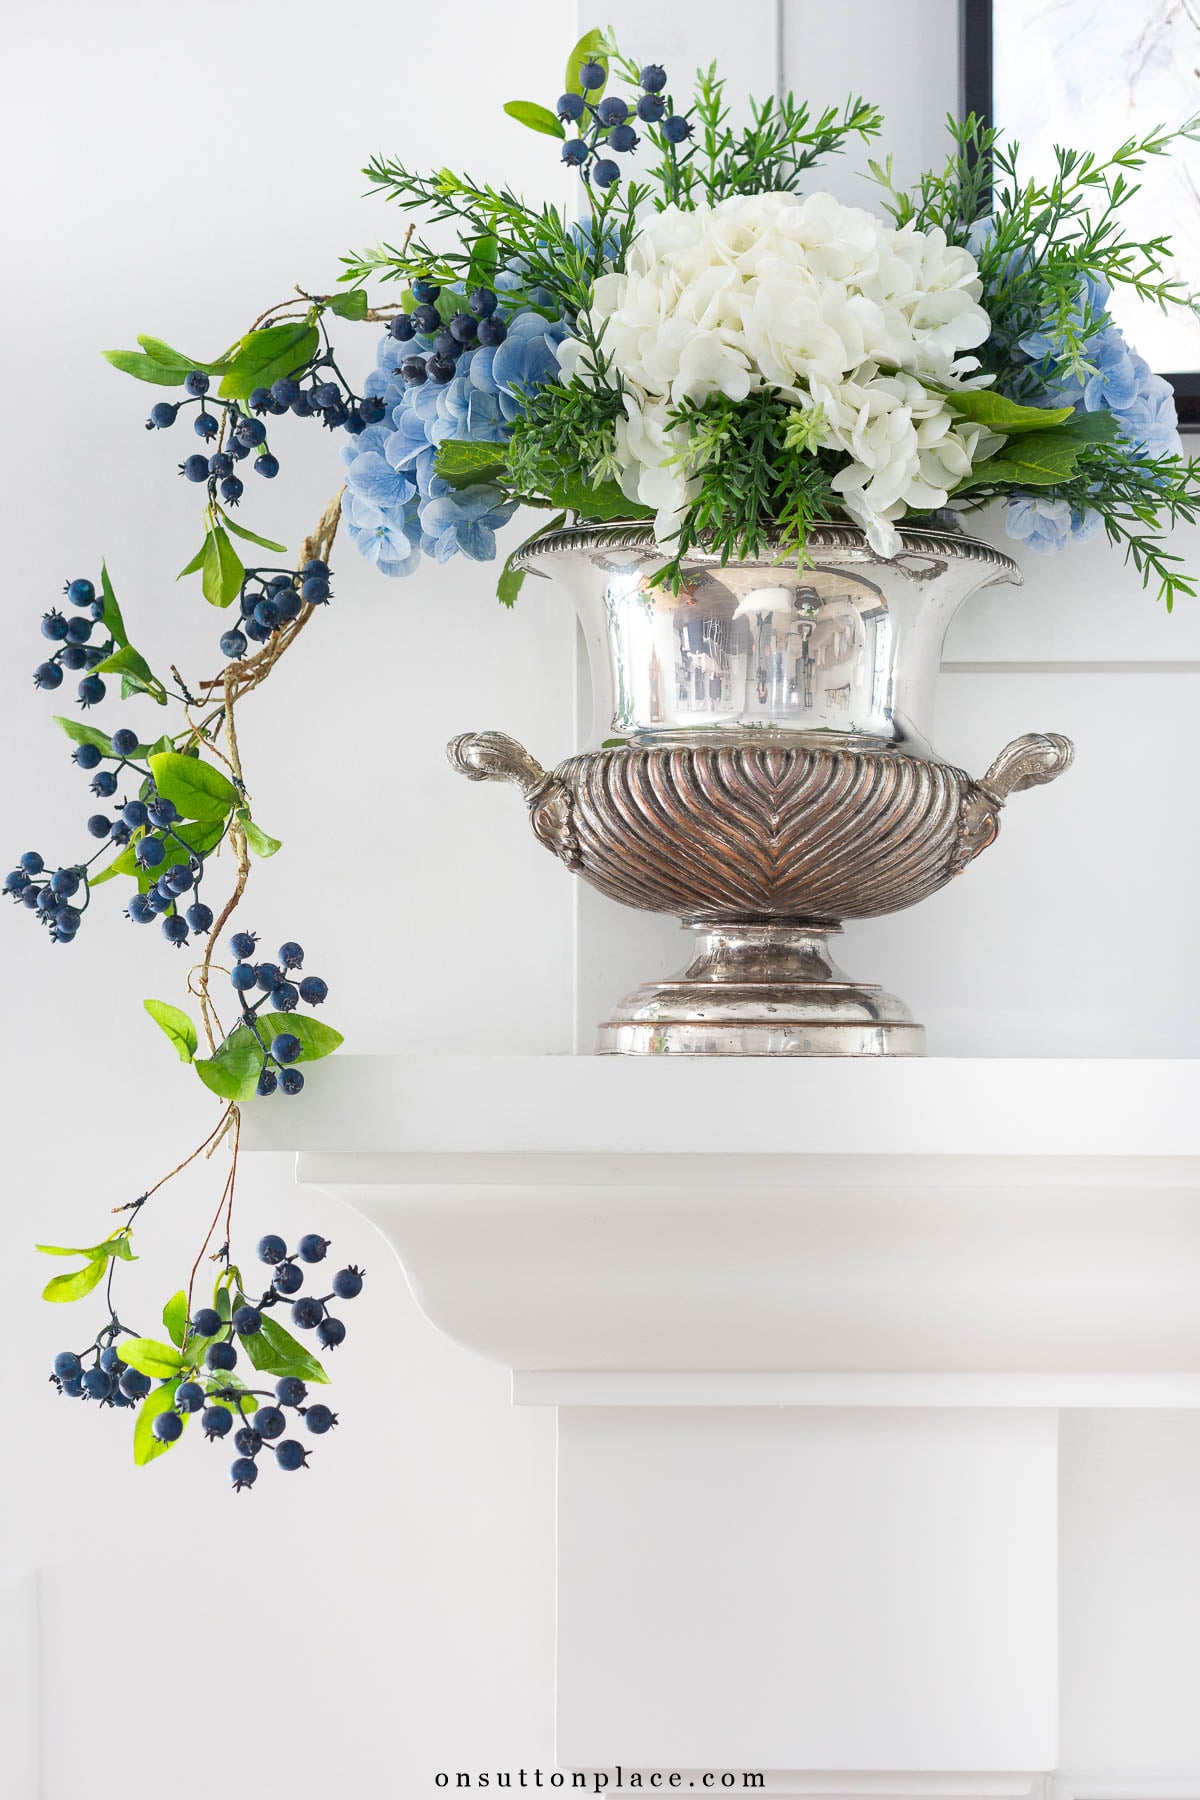
Several years ago, I inherited a pair of vintage silver urns from my in-laws. When I brought them home, they were heavily tarnished and honestly looked beyond saving. I briefly considered leaving them that way because tarnished silver has become popular again, but I knew I wanted them clean and shiny. The problem was finding a method that worked well without harsh chemical cleaners. After a little trial and error, this simple process brought them back to life, and it’s the only method I’ve used ever since.
This post may contain affiliate links. See my disclosure statement.
What You Need To Clean Silver

- Baking soda
- Salt
- Soft towel or cloth
- Aluminum foil
- White toothpaste for stubborn spots (optional)
How to Clean Silver
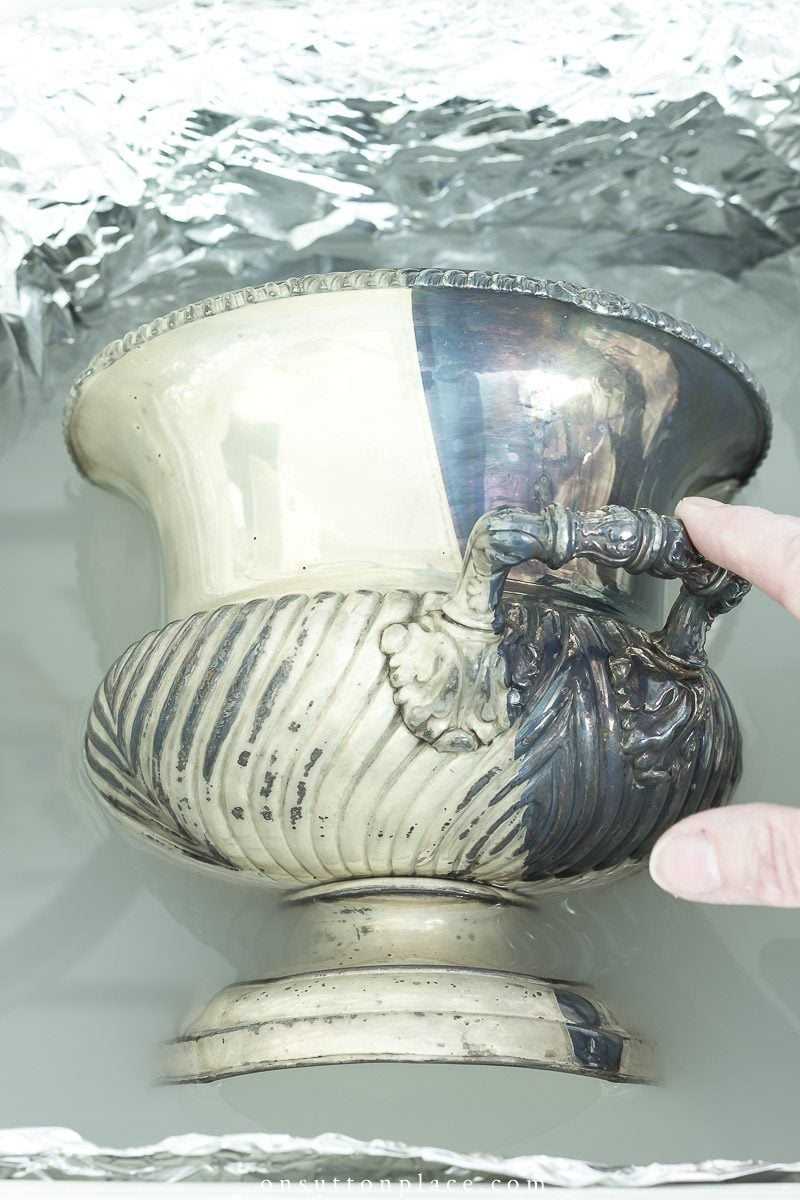
- Line your kitchen sink or a large basin with aluminum foil, shiny side up. Fill with very hot water.
- Add 1/2 cup baking soda and 1/2 cup kosher salt. Stir until dissolved.
- Place the silver pieces into the water, making sure they touch the foil.
- Let the silver soak for 3 to 5 minutes.
- Remove the silver carefully and rinse well with clean water.
- Dry and buff with a soft cloth or towel.
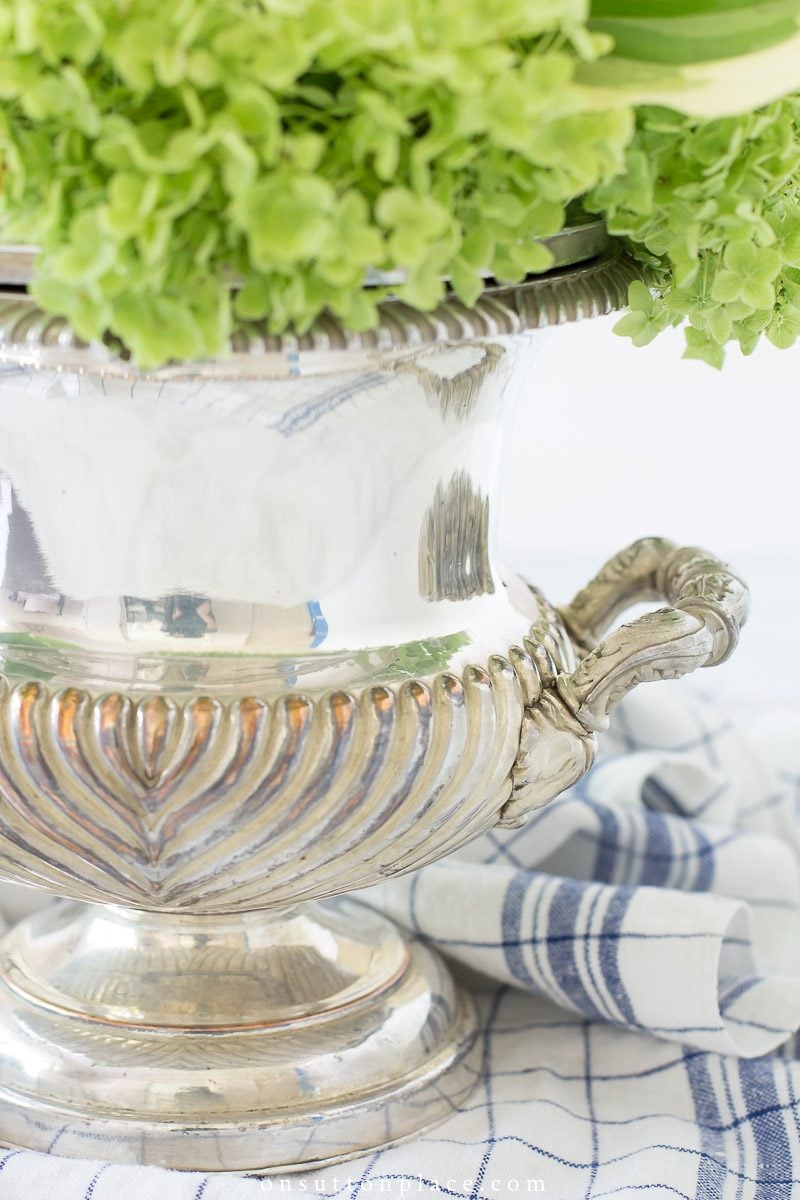
The image above shows one of the urns halfway through the process. I was amazed at how quickly the tarnish disappeared.
Tips for Cleaning Tarnished Silver

- Use more baking soda and salt for large pieces
Larger items may need more water and a slightly longer soaking time. Increasing the baking soda and salt helps speed up the cleaning process. - Wrap silver loosely in foil if needed
For heavily tarnished pieces, loosely wrapping them in aluminum foil can help the cleaning mixture work more effectively. - Use white toothpaste on stubborn spots
A small amount of plain white toothpaste on a soft cloth can help remove streaks or dark spots that remain after soaking. - Repeat the process for badly tarnished silver
Older pieces sometimes need a second soak to remove years of buildup. - Adjust the amounts based on the size of your sink
If you’re using a large sink or basin, increase the baking soda and salt to about 1 cup each for best results. - Is baking soda safe for silver?
For most everyday vintage silver pieces, baking soda is a safe and effective cleaner when used gently. If you have a rare or highly valuable antique, professional cleaning may be the safest option.
Why I Prefer This Silver Cleaning Method

This method is meant to clean tarnished silver naturally, not create a heavily polished finish. I actually prefer that softer look because vintage silver keeps its character and doesn’t look overly shiny or harsh. Traditional silver polishes often contain strong chemicals, and in my experience, frequent polishing can make silver tarnish again more quickly. This simple process keeps silver clean, bright, and ready to use without a lot of extra work.

One of the best things about learning this simple method is that my silver no longer stays tucked away in a cabinet. Pieces that once felt difficult to maintain are now easy to clean and use throughout my home. I love filling the urns with flowers, setting them on a mantel or table, and mixing them in with other meaningful collections and vintage finds. Silver doesn’t have to be perfect to be beautiful, and keeping it clean enough to enjoy makes all the difference.

A YEAR OF SIMPLE LIVING AT HOME
A gentle guide to slowing down
and enjoying the seasons at home.


amazon storefront
Discover simple and affordable
ways to refresh your home.
Does this method work for silver jewelry as well?