


Easy dried orange slices for wreaths, garlands, ornaments, and gifts. Oven or dehydrator method, storage tips, and FAQs.
Why You’ll Love Dried Orange Slices
There’s something so special about dried orange slices during the holidays. They add a simple, natural touch to wreaths, garlands, and gift wrapping, and their soft citrus scent instantly feels festive. Making them at home is easy, inexpensive, and a wonderful way to spend a cozy afternoon. Whether you use an oven or a dehydrator, this step-by-step guide will show exactly how to dry orange slices so they turn out beautifully every time. If you enjoy natural touches like this, take a look at my Christmas simmer pot recipe that also fills your home with fragrance.
Jump to: Prepare the Oranges | Oven Method | Dehydrator Method | How to Use | Storage Tips
What You Need to Make Dried Orange Slices
- Fresh oranges
- Sharp knife
- Cutting board
- Baking sheets
- Parchment paper
- Oven or dehydrator
- Cooling racks
- Tip: Choose firm, seedless oranges. Navel, Cara Cara, or blood oranges work best for even slices and bright color.

How to Prepare Oranges for Drying
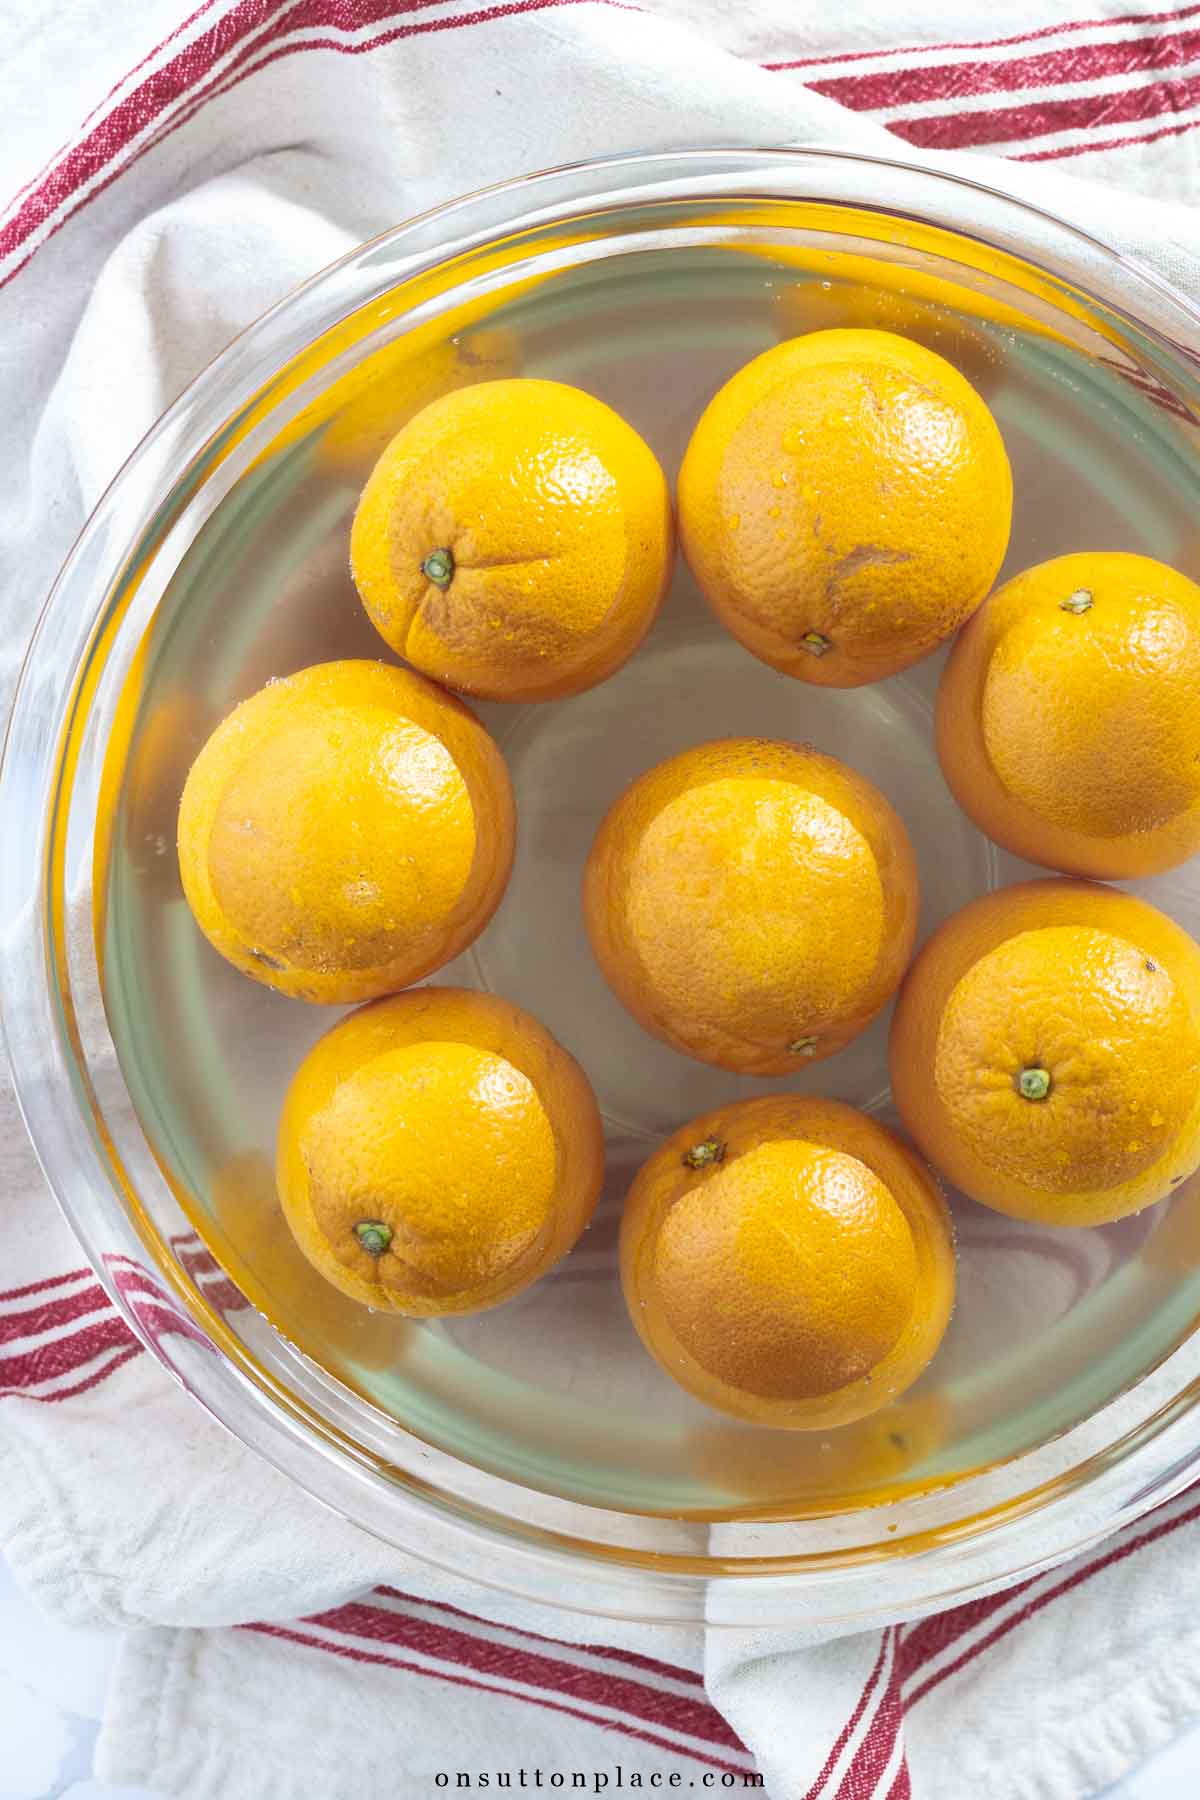
- Clean the oranges. Start with a large bowl, add the oranges, add 2 tablespoons of apple cider vinegar, and fill the bowl with warm water. Let the oranges soak for 5 minutes.
- Rinse and dry well.
- With a sharp knife or mandoline slicer, cut each orange into thin slices about ¼ inch thick.
- Keep the slices as uniform as possible so they dry evenly. Thicker slices will take longer.
- Place the slices on a paper towel, cover with another sheet, and press gently to remove excess moisture.
- Tip: Removing as much moisture as possible helps prevent browning and shortens drying time.

How to Dry Orange Slices in the Oven
- Preheat oven to 225°F.
- Arrange orange slices in a single layer on wire racks set over baking sheets, or place them directly on the oven grates.
- Tip: Using cooling racks makes it much easier to turn the slices. Skip solid baking sheets so air can circulate on the top and bottom.
- Bake for 2 to 3 hours, turning slices every 30 minutes so they don’t stick.
- In my gas convection oven at 225°F, the drying process takes about 2 hours.
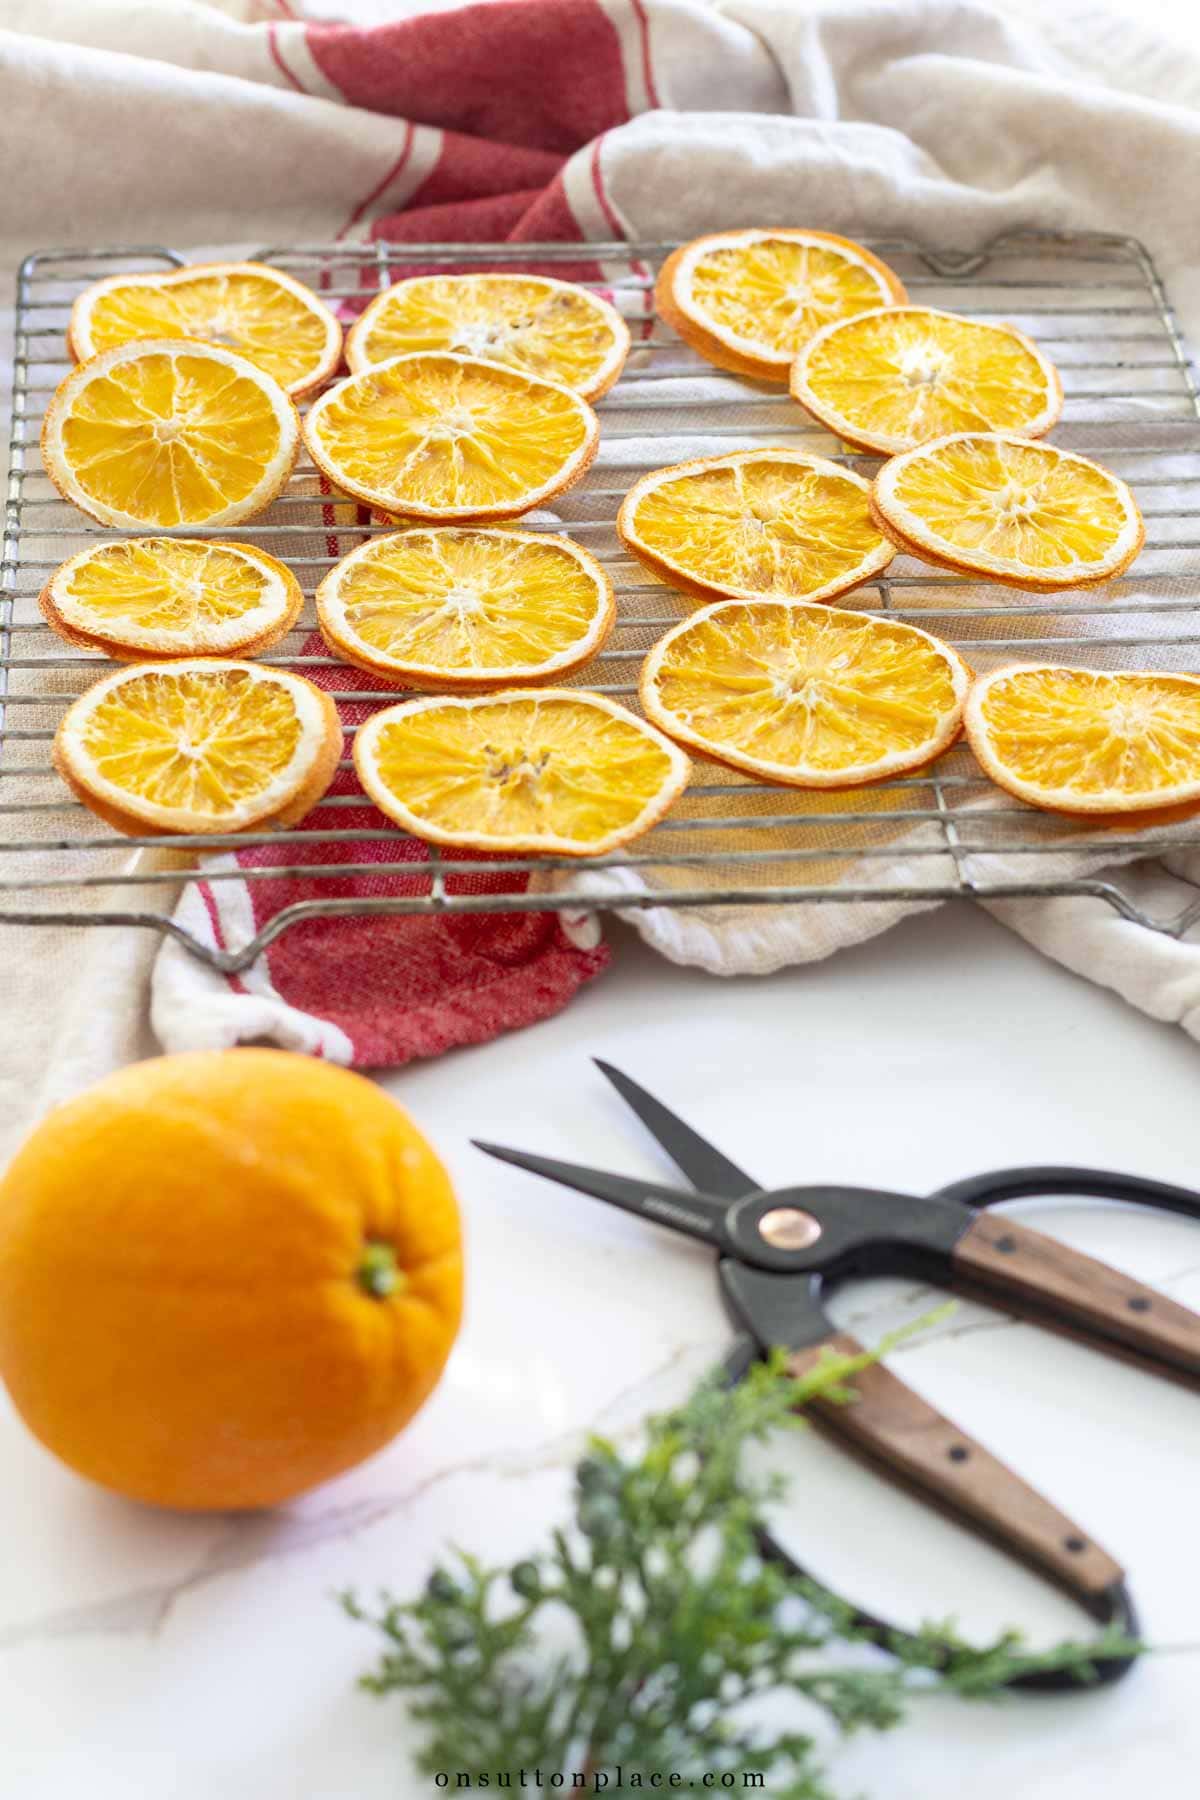
- The slices are ready when they darken slightly and turn translucent.
- Cool completely, then store at room temperature until ready to use.
- Note: Oven times vary. If the edges start to brown, lower the temperature slightly and keep turning the slices.

How to Dry Orange Slices in the Dehydrator
- Arrange the prepared slices on dehydrator trays in a single layer.
- Set temperature to 135–140°F and timer for 8 hours.
- At the halfway point, rotate the trays and flip the slices.
- The slices are done when they’re translucent and no longer sticky.
- Transfer to a baking sheet and let them cool and finish drying completely.
- Tip: Every dehydrator is different. If your slices still feel tacky, keep drying in 1-hour increments until firm and dry.

Oven vs. Dehydrator Results
I’ve used both methods for drying orange slices, and there are a few clear differences between them.
- Time: The dehydrator takes longer, about 9 hours compared to 3 to 4 hours in the oven, but it’s completely hands-off once it’s running.
- Color: Dehydrated orange slices stay a brighter, lighter shade of orange, while oven-dried slices tend to darken slightly.
- Shape: Dehydrated slices hold their round shape better and don’t curl at the edges.
Both methods work beautifully, and it really comes down to how much time you have. If you want quick results, use the oven. If you prefer a lighter color and don’t mind waiting, go with the dehydrator.

How to Tell When Orange Slices Are Done
Dried orange slices are ready when they’re firm, slightly translucent, and no longer sticky to the touch. The edges should feel dry but not brittle. If the slices bend easily or feel tacky, they need more time. Let them cool completely before storing to make sure no moisture remains inside. This helps prevent mold and keeps their color bright. Slices that are fully dried will darken slightly as they cool. That’s a good sign they’re ready. This method also works beautifully for lemons, limes, and grapefruit.
This post may contain affiliate links. See my disclosure statement.

How to Use Dried Orange Slices
Once you have a batch of beautiful dried oranges, the possibilities are endless. They bring warmth, color, and a hint of fragrance to your holiday decorating. Here are a few simple ways to use them:
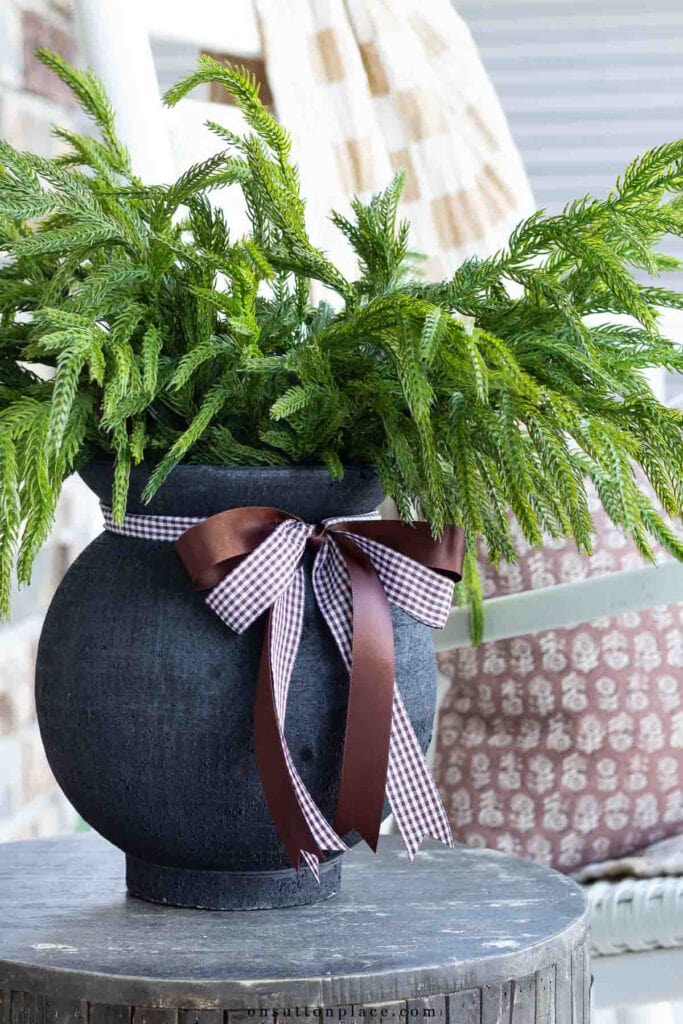
- Add to a holiday wreath with star anise, cinnamon sticks and greenery
- String them together with twine for a natural garland
- Tie one onto a wrapped gift with ribbon or baker’s twine
- Hang a few on your Christmas tree
- Layer them into a simmer pot for a cozy, citrus scent
- Use them in marinades, or as a garnish for hot tea
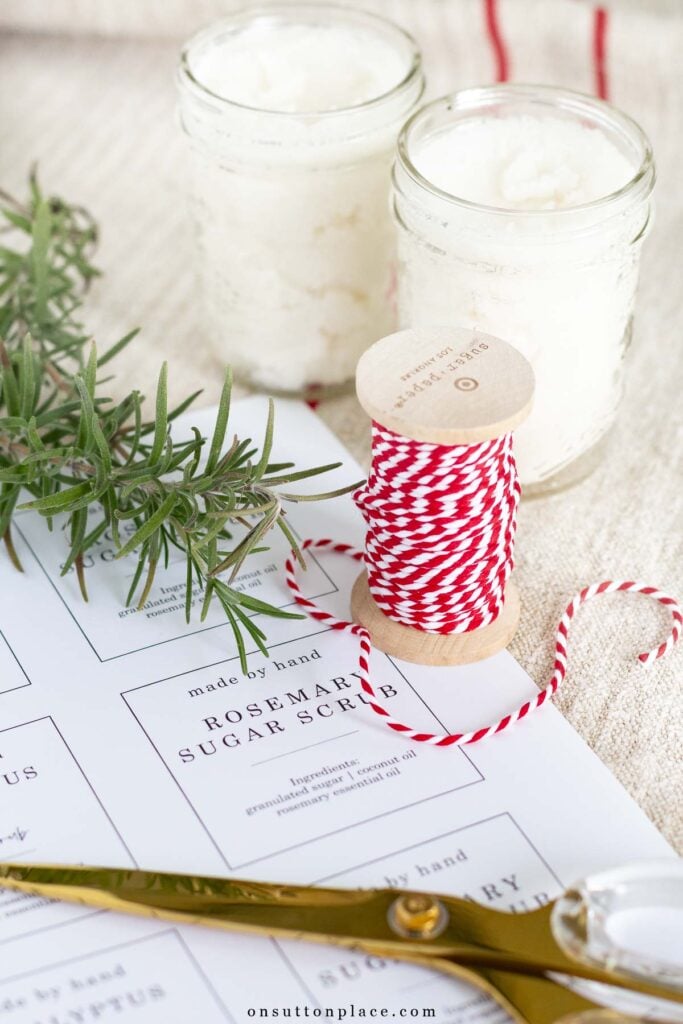
- Use them for gift giving by packaging in a mason jar. See this post for more gifts-in-a-jar ideas!

How to Store Dried Orange Slices
- Let the orange slices sit out for several days before storing to be sure they’re completely dry.
- Place them in an airtight container or glass jar.
- Store in a cool, dry place away from direct sunlight.
- If fully dried, the slices will last for 3-4 months.

Frequently Asked Questions

Final Thoughts
Drying orange slices has become one of my favorite simple holiday traditions. I love the way they catch the light when hung on a garland, and how they add warmth to greenery and ribbon. These little slices of sunshine are proof that the most meaningful seasonal projects don’t have to be complicated or expensive. Once you make a batch, you’ll find yourself using them everywhere, from a natural wreath to place settings at the table.
How To Make Dried Orange Slices
Ingredients
- 8 large navel oranges
- 2 tablespoons apple cider vinegar
Instructions
THE DEHYDRATOR METHOD
- Soak the oranges for 5 minutes in a bath of warm water and apple cider vinegar.
- Rinse and dry well.
- Cut each orange into slices that measure 1/4 inch thick.
- Place the orange slices on paper towel, and cover with more paper towel.
- Press on the top layer of paper towel to dry the orange slices and remove excess moisture.
- Place the orange slices on the trays of your dehydrator.
- Set the timer for 8 hours, and the temperature for 135-140 degrees F.
- At the 4 hour mark, rotate the trays, and turn the orange slices.
- Oranges are done when they are translucent and no longer sticky.
- Place on a baking sheet to dry completely.
- All dehydrators are different. It's possible that the orange slices could take up to 12 hours to dry completely.
THE OVEN METHOD
- Follow the first 5 steps above.
- Preheat your oven to 225 degrees F.
- Place the blotted orange slices on large cooling racks.
- Place the cooling racks directly on the grates of your oven.
- Bake for 2 to 3 hours, turning the slices every 30 minutes. (If you don't turn them, they will most likely stick to your racks.)
- The slices are done when they darken in color and become translucent.
- Cool completely.
Nutrition information is automatically calculated, so should only be used as an approximation.


Wrapped With A Bow
Unlock the art of beautiful gift wrapping with this free guide,
and turn every present into a magical moment this Christmas!


I love this idea, will definitely do it this year. Thank you, Ann!
I love to use natural items as holiday decorations and orange and lemon slices just fit the bill. Since I have a hydrator just sitting in a box I’m going to use it this year instead of the oven. Thank you for the tips….
I am getting ready to make the dried orange slices. How much water and apple cider vinegar do you use? Thank you
I usually just fill my sink about half full of water and add 2 or 3 tablespoons of apple cider vinegar. That’s for about 8 oranges. Increase the amounts if you are drying more than 8 oranges. Have fun!
Could I dry the orange slices in an air fryer?
Hi Bonnie – I have never done it, but I believe it’s possible if your air fryer has a “dehydrate” mode. The slices need to be in a single layer, so depending on the size of your basket, it might take several sessions. If you try it, please let us know if it works!
Hi, I tried making the orange slices in my air fryer as I asked you about. It turns out that my big air fryer has a dehydrator in it so I set it at 140. It took many hours. I also think I could have cut them just a tiny bit thicker so I didn’t end up with partial slices. Yours look much nicer than mine but I’m putting these into potpourri jars for some friends so I don’t think it matter much. I will make them again for a garland, wreath, and tree decoration though. Thanks so much for all your beautiful ideas. Love them!
*thumbs up!*