

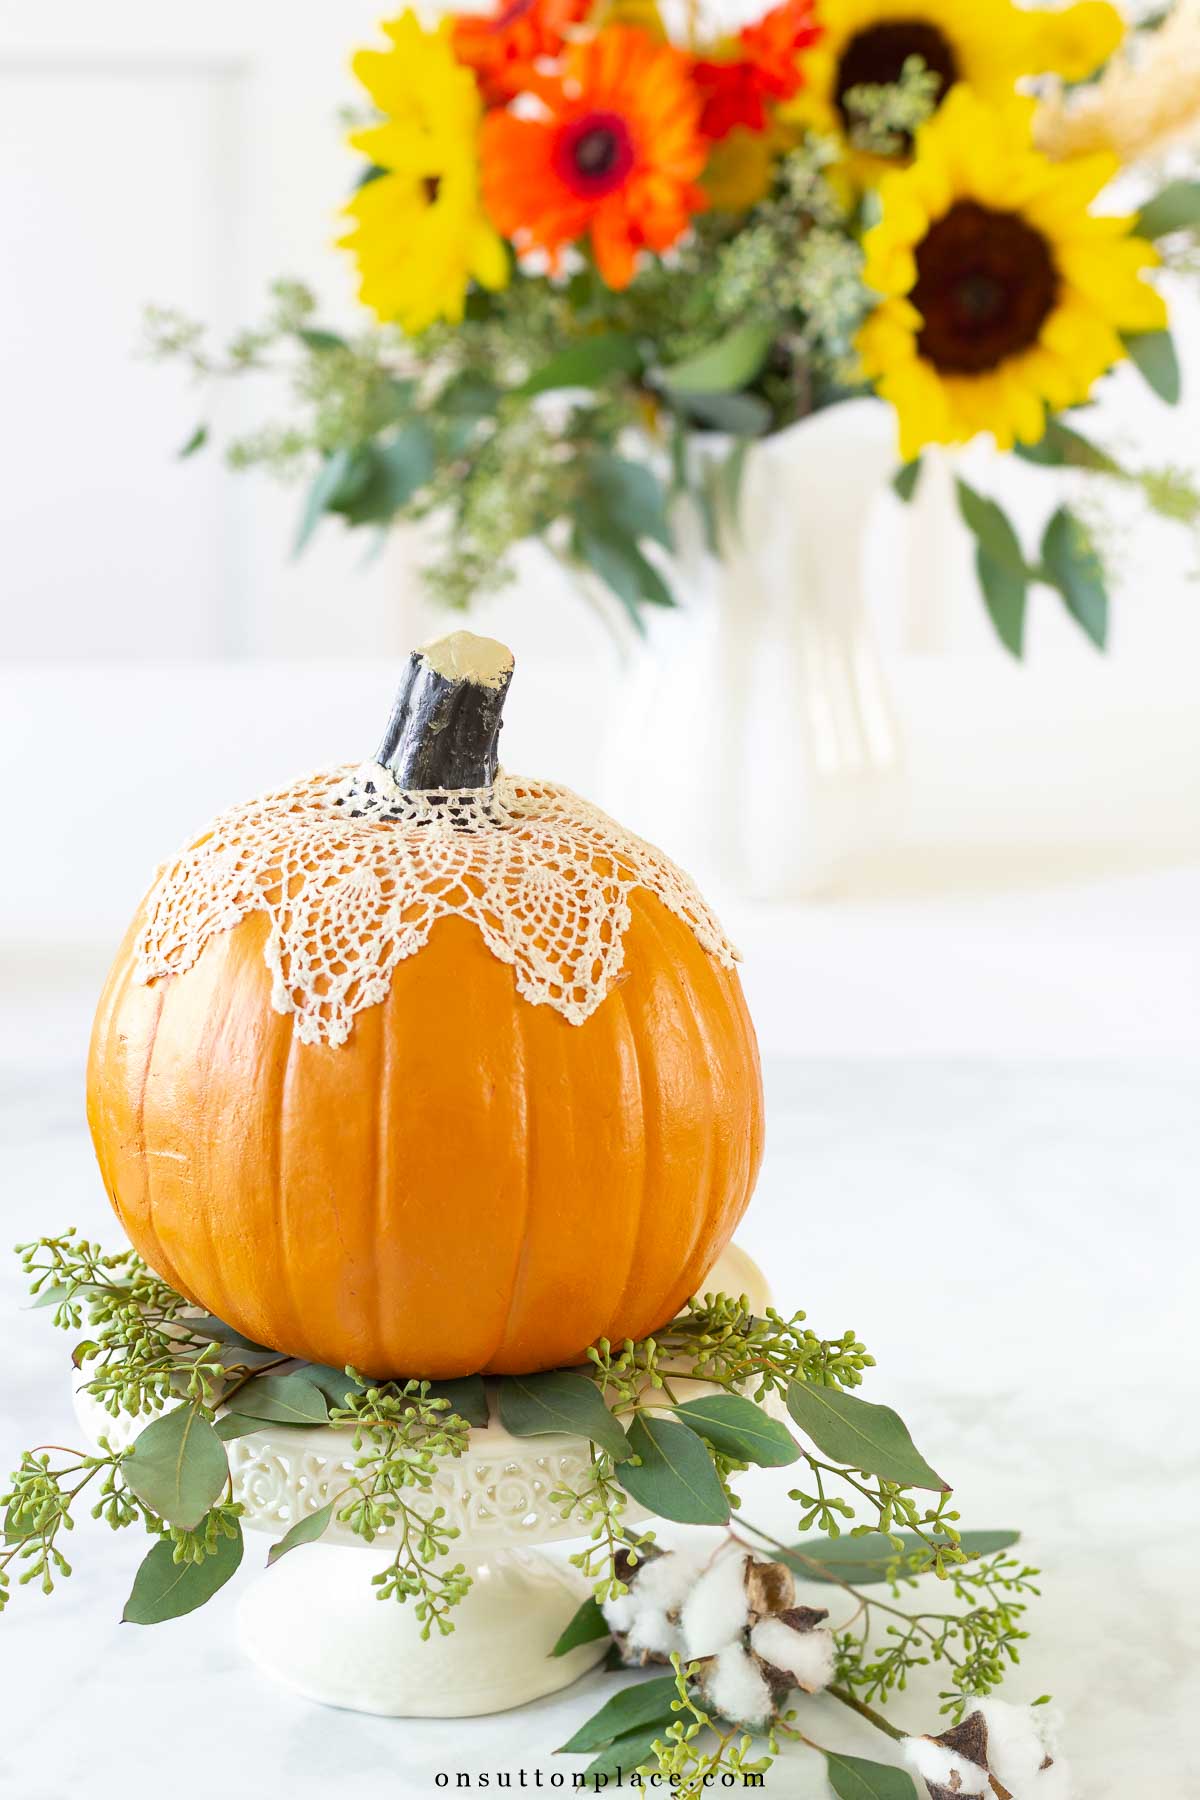
This lace pumpkin decor craft is an easy alternative to painting. Learn how to make your own Mod Podge pumpkins with this tutorial.
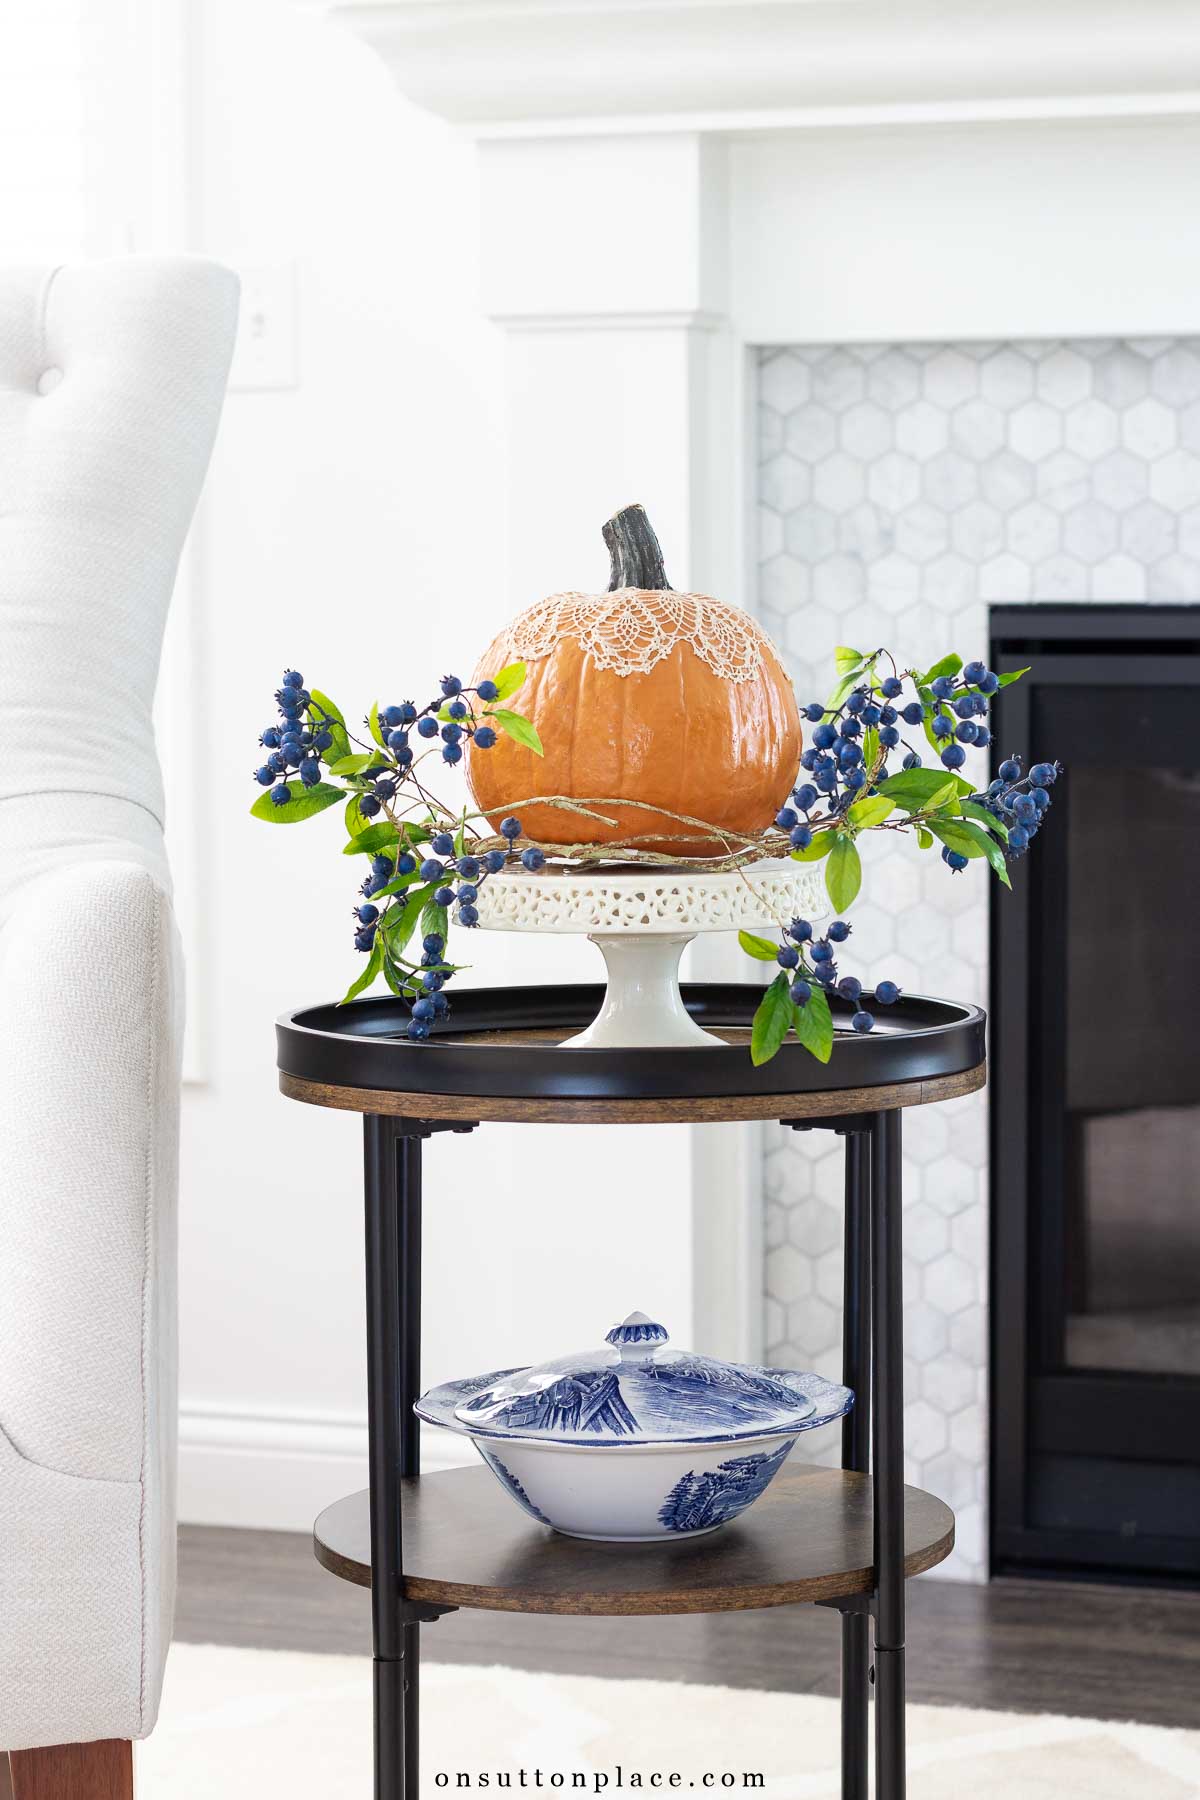
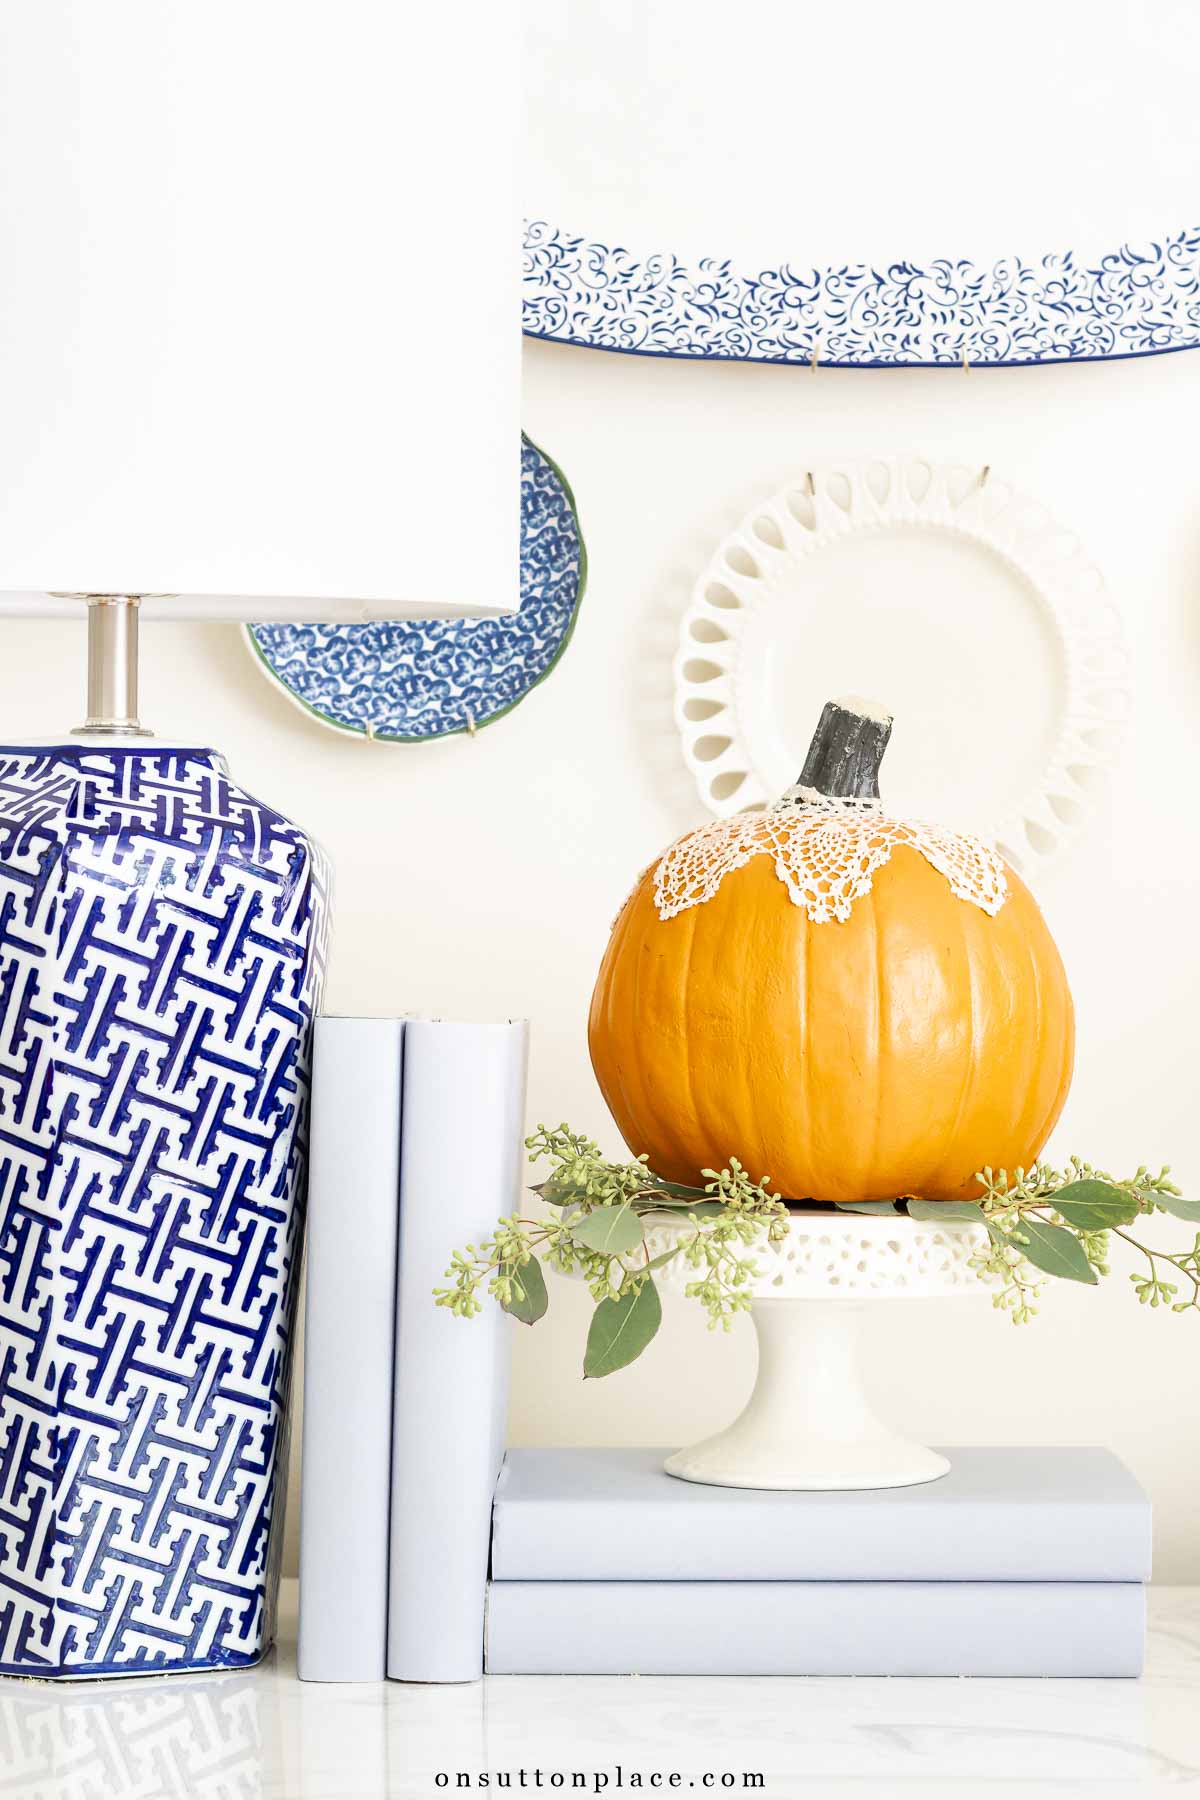
This easy DIY Mod Podge pumpkin craft is perfect for kids and adults, and it adds a classic, vintage touch to fall decor. I first shared this tutorial in 2013, and over the years I’ve updated it with new images, more details, helpful tips, and current links. All these years later, I still use this sweet little pumpkin in my own fall decorating. It’s a timeless project you’ll enjoy pulling out year after year, and it will outlast any trend.
This post may contain affiliate links. See my disclosure statement.
Why You Will Love This Pumpkin Decor Craft
There are so many things to like about this DIY mod podge pumpkin craft. It’s cheap, it’s fun, it’s super easy, and it uses easy-to-get ingredients you likely already have on hand. Trust me…when you’ve finished this project, you will want to mod podge doilies on everything!
Supplies Needed

How To Make A Lace Pumpkin
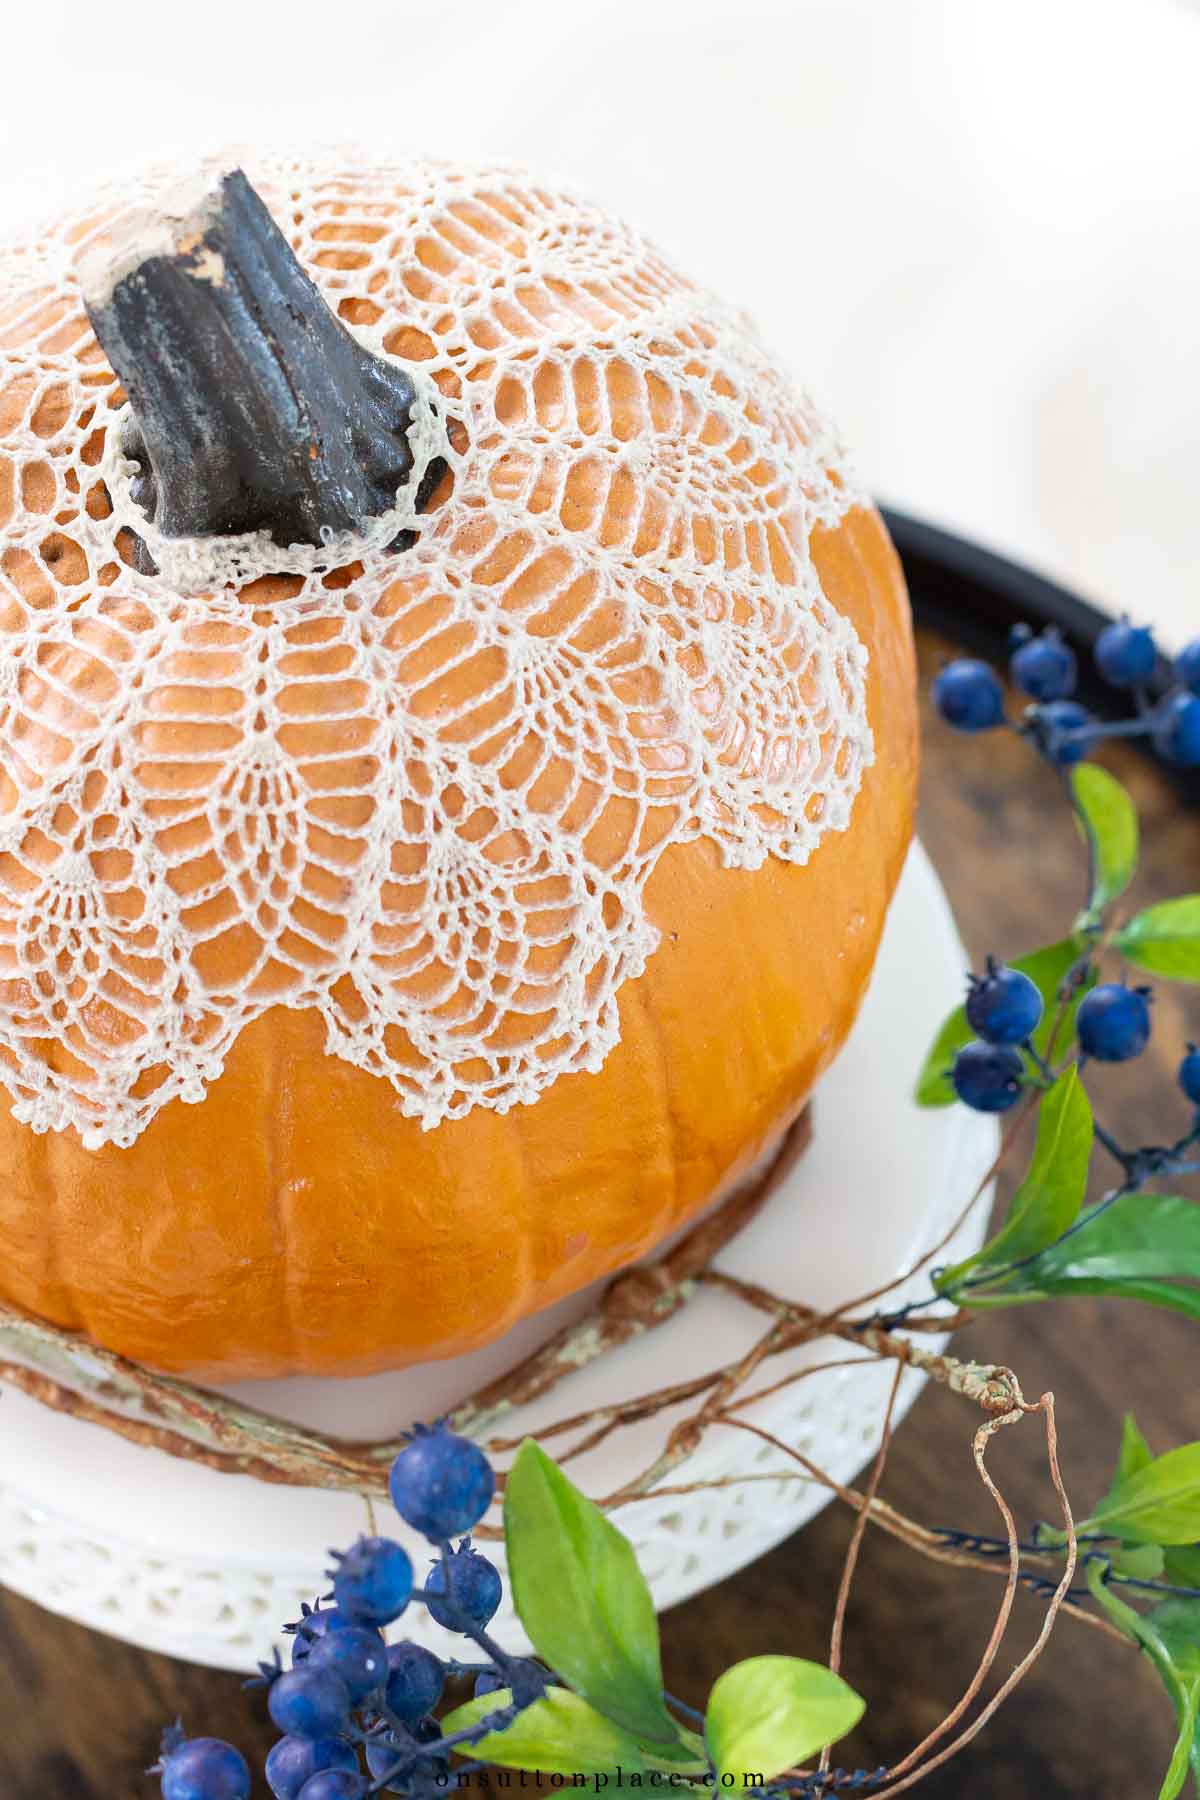
- Prepare the Doily: using scissors, carefully open the small hole in the center of the doily. Most doilies have a center hole, although some are very tiny. Start by making it just a bit larger and test it over the pumpkin stem. Gradually enlarge the opening until it fits snugly. Go slowly, because once the hole is too big, it can’t be made smaller. When the fit is perfect, set the doily aside.
- Apply the Mod Podge: with a sponge brush, apply a generous coat of Mod Podge to the top of the pumpkin where the doily will sit. Mod Podge dries clear, so it’s fine if you cover more area than needed. For a softer look, choose the matte variety so the finish underneath the doily isn’t shiny.
- Add the Doily: place the doily over the stem and gently press it into the Mod Podge, stretching it as needed so it lays flat and is positioned just right. Dab extra Mod Podge around the center opening to help prevent fraying.
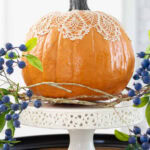
- Finish and Dry: brush a second coat of Mod Podge over the entire doily. Allow it to dry completely before displaying your pumpkin.
FAQ’s
Both of my pumpkins look as nice today as the day I made them. If you have older children or grandchildren, this would be a fun thing to do with them. It’s also the perfect craft for a ladies night out or senior center craft session.

JOIN THE OSP COMMUNITY
Sign up to get uncomplicated recipes, unlimited seasonal decor, and
understated ways to refresh your home sent straight to your email inbox!


amazon storefront
Discover simple and affordable
ways to refresh your home.
Follow my Amazon Storefront
for all my favorite finds!
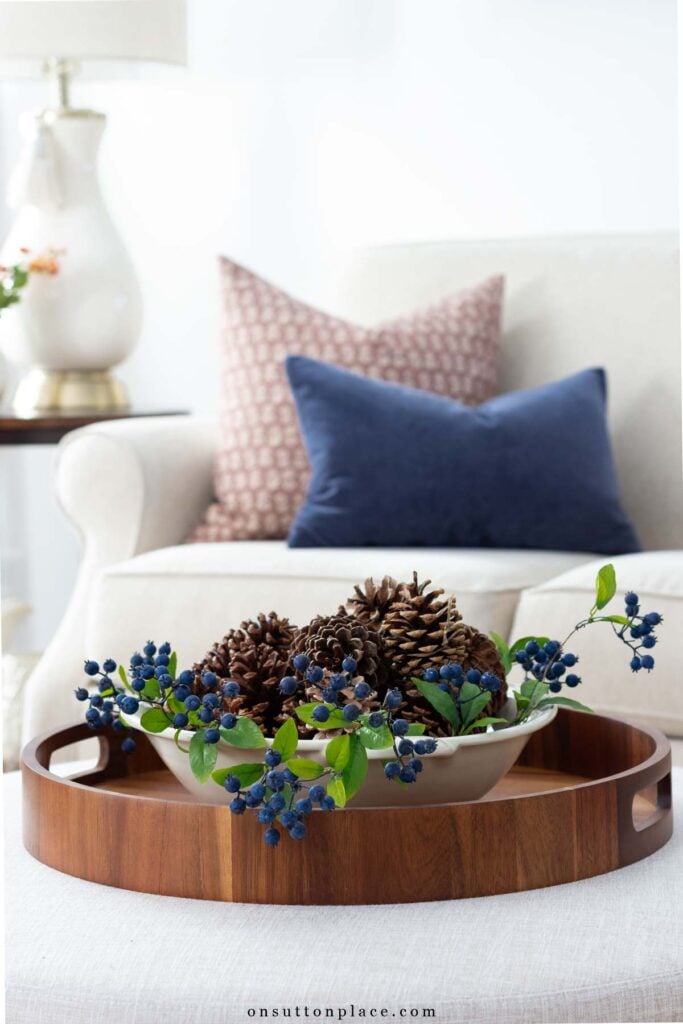
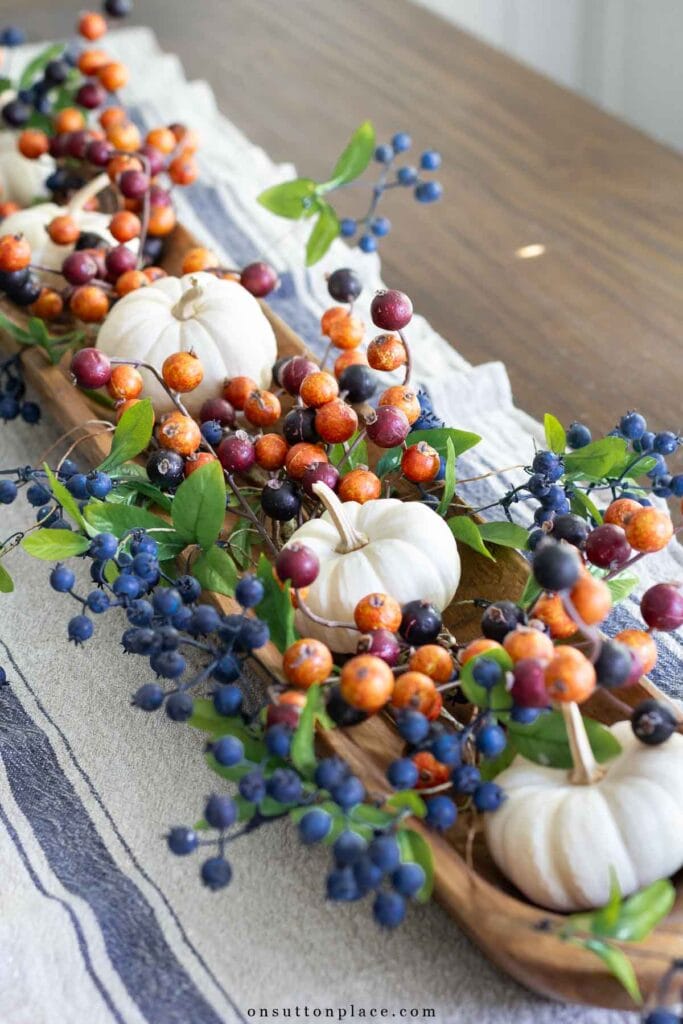
I enjoy your posts so much! I feel peaceful as I’m reading them & learning beautiful new ways to decorate. Would you please share where you have found all your sweet blue berries? I use blues & would love to incorporate them in my fall dough bowl centerpiece.
Thank you, Ann, for sharing your talents with us!
Debbie S.
I love this! Can’t wait to make one with my daughters!
What a great idea! I love it!
Love this idea. I have a huge collection of doilies so I’ll have to try this. I think a tea dyed doily would look pretty on a white baby boo pumpkin.
Very different and very beautiful! Absolutely love it! Thx for sharing!
I’ve seen this before but have not tried it yet. Looks so elegant!
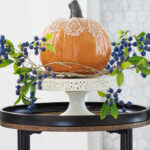
This is such a lovely idea, and the way you displayed it on the cake stand is brillant! Can’t wait to try this out. Thank you Ann for more great ideas with class!!
Another lovely way to use the doilies I have purchased over the years! Thank you for helping me repurpose them.
So very cute and simple. I can do these crafts with the individuals I serve with developmental disabilities and they would LOVE it!
I love this craft! I will definitely be giving this a try.
I received two doilies as wedding gifts from ladies at our church. This reminded me of them! Creative project!
Love this idea! Thanks for sharing.
after a long….hot…hot..hot summer….what a welcome relief to see fall is upon us with the darling pumpkin…get out the paint, pumpkin and doiley and let fall begin!!!!!
Love this simple idea and all your DIY’s.
This is just such a beautiful simplistic look! Love it!!
I love this project and I will make a suggestion for something you mentioned in the instructions. If you get the hole in the middle of the doily, you can make it smaller by running a thread around the hole and pull it together. Put the doily on the pumpkin and tighten it as much as you like. Tie the thread off and continue to follow the rest of the instructions.
What a fun and easy project. A lot more interesting than just a plain one. My sewing room is all in pink. I think I will make one with a white craft pumpkin and a pink doily
Also! Lots of ideas from your fun little craft! Thank you Ann!
I love the vintage look of your pumpkin –It will be perfect for the entire autumn season
Darling. I love the vintage look it gives the pumpkin. I am so ready to get going on my Autumn decor. I just have to make it until the end of next week. I think I can. I think I can.
I love it!! And I have LOTS of family made doilies (some vintage for sure) & I might as well use them!! Fun project!
Very cute and original idea!