


This easy Cherry Cheese Danish Recipe features flaky puff pastry, a sweet cream cheese filling, and cherry preserves for a bakery-quality treat at home.

There’s nothing quite like the combination of flaky, buttery pastry, sweet cream cheese, and sweet cherry preserves to make an ordinary morning feel special. This homemade Cherry Cheese Danish recipe is incredibly simple to make, thanks to store-bought puff pastry, and they bake up beautifully golden in just minutes. These pastries are great as a delicious addition to your weekend breakfast, a treat for guests, or just a little something sweet with your afternoon coffee. Best of all, they’re easy to make, but taste like they came from a pastry shop.

This post may contain affiliate links. See my disclosure statement.
Putting It All Together
- Thaw the sheet of puff pastry according to package directions.
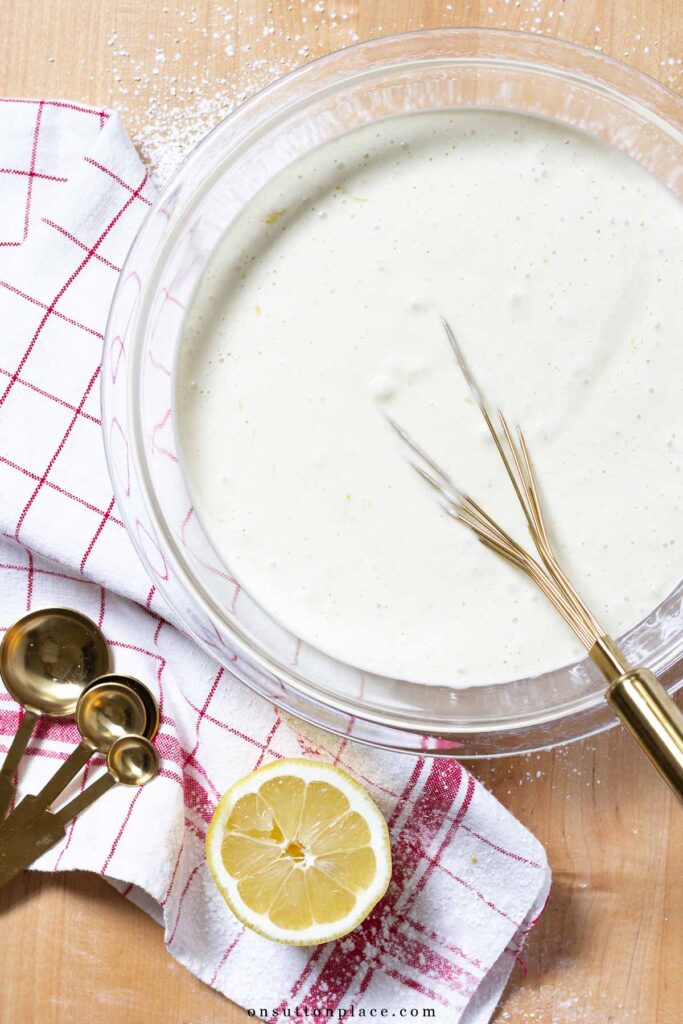
- While the puff pastry is thawing, make the filling.
- Break the egg in a small bowl and whisk well.
- To a separate bowl, add the cream cheese, sugar, 1 tablespoon of the beaten egg, vanilla, and lemon zest.
- Mix well with a spoon until all the cream cheese is incorporated, and the mixture is smooth. Place in refrigerator. (A hand mixer can also be used.)
- Preheat oven to 400 degrees F.
- Place the sheet of puff pastry on a flat surface. Smooth it slightly with a rolling pin.
- Following the fold marks, cut the pastry into three sections. Cut these 3 sections in half, making 6 pieces.
- Place the pieces of pastry on a baking sheet lined with parchment paper.
- Generously prick the middle section of each piece of pastry with a fork.
- Using the remaining beaten egg, brush the outside edges of the pastry pieces. No need to brush the middle where the filling will go.
- Using a spoon or small scoop, divide the filling between the 6 pieces of pastry. Spread the filling so it fills the middle section of the pastry pieces.
- Bake for 15 minutes.
- Remove from oven and cool for 5 minutes. Place a dollop of cherry preserves on each danish, on top of the cream cheese filling. If desired, dust with powdered sugar.
- Serve warm if possible!

Helpful Tips
- Let the puff pastry thaw according to package directions, usually in the refrigerator. Avoid microwaving, as it can make the dough too soft and sticky.
- Keep the pastry cold: work quickly to keep the pastry from becoming too warm, which can prevent it from puffing up properly. If it gets too soft, pop it back in the fridge for a few minutes before assembling.

- Generously pricking the middle of each pastry helps prevent it from rising too much, and allows the filling to stay put in the middle of the pastry.
- Chill the filling: a slightly chilled cream cheese mixture is easier to handle, and won’t spread too much while baking.
- Don’t overload with filling: a little goes a long way! Too much filling can spill over the sides while baking. (Although truthfully, I have done this, and the pastries still look and taste delicious!)
- Don’t skip the egg wash step: this step gives the pastry a beautiful golden brown finish.

- Adding the cherry preserves while the pastries are too hot can make them slide off. Let them cool for about 5 minutes before spooning on the preserves.
- These pastries are best enjoyed warm, but if needed, you can reheat them in a low oven for a few minutes to crisp them back up. A quick zap in the microwave works well too.
- This recipe can easily be doubled. There are 2 sheets of puff pastry in the box, so just double the ingredients for the filling.

FAQ’s

There’s something so special about homemade pastries, and this Cherry Cheese Danish recipe proves that you don’t need a bakery to enjoy a flaky, delicious treat. They don’t have to look perfect…what matters most is the warm, buttery layers, the sweet cream cheese filling, and the burst of cherry on top. Whether you’re making them for breakfast, brunch, or just because, they’re sure to bring a little extra joy to your table. So bake, enjoy, and don’t worry about perfection. Homemade is always best.

Cherry Cheese Danish
Ingredients
- 1 sheet puff pastry
- 4 oz. cream cheese (softened)
- 3 tablespoons granulated sugar
- 1 egg
- 1 teaspoon pure vanilla extract
- 1 teaspoon fresh lemon zest (optional)
- Cherry Preserves
Instructions
- Thaw the sheet of puff pastry according to package directions.
- While the puff pastry is thawing, make the filling.
- Break the egg in a small bowl and whisk well.
- To a separate bowl, add the cream cheese, sugar, 1 tablespoon of the beaten egg, vanilla, and lemon zest.
- Mix well with a spoon until all the cream cheese is incorporated, and the mixture is smooth. Place in refrigerator. (A hand mixer can also be used.)
- Preheat oven to 400 degrees F.
- Place the sheet of puff pastry on a flat surface. Smooth it slightly with a rolling pin.
- Following the fold marks, cut the pastry into three sections. Cut these 3 sections in half, making 6 pieces.
- Place the pieces of pastry on a baking sheet lined with parchment paper.
- Generously prick the middle section of each piece of pastry with a fork.
- Using the remaining beaten egg, brush the outside edges of the pastry pieces. No need to brush the middle where the filling will go.
- Using a spoon or small scoop, divide the filling between the 6 pieces of pastry. Spread the filling so it fills the middle section of the pastry pieces. (See the Notes section for a tip on adding the filling.)
- Bake for 15 minutes.
- Remove from oven and cool for 5 minutes. Place a dollop of cherry preserves on each danish, on top of the cream cheese filling.
- Serve warm if possible!
Notes
Nutrition information is automatically calculated, so should only be used as an approximation.
If you make this recipe, and love it, please come back to leave a comment and a 5-star review. I would really appreciate it, and it would help me so much. Thank you!
Shop + Source

JOIN THE OSP COMMUNITY
Sign up to get uncomplicated recipes, unlimited seasonal decor, and
understated ways to refresh your home sent straight to your email inbox!


Absolutely scrumptious! And very easy too. I made a double batch this morning for a gals gathering and they came out beautifully.
Thank you so much for the great recipe!
My sister gifted me a jar of Christmas Spiced Jam she made over the holidays. It would be perfect for this recipe, can’t wait to try it 😋
Yummy and elegant.
Thanks you 👍