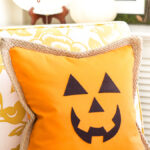

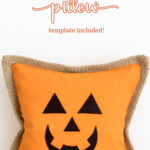

Make this Jack O’ Lantern Pumpkin Pillow Cover in just a few minutes! Easy and completely no sew. Free template for jack o’ lantern face included.

I’m going to be quickly sharing a few projects for Halloween this week, so if you still have time to create before Halloween arrives, you are in the right place. First up is this sweet Jack O’ Lantern pumpkin pillow cover. This qualifies for three of my favorite things: quick, easy, and cheap. All you need to get started is an orange pillow cover, black peel and stick felt, scissors, and the jack o’ lantern template. (Sources listed at the end.)

This post may contain affiliate links. See my disclosure statement.
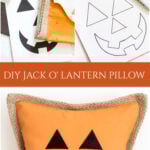
Jack O’ Lantern Face Template
- Print out the face template. I always print templates on card stock so they are easier to trace. Regular paper will work fine too.
- Cut out the eyes, nose and mouth.
- Click to download the Jack O’ Lantern Template.

Trace And Cut
- On the back side of your peel and stick felt, trace the face and carefully cut it out.
- Iron your pillow cover.
- Place the face pieces on the pillow cover to figure out your spacing.
- One at a time, peel the backing off each piece and press firmly (with your fingers) to the pillow cover.

That’s it! I actually love this so much, and if you have kids or grandkids, it would be a fun project to do with them. I promise it will make you smile.
Shop + Source

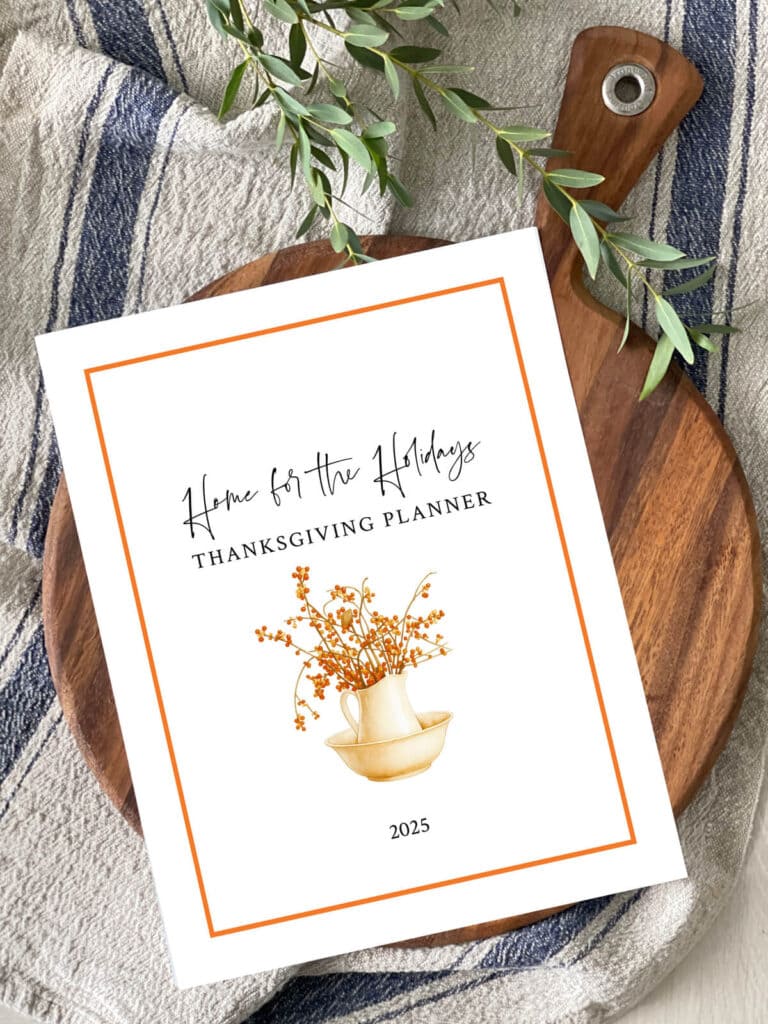
Thanksgiving
Planner
Use this Thanksgiving planner to make the holiday easy for you, and so lovely for your family & friends. Includes planning and organization pages, turkey tips, a Thanksgiving prayer, and more.
Halloween Ideas


amazon storefront
Discover simple and affordable
ways to refresh your home.
Follow my Amazon Storefront
for all my favorite finds!
This was my first introduction to stick and peel felt and I haven’t looked back!! Such a great easy decorating idea….and I did this BEFORE my grandchildren were born in 2017 and 2018….and the pillow is still in great shape despite all the tiny finers who like to trace the shapes!! Ann, thanks for always sharing such great ideas…and I do love to search through your archives for “new” ideas! LOL
Such an amazing Halloween pillow! I love the design, and I never thought make one like that before, with paper and pillow. The effect is amazing.
I must try the pumpkin pillow. Absolutely adorable Ann.
Love the pillows. So easy to make and will make a great gift!
Oh my gosh these are so adorable:) Ann, you are the best at pillows! I love these!!!
I LOVE this jack o’lantern pillow cover! Can’t wait to make this! and it’s easy which I love! Thanks Ann!
Oh that pumpkin pillow is so cute.
Cute pumpkin pillow. Ive never seen the slip in orange before. I will have to look now.
Oh this is the easiest one yet! I already have the pillow covers…and just need the stick on felt and I will be set!! Off to the craft store after church this morning….thanks for an easy addition to my fton porch rockers!!
Too simple and oh so cute! Clever!!