

Decorating a room can feel overwhelming, especially when you’re working with a budget or trying to make what you already have feel right. Over the years, I’ve found that the easiest way to decorate a room so it feels finished is to focus on the basics first, and then add things in a thoughtful order.
You don’t have to do everything at once. Take it one step at a time, live with each change for a bit, and move forward when it feels right. By the end, you’ll have a room that feels complete, comfortable, and personal.
This post may contain affiliate links. See my disclosure statement.

Start With The Floor
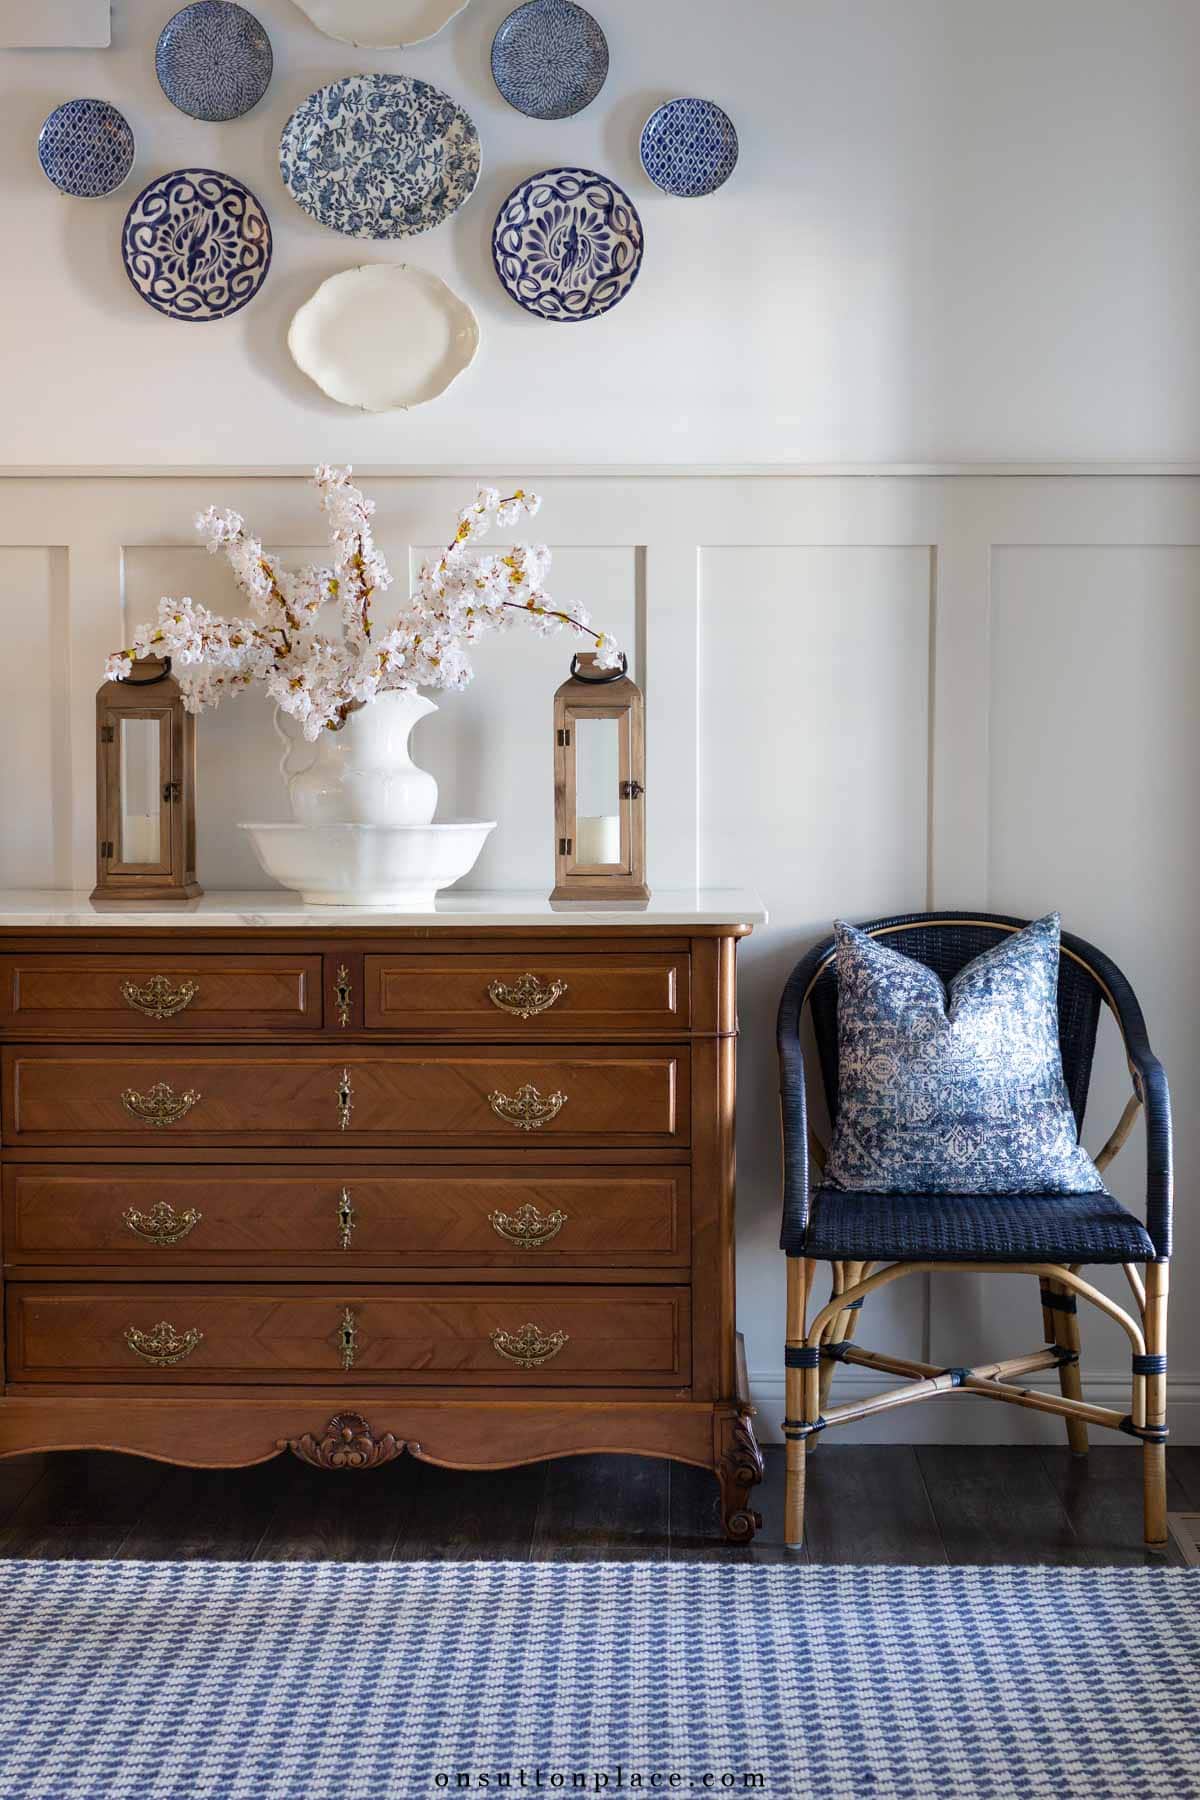
It makes sense to start at the bottom, so the floor is the best place to begin. Area rugs work well over carpet as well as on hard surfaces, and they help define the space right away. Rugs can even be layered to add depth and visual interest. Since area rugs are available at many price points, it’s possible to find something that works with almost any budget. If you plan to invest a little more, choosing a neutral rug is a smart move. A well-made, neutral area rug will last for years and easily adapt as your style changes.
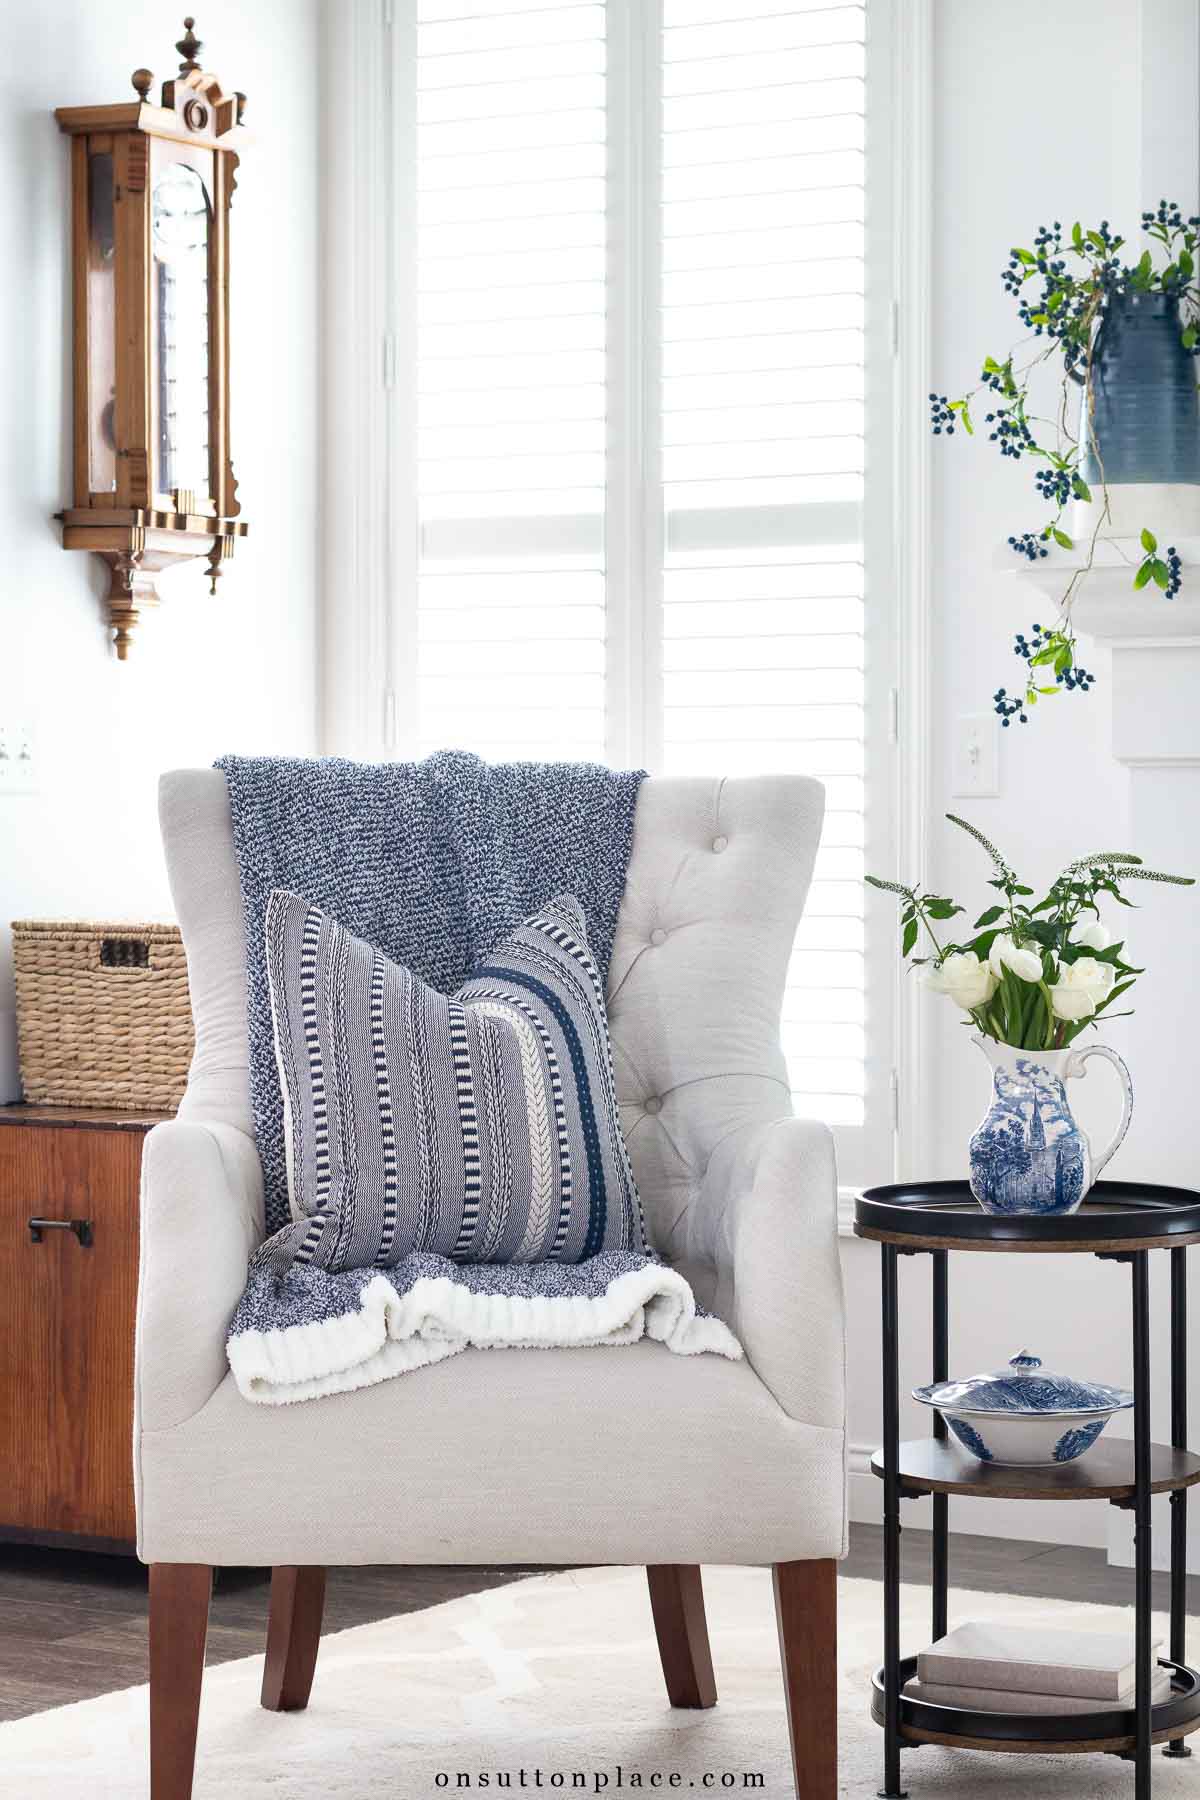
Add Softness With Window Treatments
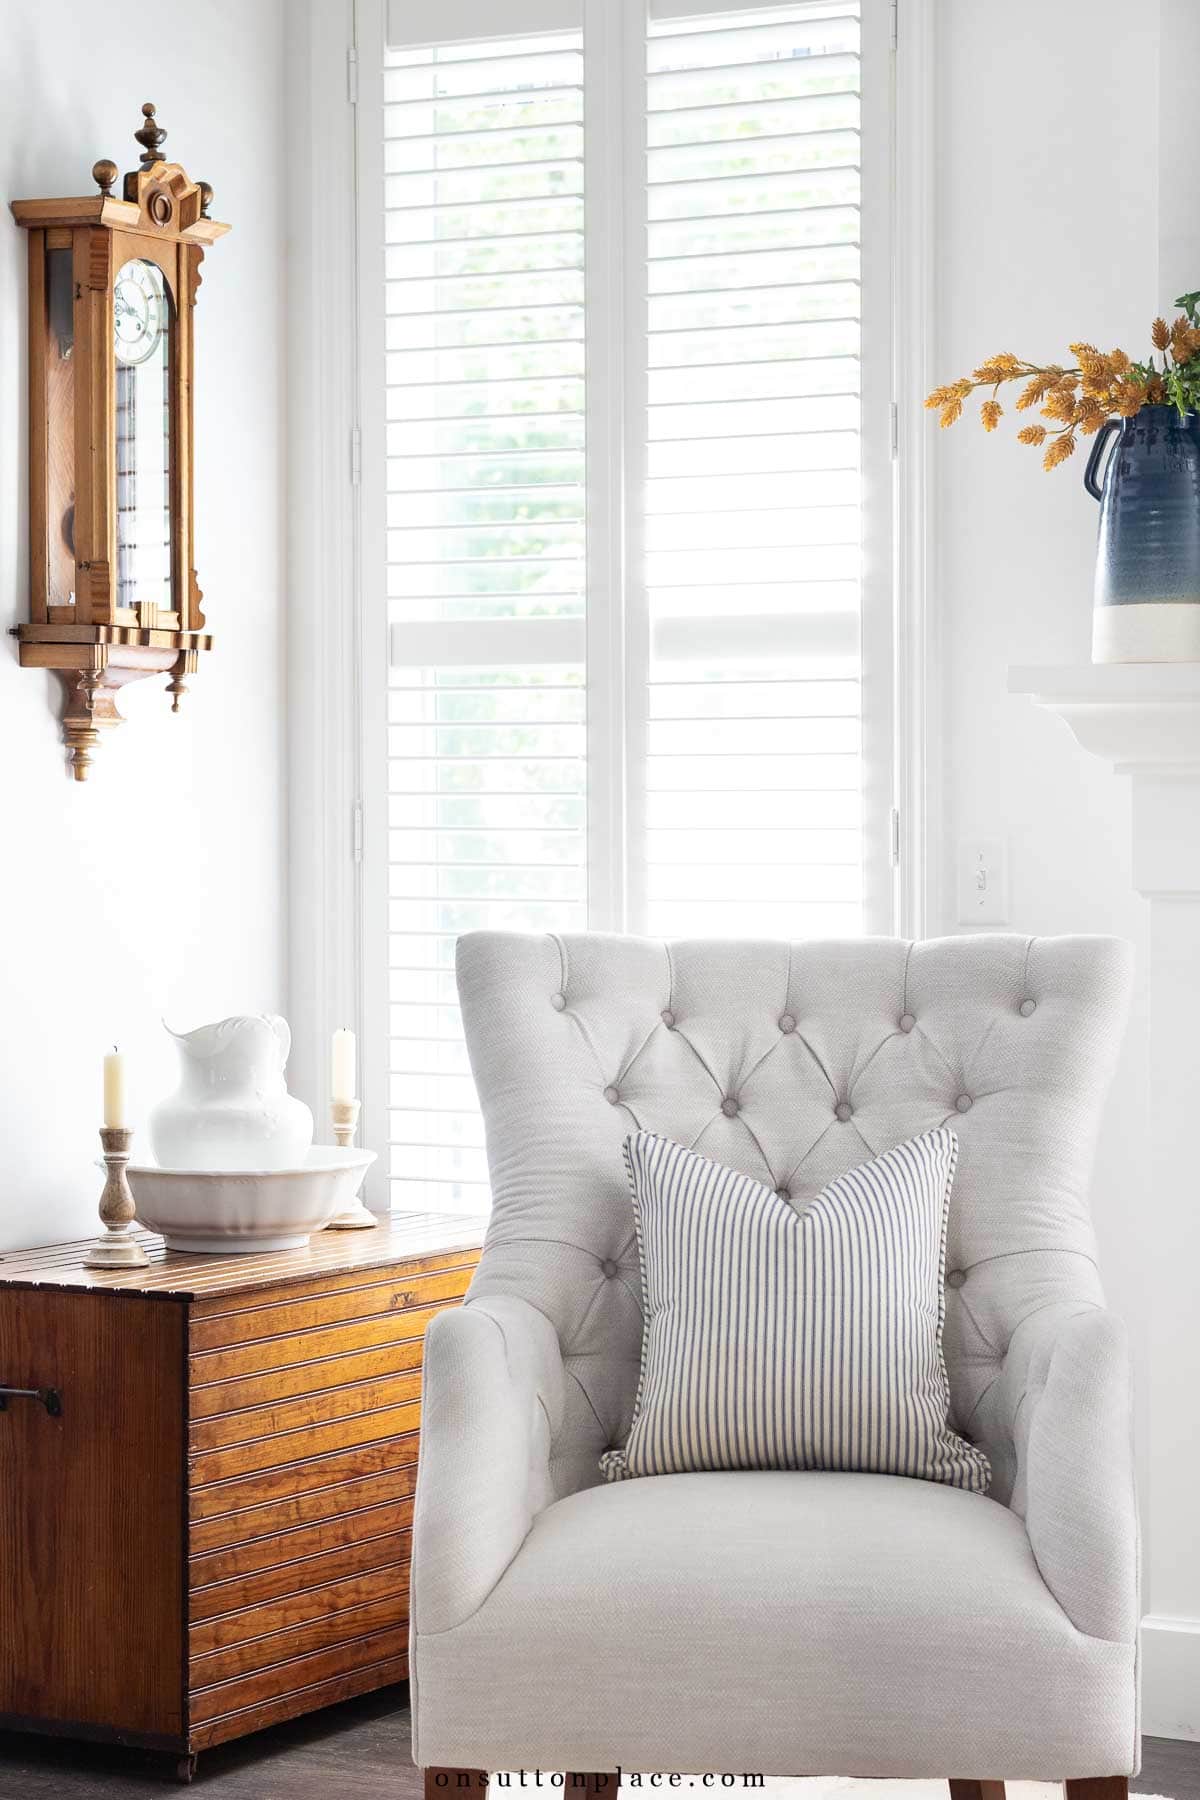
Window treatments help a room feel finished by adding softness, texture, and balance. A space can feel bare without something at the windows, especially when there are a lot of hard surfaces. Fabric panels or roman shades are a classic option and work well in many homes, particularly when kept in neutral colors. Since window treatments are often an investment, choosing something simple and timeless makes sense. Plantation shutters are another excellent choice. They offer a clean, functional look and provide privacy and light control. Shutters can stand on their own, or be paired with panels if you prefer a softer feel. In our current home, I chose plantation shutters throughout, and I truly love them. They are simple, functional, and exactly what works best for the way we live now.
Place The Main Furniture Pieces First
Main furniture pieces give a room its structure and purpose. Once the floor and windows are settled, it’s time to place the larger pieces. Take your time and play with placement until the room feels balanced. This part can be tricky, so patience matters. There is usually one piece, often the sofa, that needs to go in a specific spot because of doorways or wall space. Start there, and then arrange the remaining furniture around it. The size and shape of the room will naturally guide your decisions. If you feel stuck, step away and look around your other rooms. You may find a piece that can be moved and makes everything fall into place.
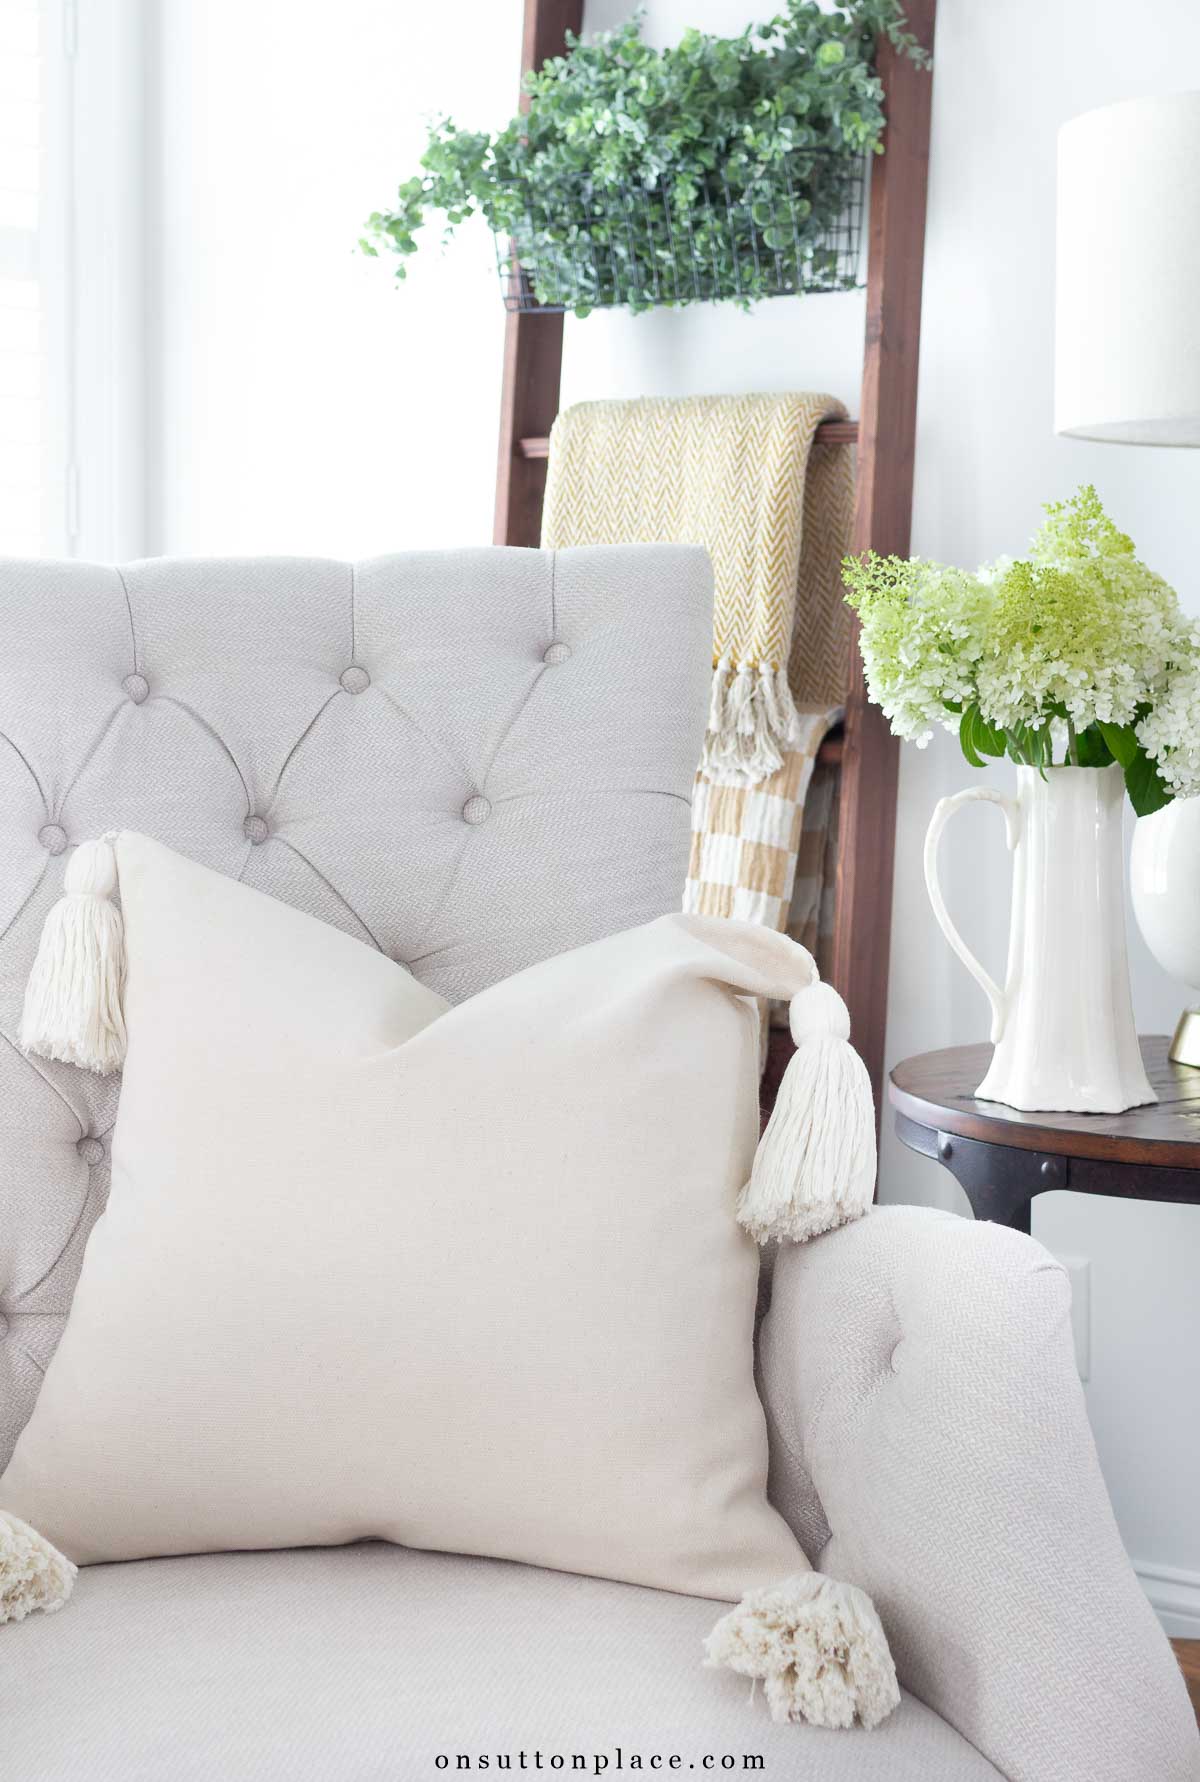
Use Pillows To Add Comfort & Color
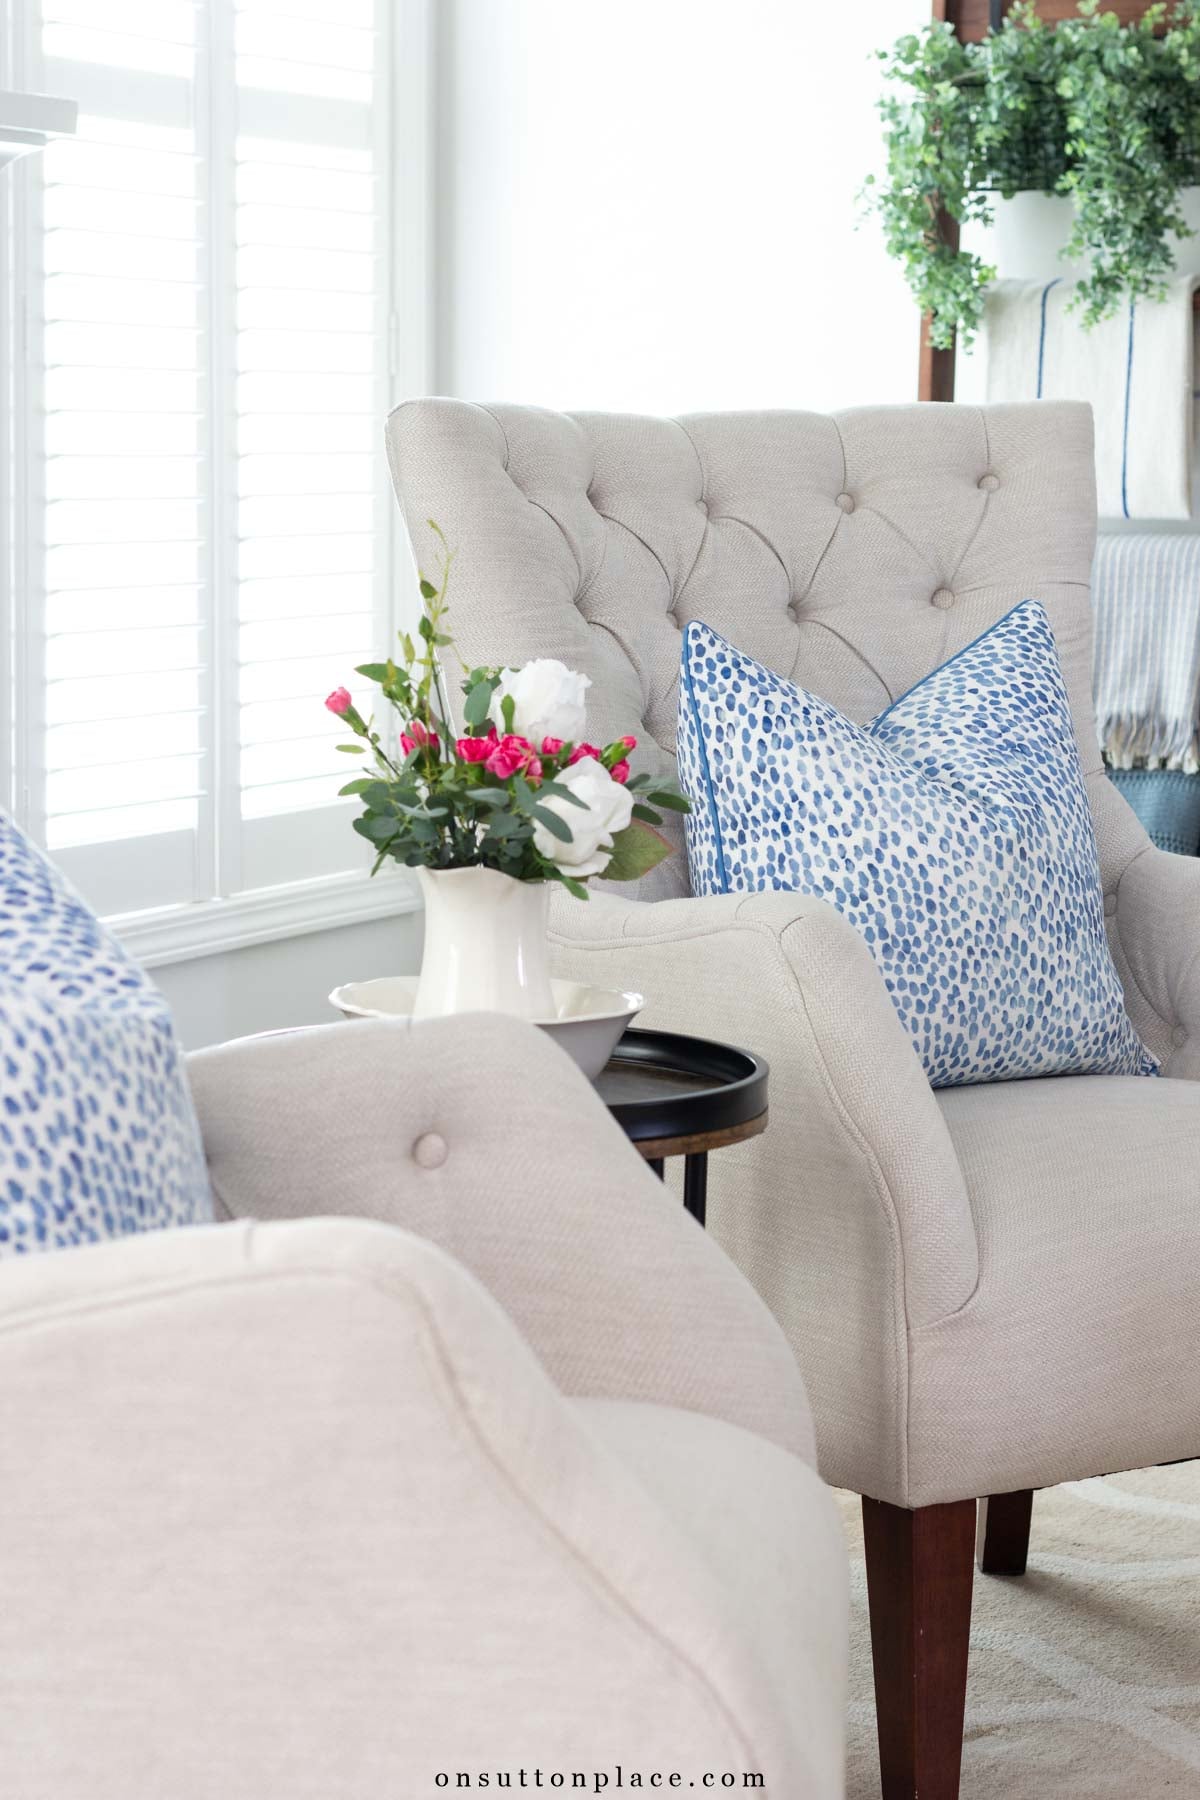
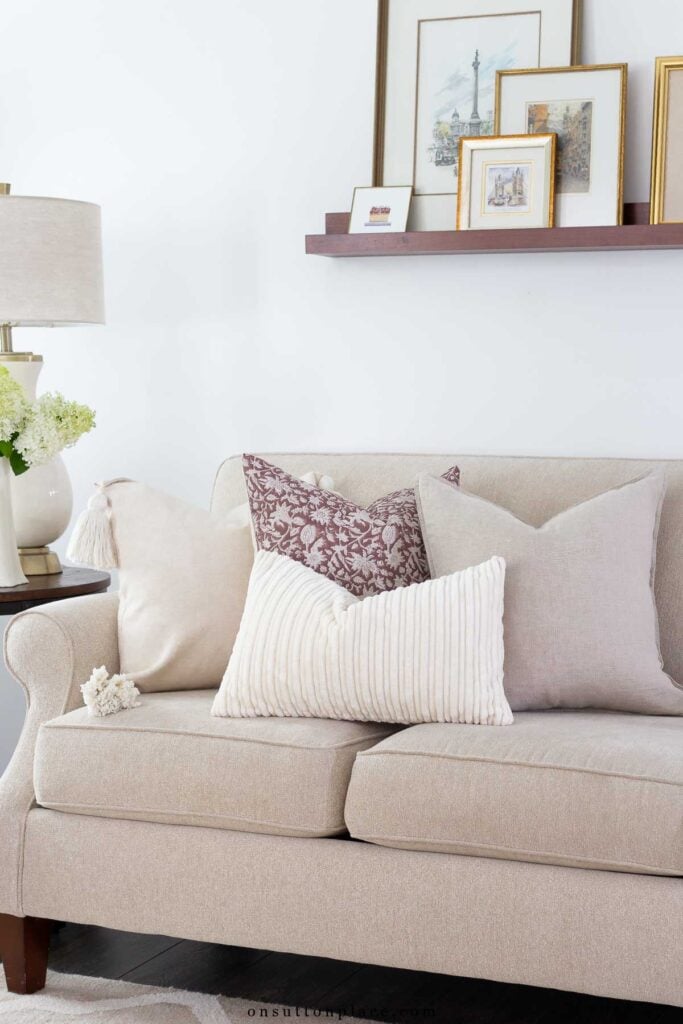
Pillows and cushions are one of the easiest ways to add comfort and interest to a room. This is where decorating starts to feel fun. Even if sewing isn’t an option, pillows and cushions are very accessible and can work with almost any budget. Start with two to four quality down inserts and skip the poly fill. Down holds its shape better and looks fuller over time. Pillow covers in 18 x 18 inch or 20 x 20 inch sizes are the most versatile and work well on both chairs and sofas. There are countless options available online in a wide range of colors, patterns, and price points. Chair cushions are just as easy to find, making it simple to update seating and bring in something new without a big commitment.
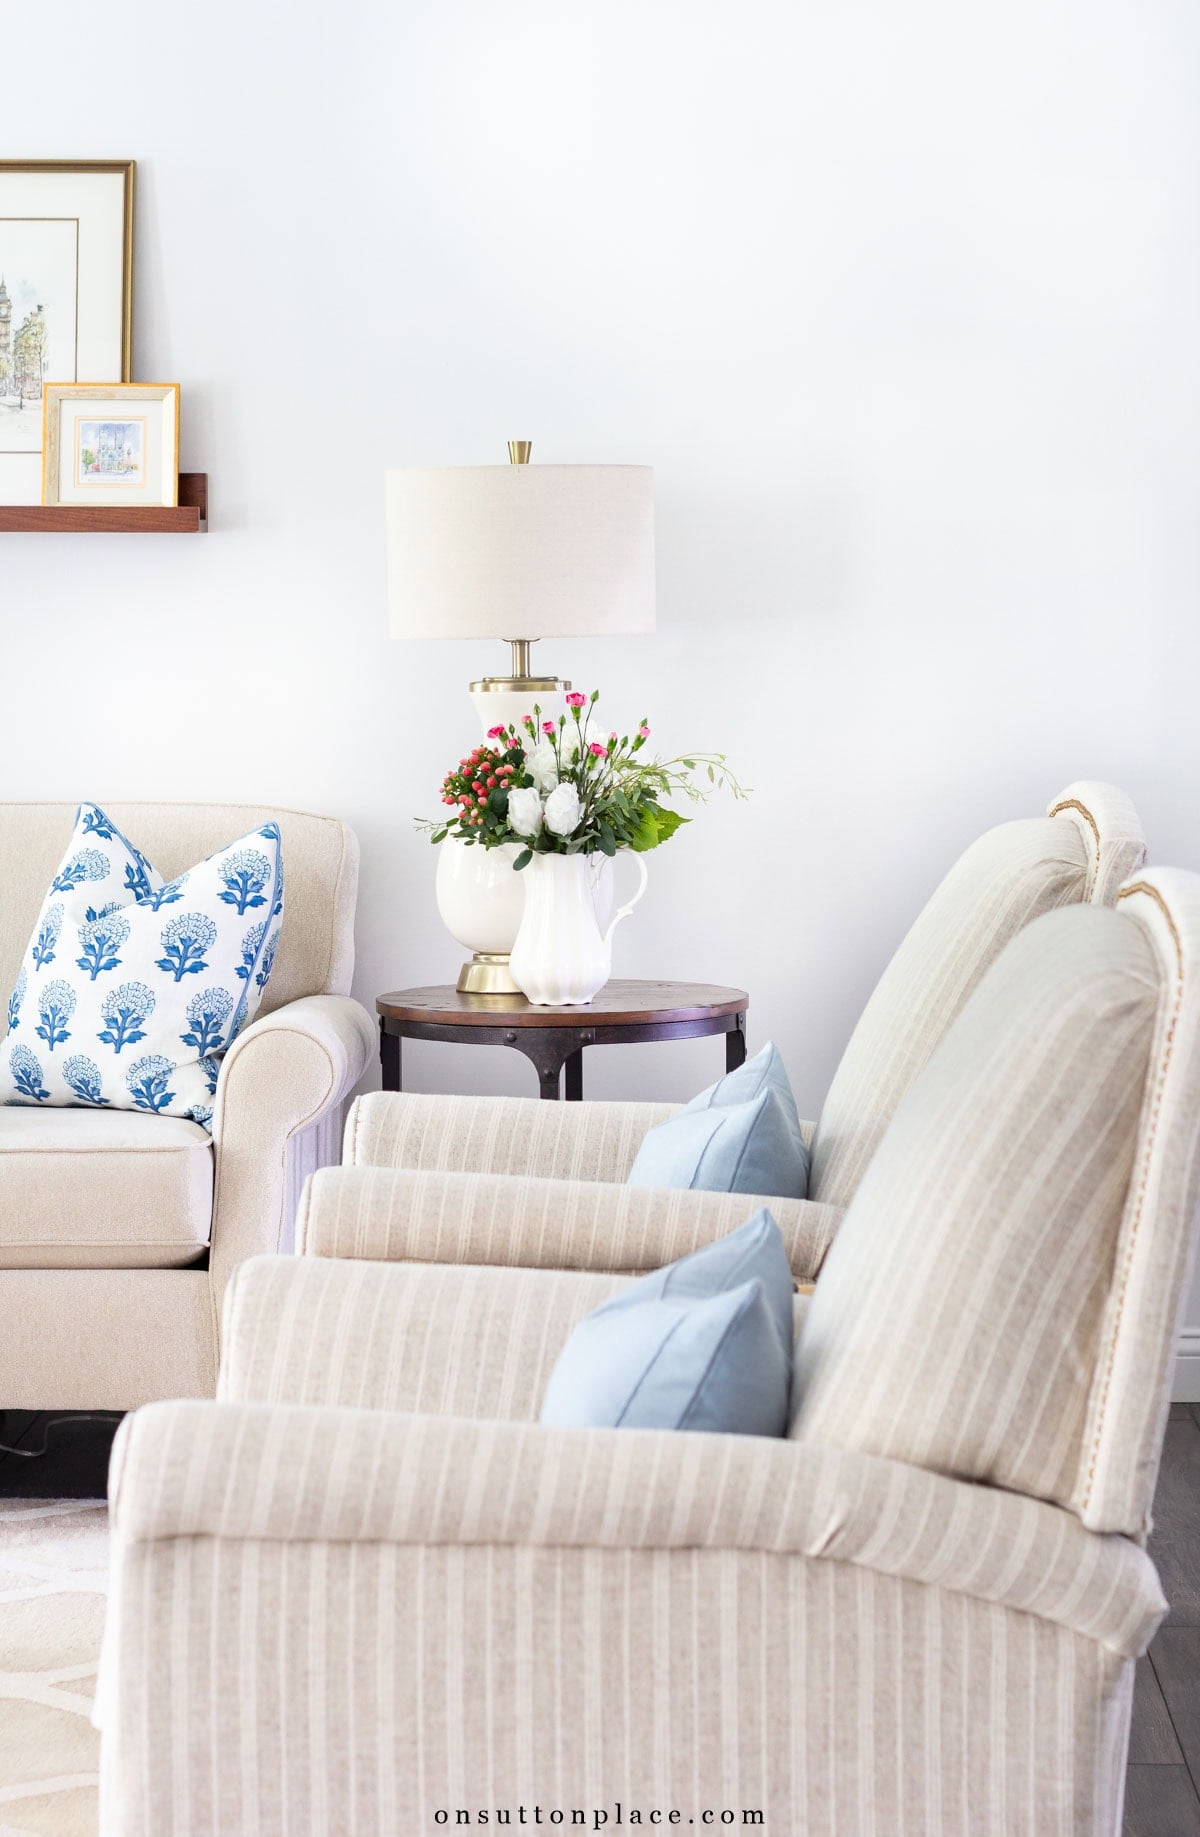
Simple Lighting That Works for Everyday Living
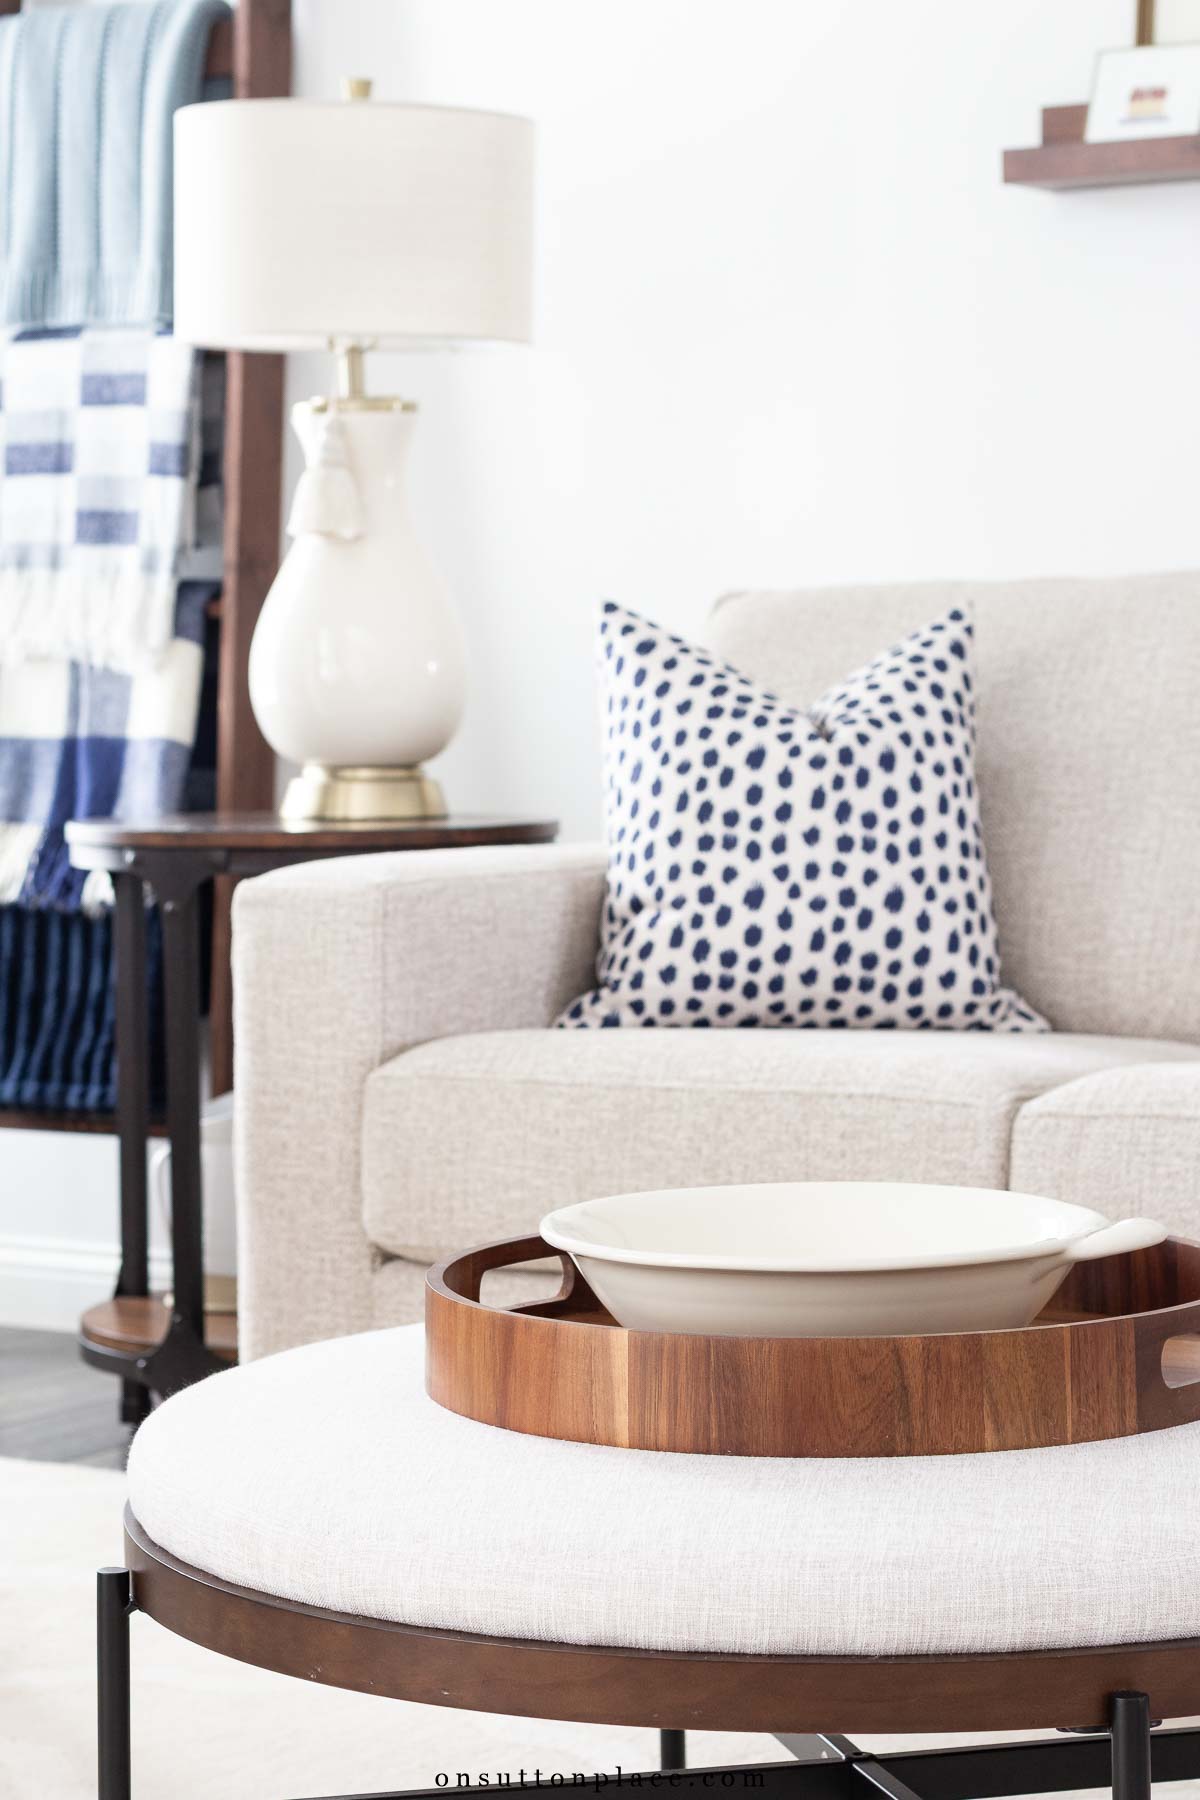
Good lighting helps a room feel comfortable and usable, not overly staged. You don’t need multiple layers of lighting for a room to work well. In our living room, I rely on table lamps placed on side tables, and that’s more than enough for everyday use. When our kids are home or we need brighter light, we turn on the overhead lighting to brighten the space. The goal is simply to have light where you need it, when you need it. A pair of lamps can provide warmth and balance, while overhead lighting can be used as needed for tasks or gatherings.
Smaller Furniture Pieces
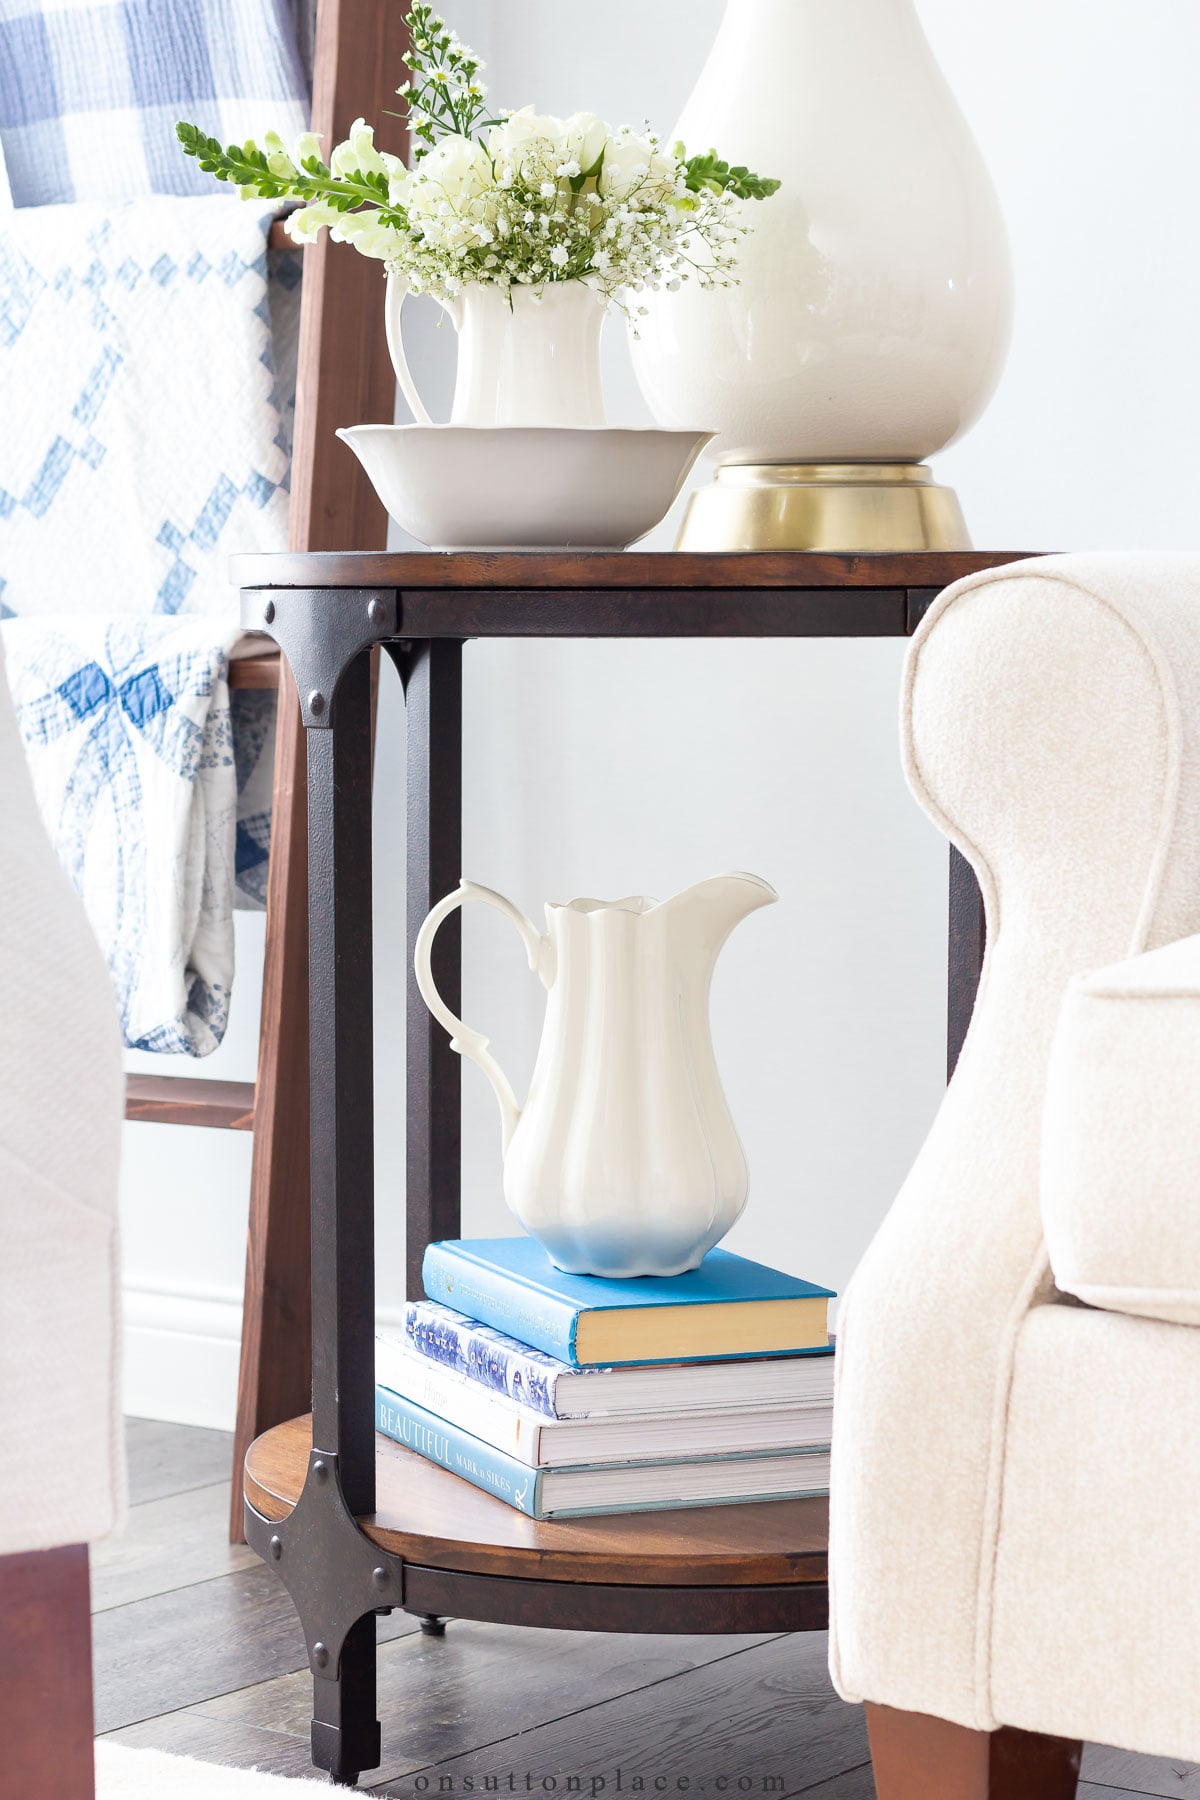
Smaller furniture pieces add comfort and interest when they serve a purpose. These pieces are optional, but they can make a room feel more thoughtful and lived in. I often use garden stools, small tables, and baskets wherever they make sense. Baskets and trunks are especially useful because they provide storage while still contributing to the look of the room. The key is to choose smaller pieces that earn their place, so they add function instead of simply filling space.
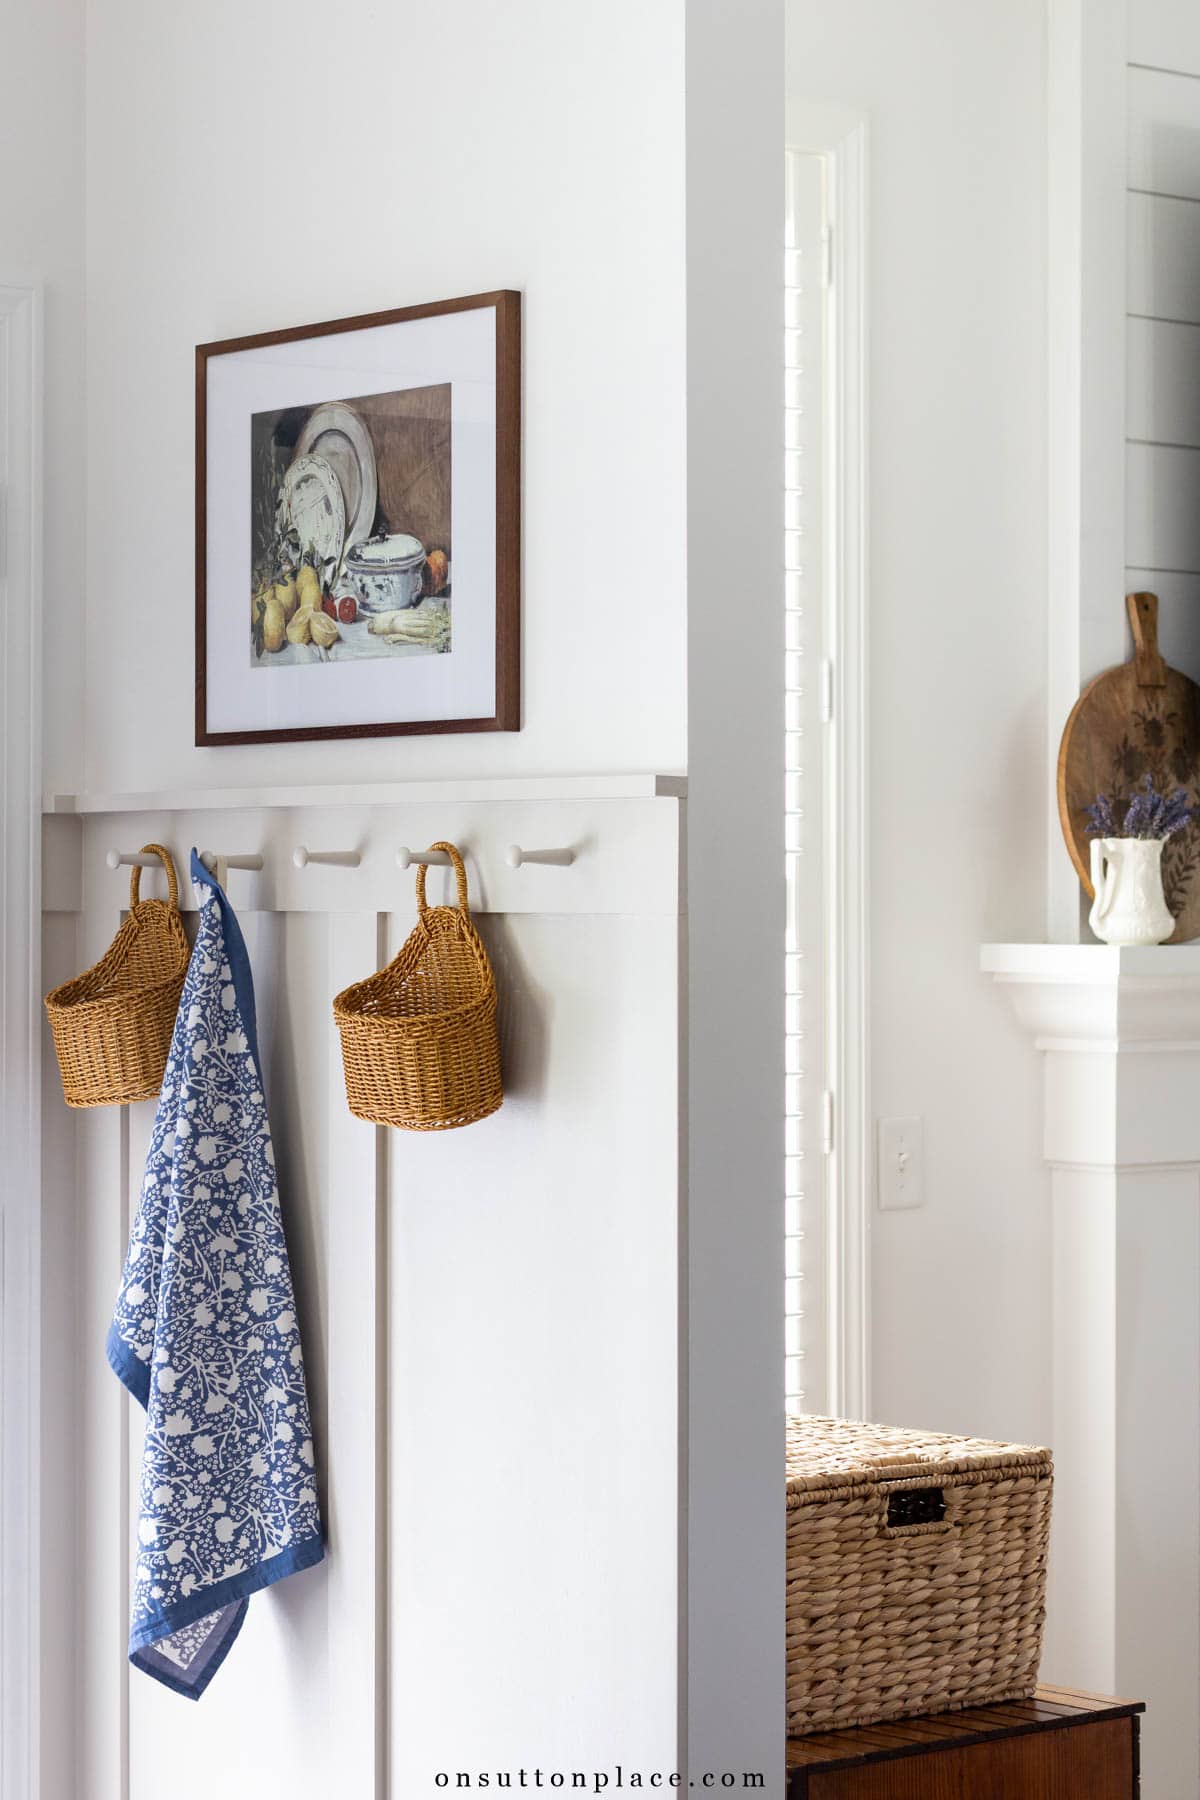
Wall Decor
Wall decor should have meaning, not just fill space. One of my rules when it comes to wall decor is that if I hang something on our walls, it must have significance. The wall decor found at retail stores is wonderful, but it’s important to choose pieces that speak to you or come in colors you truly love. Try not to buy art simply to fill empty walls. I’m thankful to have walls filled with things I care about and that hold special memories. I can look around and tell you where each piece came from or who gave it to us. Collecting art and photography takes time, but patience pays off when your walls reflect your style and the people who live in your home.

Finish With Accessories
Accessories are where you can add color, variety, and your own personal style. This is the place to try something new without a big commitment. Accessories are easy to swap out, which makes them ideal for experimenting with different looks. Mixing styles can be especially helpful if you’re undecided. A modern piece can sit comfortably alongside more traditional items, and seeing that mix in your own home often makes decisions easier.

Natural elements are also an important part of this finishing step. Rooms can sometimes feel a little too perfect when everything is styled and nothing feels real. Adding something natural helps balance that out. Fresh flowers, greenery from the yard, or even a simple bundle from the grocery store brings life into a space. It doesn’t matter where it comes from or what season it is. One or two natural touches can make a room feel relaxed, lived in, and welcoming.
Add Personal Touches
Personality is what turns a decorated room into a home. This is where the story of a space comes together. Family photos, treasured heirlooms, collections, favorite books, or pieces picked up over time all add meaning. That pitcher you found years ago, the lamps you brought home because they felt right, the rug you saved for because it was exactly what you wanted. These are the things that reflect your interests and the people who live in your home.
After all the other pieces are in place, personality is the final touch. It’s what makes a room feel comfortable and familiar. When a space reflects the things you love, it naturally feels finished. More importantly, it becomes a place where your family can relax, gather, and feel at home. A finished room isn’t about following rules. It’s about creating a space that feels comfortable, personal, and right for the way you live.
If you’d like to go a little deeper, I’ve shared more detailed guides on choosing neutral pillows, decorating with accent chairs, and finding affordable decor accessories that still feel thoughtful. All of them are part of my Decor Style Guides collection, and they walk through these elements in a simple, practical way.
If you’re looking for a few simple starting points, I’ve linked a handful of decor basics I use and love below.

JOIN THE OSP COMMUNITY
Sign up to get uncomplicated recipes, unlimited seasonal decor, and
understated ways to refresh your home sent straight to your email inbox!

Decor Style Guides


amazon storefront
Discover simple and affordable
ways to refresh your home.
Follow my Amazon Storefront
for all my favorite finds!
This is such a practical and approachable guide to making a room feel complete! I love the idea of starting with the basics, especially the floor, it really does set the tone for the entire space. Rugs can make such a huge impact without breaking the bank, and layering them is a clever way to add richness. i visited a simillar one with my friend keth designed by Cairenn Foy Interiors. The idea of taking it step by step and living with each change is so refreshing; it lets you really feel the space evolve naturally.
I’m curious about plantation shutters. Several homes we’ve looked at have them. But the upkeep and dusting turns me off. What is your secret for keeping them clean?
I love your basket on the coat hanger. Where did you get those?
Hello! I love your posts and receive so many great ideas! In this post I see 3 framed art prints in different areas of your home. Would you please share where I may find them please?
Thank you so much 😊
Cathy Gunn
Palm Harbor FL
Hi Cathy…the prints on the ledge over the sofa have been collected over time and are very old. I don’t have a source. The bird print is a vintage Audubon print that’s part of a set that I found when we were cleaning out my in-law’s home. They say “Drawn from Nature by J. J. Audubon.” You may be able to find them on eBay. The print over the pegs in the kitchen is from Amazon! Here is the link: https://amzn.to/40pMKcw. I framed it myself.
You hit on something that has bothered me forever, the perfect magazine pictures. I thought they were pretty, but never connected with me. I like a comfy lived in look that says come and sit awhile. I enjoy textured linens and soft cottons that are durable. Thank you for sharing wall art ideas and I agree on the importance of rugs.
Ann,
Your decor is so refreshing. I do not peruse the “over” decorated homes that are featured so frequently on blogs. I long ago rejected over consumerism and clutter of home design. Everyone needs a dose of calm in their lives these days, and your design fits the bill.
This is a great guide, Ann! I’m always tempted by the accessories way too early in the process, because that’s the fun part!
Thank you for sharing your decorating wisdom! This is very helpful. I have a question: My family room has two large French doors that have built in blinds, but no curtains. Would you suggest long rods over each door with curtains that stay open, or just small rods that frame the doors with curtains?
Hi Mollie…are the two sets of doors side by side? If they are close together, I think one rod over each set of doors would look best. If you used 4 short rods, it may look a little chopped up. Let me know what you decide!
Thank you for this post ! We are moving across country and will be buying a new home. I am overwhelmed with trying to figure out how to arrange furniture, lighting and accessories. This post will be my go-to guide and reference !!
Your home is my favorite. I love your style and it does show personality. Most homes are filled with trends. BLAH
PS It also is so very clean. :)
Very helpful post! Thank you.