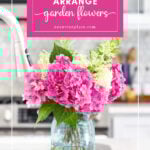
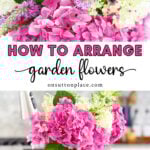
Everything you need to know about arranging garden flowers. How to harvest, how to keep the flowers fresh, adding herbs, and more.

I love all kinds of flowers. Dried, preserved, grocery store bouquets…but the ones that bring me the most joy are the blooms I’ve grown myself. There’s something special about waiting for those first buds to appear, and then finally clipping them from the garden. I’ve spent many peaceful hours outside with a bucket of water at my side, gathering stems and soaking in the moment. If you feel the same way, you’re in the right place. No matter where you are in your gardening journey, these simple tips for arranging garden flowers will help you create beautiful, personal bouquets right at home.

This post may contain affiliate links. See my disclosure statement.
5 Tips for Arranging Garden Flowers
- Cut and strip the stems right in the garden: take your snippers and a bucket of cool water out to the garden. As you cut each stem, remove all the leaves except the ones closest to the bloom. This keeps the part of the stem that sits in water clean, which helps prevent bacteria. I like to do this right at the edge of the garden. It’s quick, the trimmings are easy to gather, and sometimes they even get mulched when the lawn is mowed.
- Place stems in water immediately: after stripping each stem, place it right into your bucket of cool water. Carry the bucket with you as you go. This is especially important during warm weather. Freshly cut flowers can wilt in just minutes if left out in the sun.
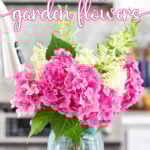
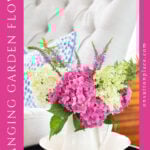
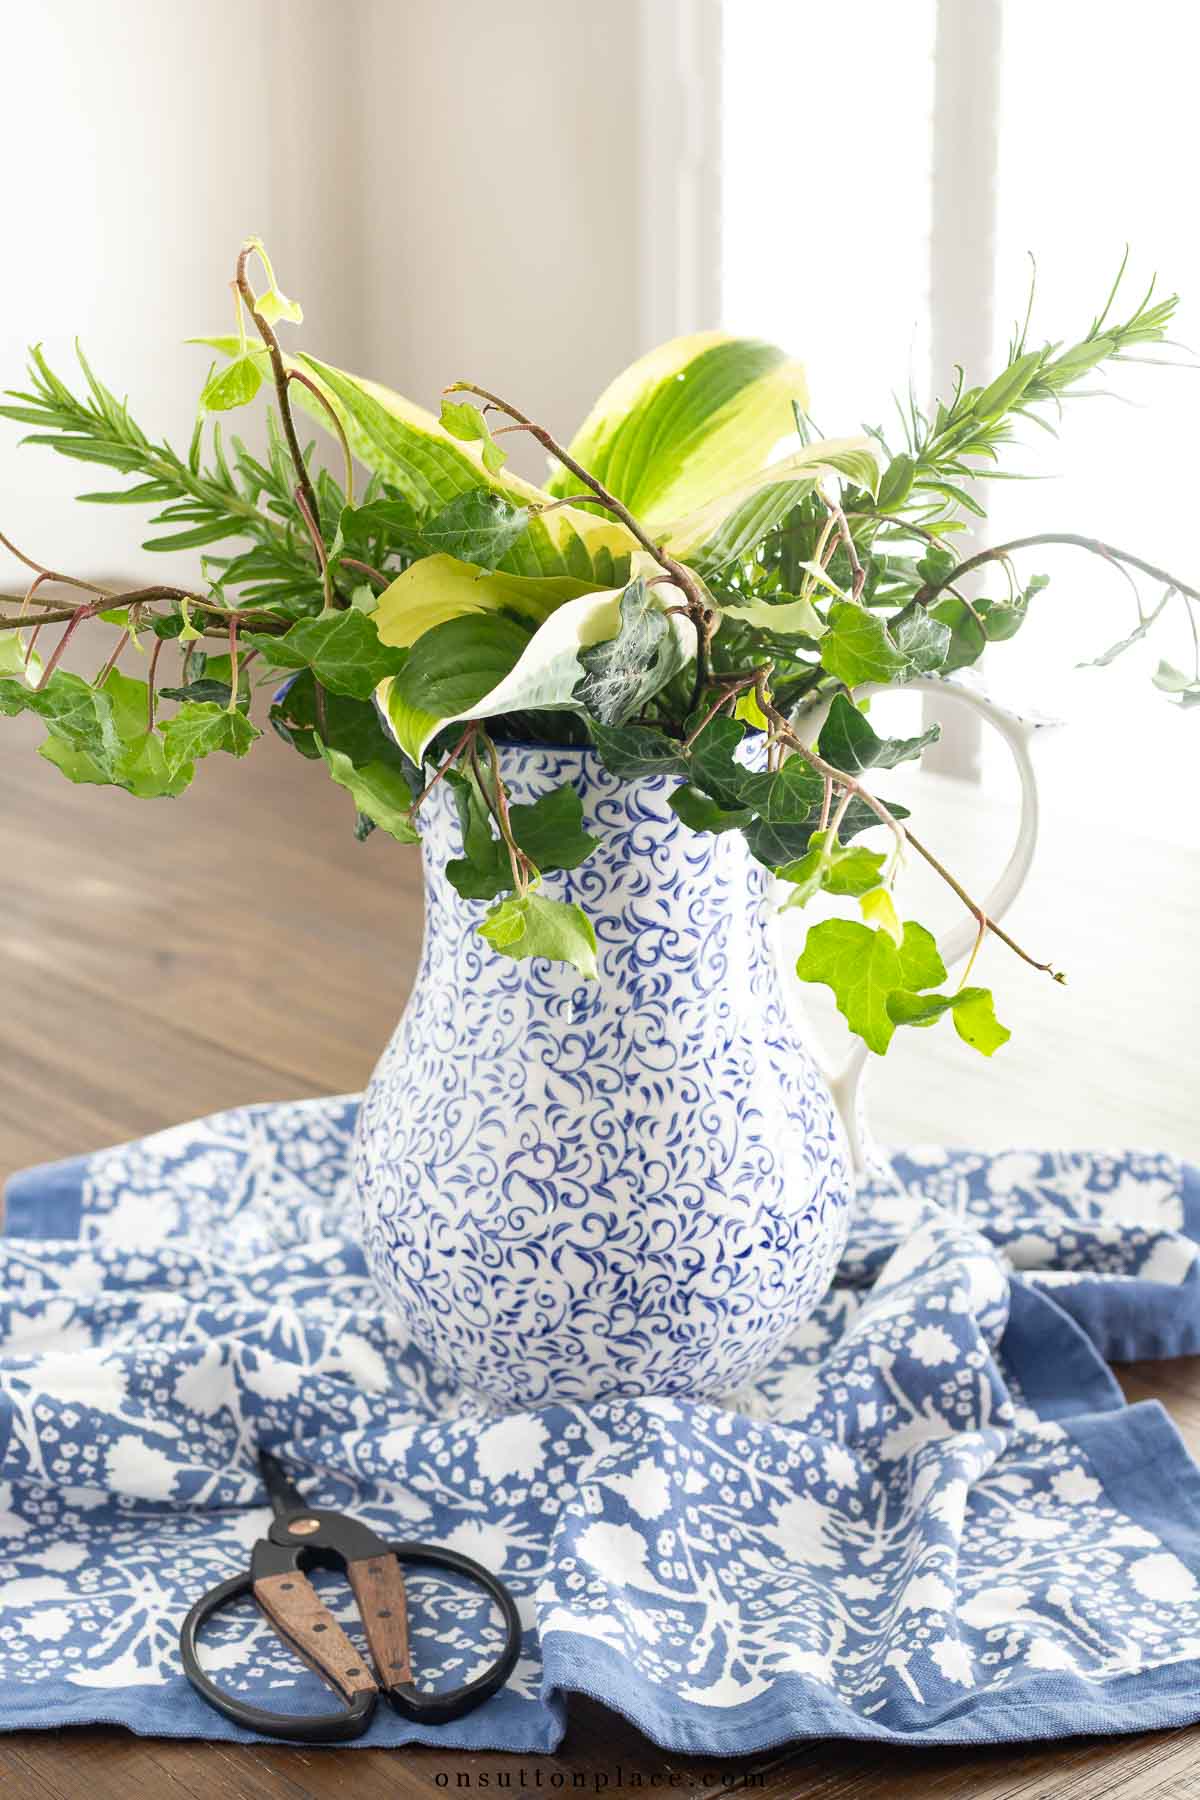
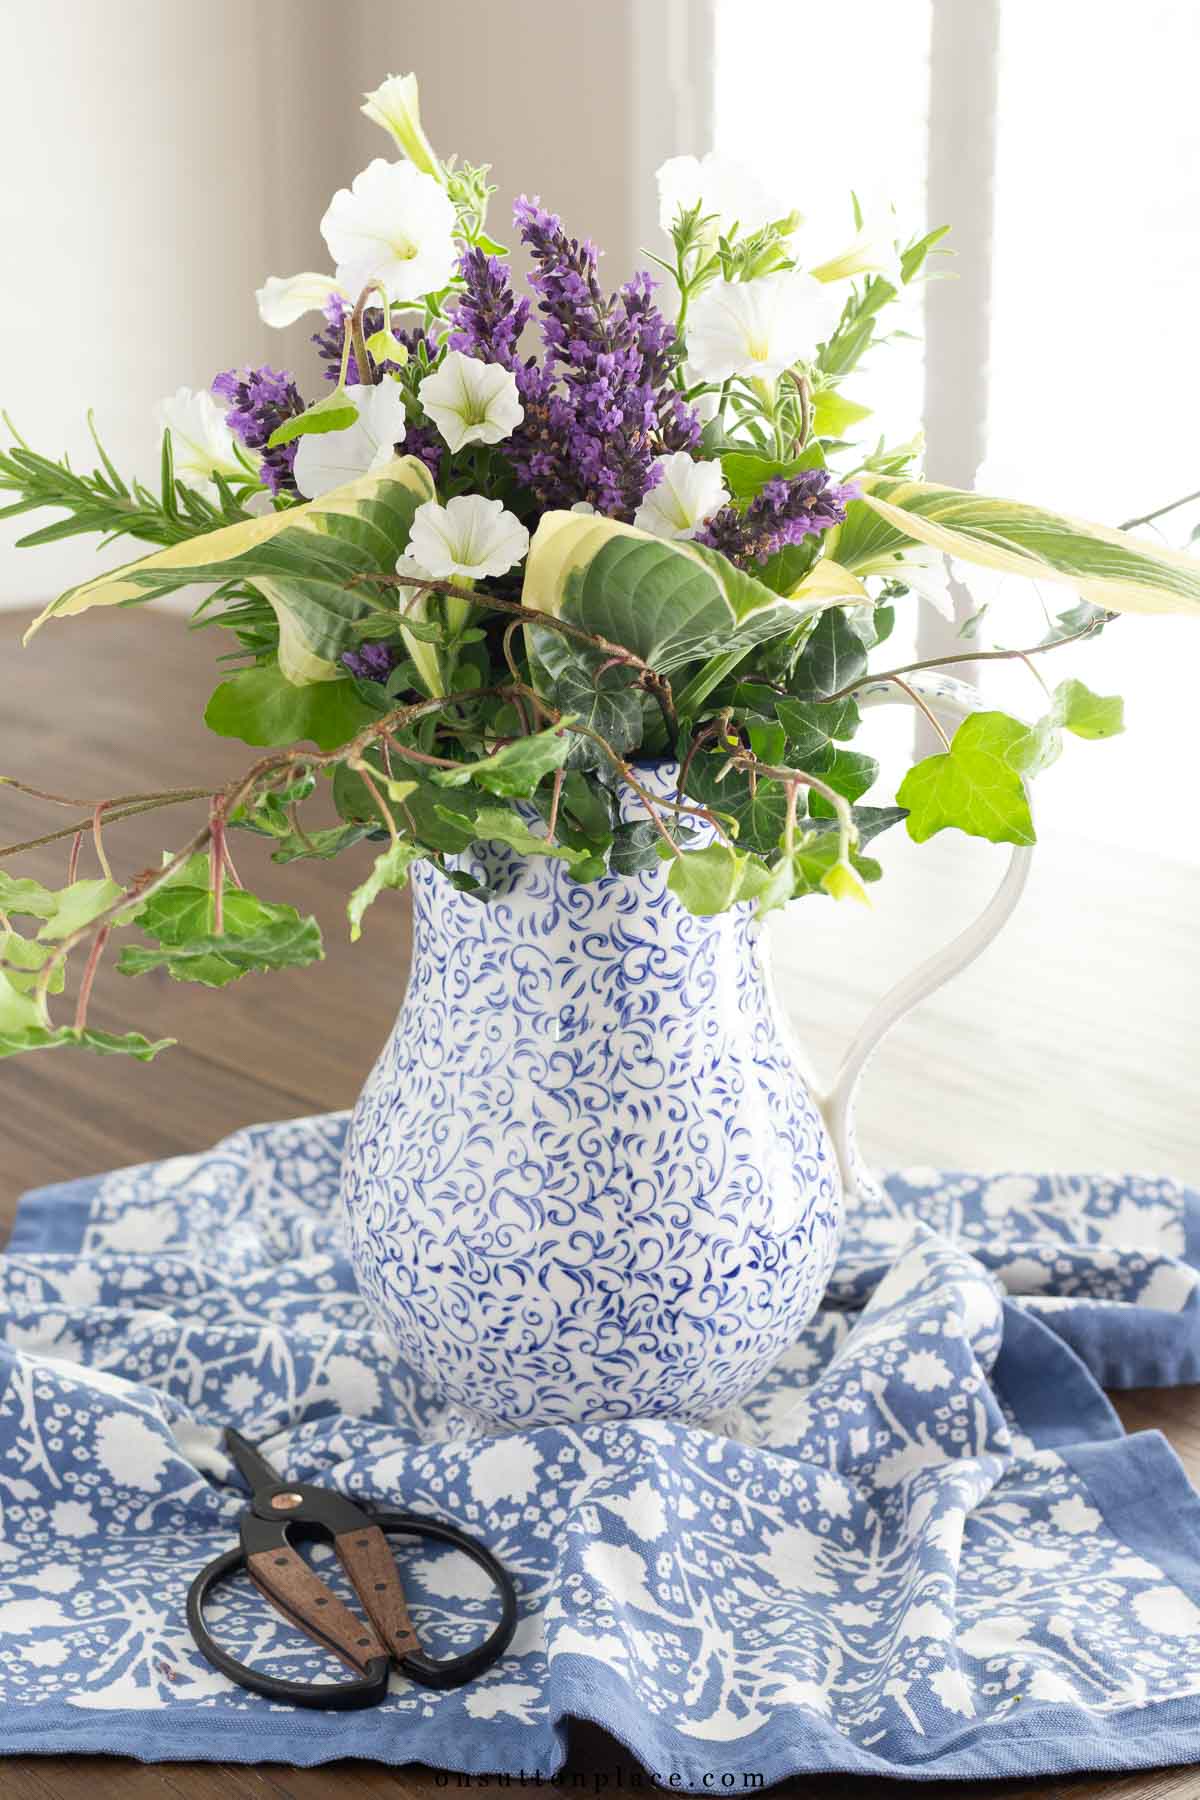
- Choose a vessel you love: the container you use matters just as much as the flowers. Whether it’s a vintage mason jar, enamel pitcher, silver piece, or simple glass cylinder, choose something that suits your style and feels special. These little details bring charm and meaning to your arrangements.
- Snip the ends before arranging: once inside, set your vessel on the counter and fill it with cool water. As you remove each flower from the bucket, give the stem a fresh angled snip. This opens it up to absorb water and helps the flowers last longer. I find this part of the process so calming…just going back and forth between the bucket and the vase.
- Freshen the water and re-snip every other day: to keep your arrangements looking their best, change the water every couple of days and trim a bit off the bottom of each stem. These simple steps will extend the life of your flowers and keep them looking fresh for longer.

How To Assemble The Arrangments
I’ve received a few questions about how to actually put the garden flower arrangements together. I always begin with the largest bloom or the thickest stem, because these provide a sturdy base and help anchor everything in place. Next, I add something fuller or bushier to start building shape and volume. Finally, I tuck in smaller flowers or herbs with delicate stems to fill any gaps and add texture. Hosta leaves and fern fronds are also wonderful additions. They add interest, contrast, and a bit of structure to your bouquet. There’s no perfect formula, so trust your eye and enjoy the process. Each bouquet will turn out a little different, and that’s part of the charm.
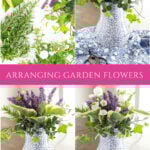
Mixing Herbs + Flowers
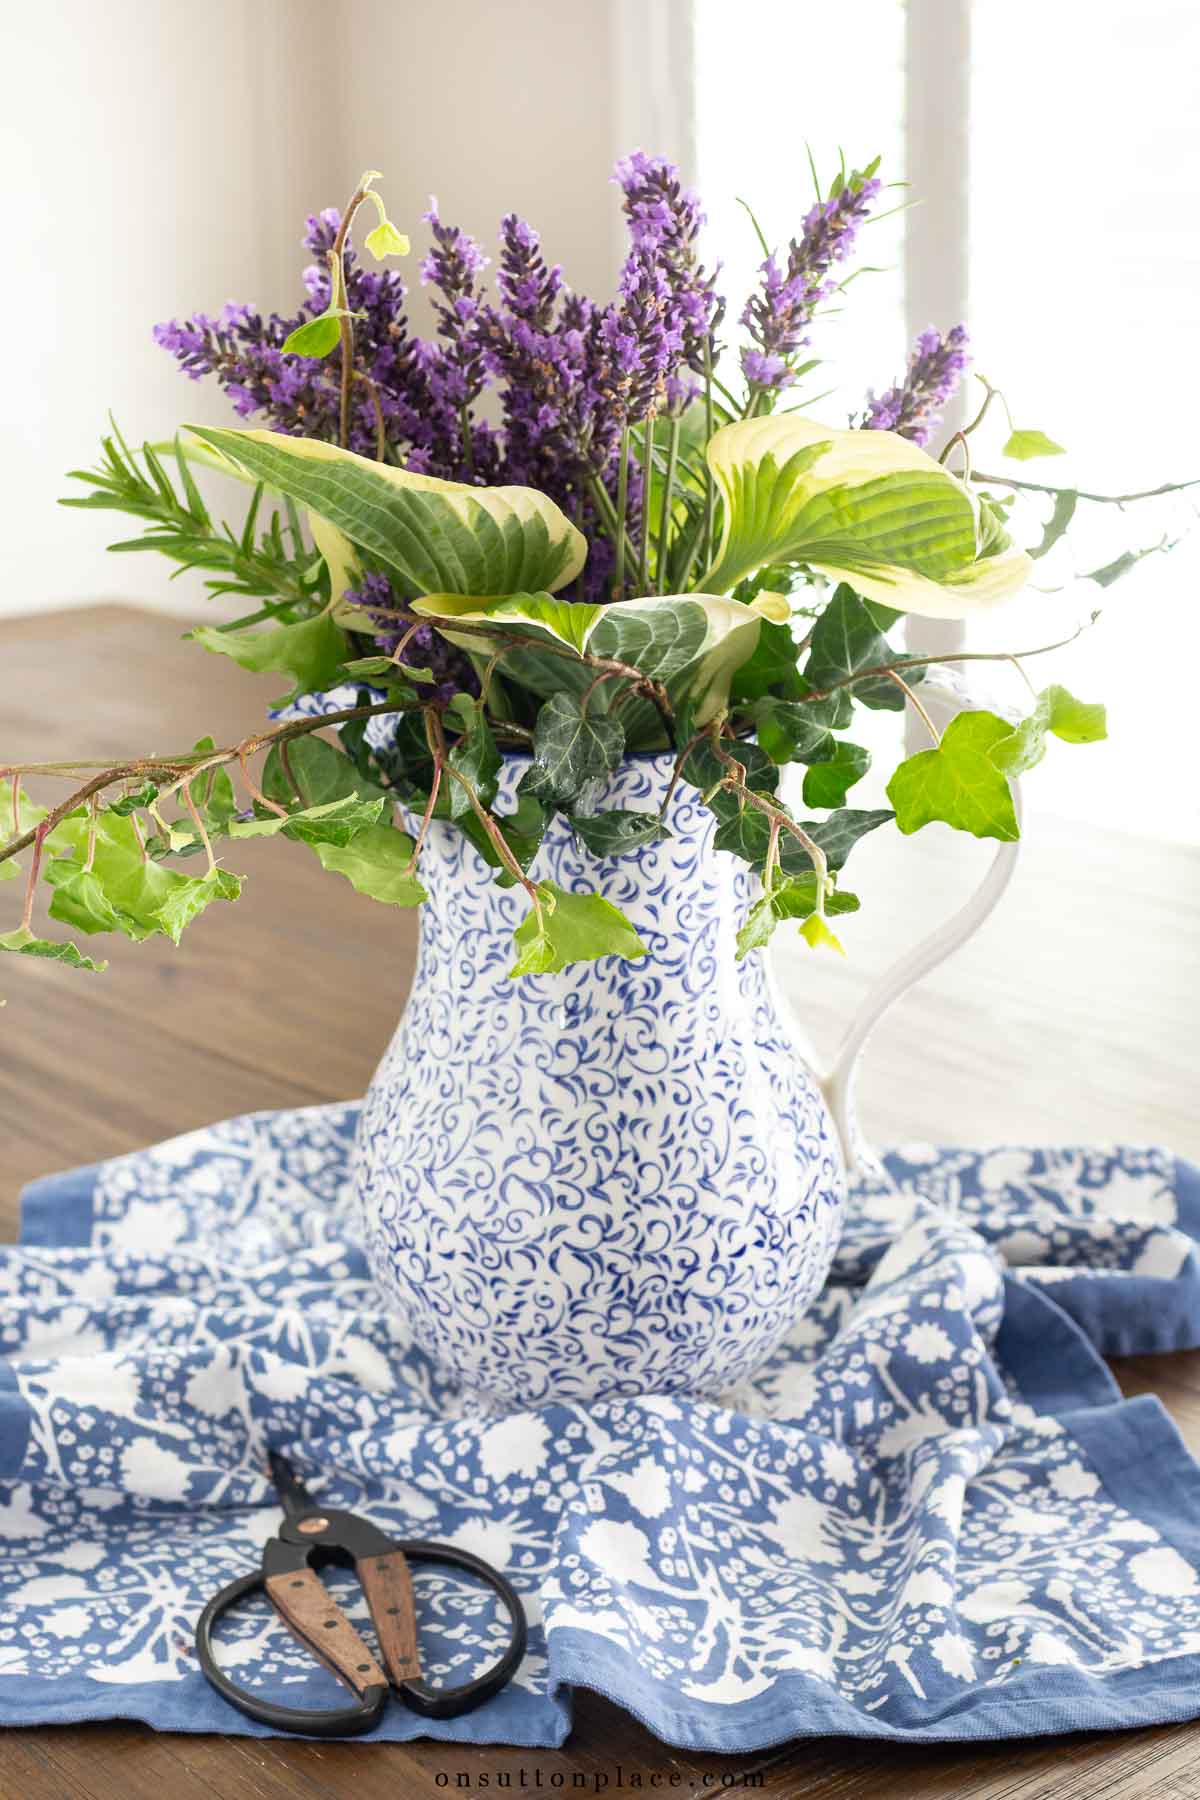
Making simple arrangements with garden flowers and herbs is not only satisfying, but also a smart way to use herbs that might otherwise go to waste. Many herbs grow quickly, and it can be hard to keep up with them in the kitchen. Adding them to your flower arrangements is a beautiful and practical solution. Herbs like basil, parsley, dill, mint, rosemary, thyme, sage, and lavender all work well. They add lovely texture, interesting shapes, and a subtle fragrance that complements your blooms perfectly.
Mixing herbs and flowers is one of those combinations that just works…just like peanut butter and jelly. Use whatever herbs you have on hand, whether they’re homegrown or store-bought. Mint, basil, dill, and parsley are wonderful choices, but any herb with a sturdy stem will work. Pair them with whatever flowers are blooming, and don’t be afraid to mix bold colors with softer tones. The herbs add texture, scent, and a bit of charm that makes each arrangement feel fresh and effortless.
What Makes These Arrangements So Special
The aroma from the herbs is one of the best things about mixing them with flowers. It adds a fresh, natural scent that fills the room without being overpowering. Herb and flower bouquets are also surprisingly long-lasting. With fresh water and a quick trim every few days, they’ll stay looking pretty for quite a while. Another benefit is how low-maintenance they are. Once arranged, they don’t require much attention, but they continue to add beauty and a heavenly scent to your home.
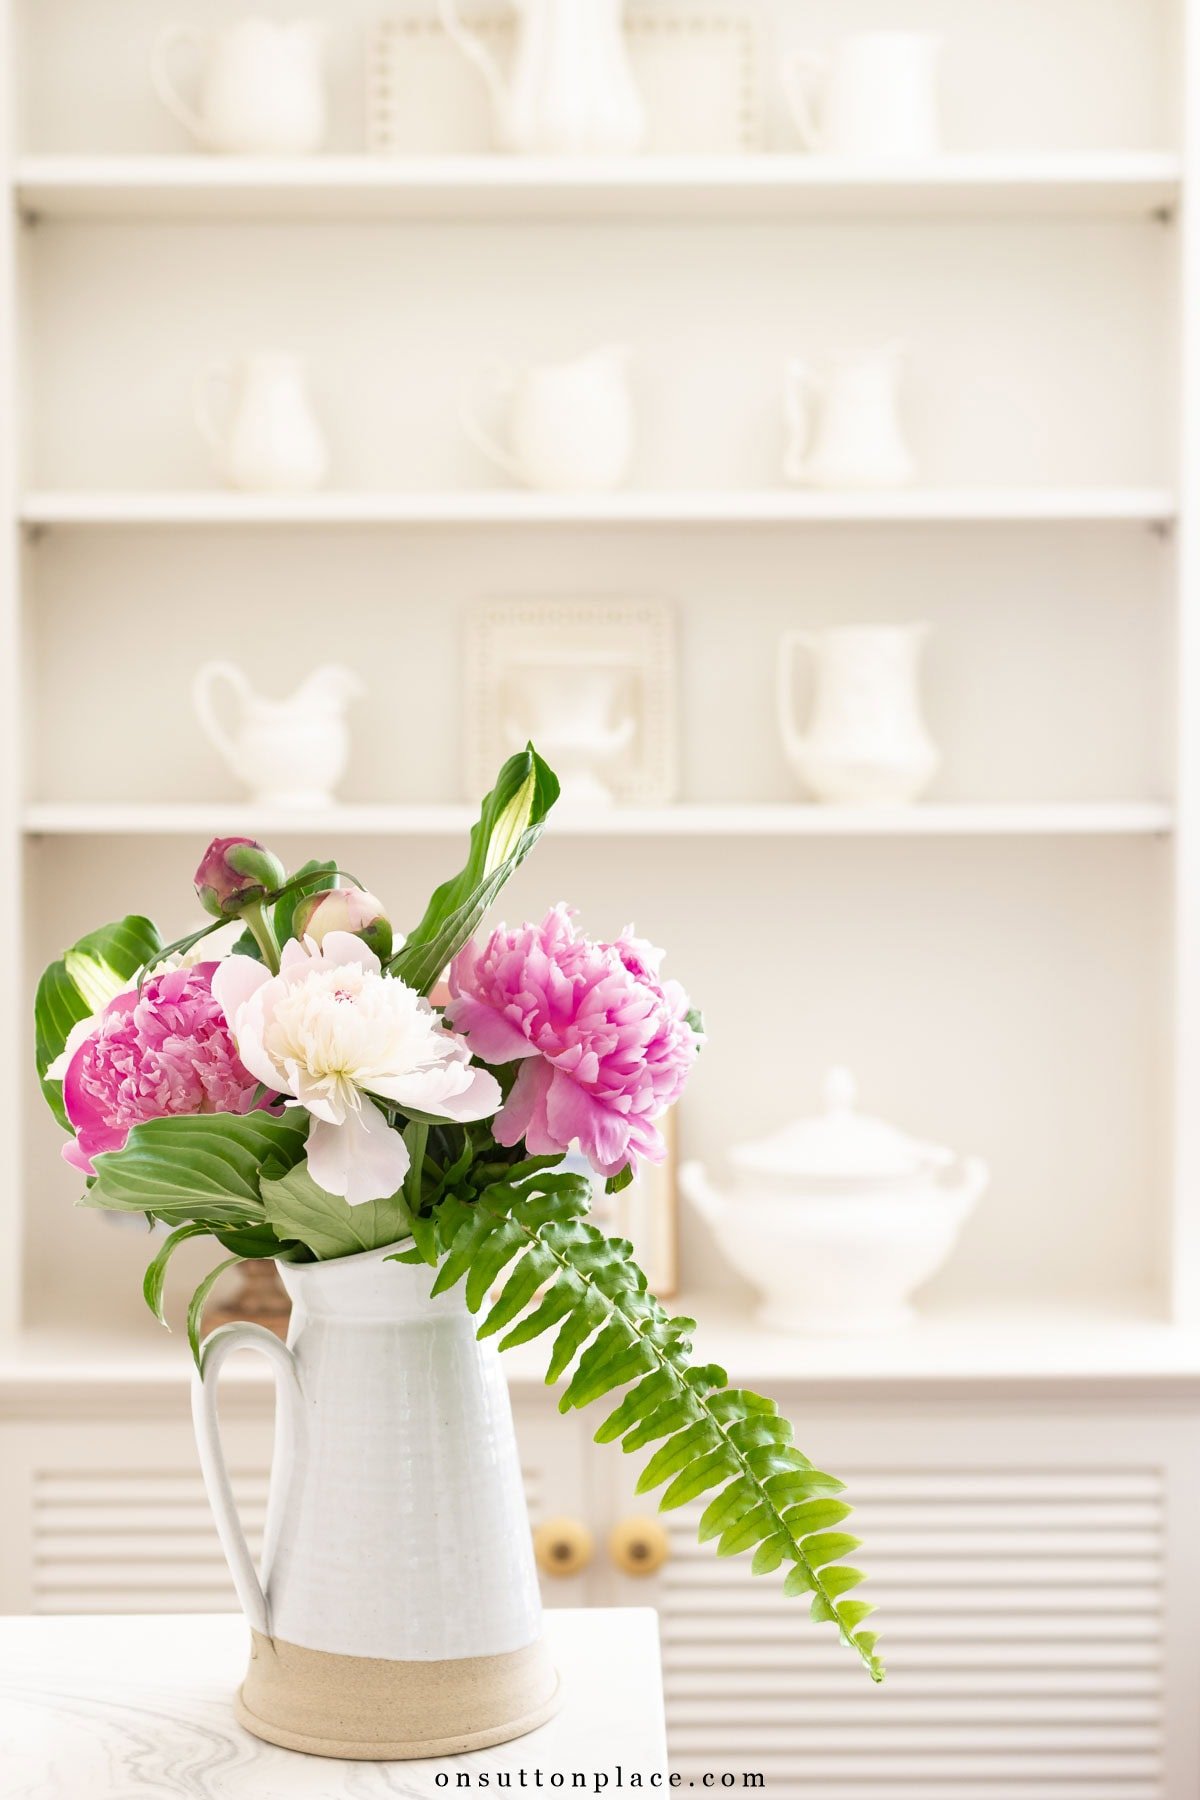
When we lived on Sutton Place, one of the things I looked forward to most in the summer was stepping outside to gather fresh flowers from the garden. In the spring, there were peonies, and by mid-summer, the hydrangeas were in full bloom. Mixed in were coneflowers, black-eyed Susans, and sprigs of lavender. When gathered and brought indoors, these simple blooms instantly added charm and color, and made the whole house feel like summer.

A Simple Summer Pairing
Mixing lavender with hydrangeas is so simple, and the results are always beautiful. The soft, full blooms of hydrangeas pair perfectly with the slender stems and gentle fragrance of lavender. Even with just one Annabelle hydrangea, I always had more than enough blooms to create a handful of arrangements each summer. My lavender patch wasn’t big, but it faithfully produced a basket of blooms year after year. Together, these two garden favorites bring out the best in each other…lush and structured from the hydrangeas, with a hint of softness and scent from the lavender. It’s an easy combination that feels timeless and effortless.

A Few Final Thoughts From The Garden
Try combining herbs and garden flowers in your arrangements…they truly are a perfect pair. If you find yourself hesitating to cut blooms because you enjoy seeing them in the garden, consider planting multiples of your favorite cutting flowers. That way, you can bring some indoors and still enjoy their beauty outside. Most importantly, don’t give up. Even if your garden feels like it’s always a work in progress, look past the bare spots, stay inspired, and keep going. Bit by bit, it will come together.

THE EVERYDAY GARDENER
The Everyday Gardener is packed with simple, practical tips
to help any homeowner create a beautiful, low-maintenance
outdoor space with confidence.


amazon storefront
Discover simple and affordable
ways to refresh your home.
Follow my Amazon Storefront
for all my favorite finds!
Ann, your floral arrangements are so beautiful! There’s nothing like fresh flowers in your home. Thanks, for sharing about the herbs you add to your arrangements. I have never thought of doing this.
Hi Ann, I just discovered your blog and I am absolutely loving it. I am a collector of blue and white, I collect Spode.
Beautiful flower arrangements!!! I have just started cutting flowers in mass in my garden. So excited to use them soon in my decor. Thank you for sharing your tips!!!
Beautiful arrangements with the combinations of herbs, and the blue mason jars are perfect.
Thankyou Ann for reminding your readers how wonderful herbs work as fillers in flower bouquets. I just mixed in two different kinds of mints with my peonies one being lemon scented and the other one peppermint and they not only looked good but smelled nice as well. Later in the summer I gather lots of herbs for a bouquet, place them on my kitchen counter and snip them to add to my recipes.
Hi, Ann. I enjoyed your ideas about flower arranging and using herbs…I’d never thought of that! I always boil the water and once it has cooled I use that to fill the vase. It keeps flowers lasting much longer. And changing the water every two days is a must! Thanks for all the inspiration. Mary
Do you have any special formula for placement of the flowers/herbs in the vase itself? Is there a special order you use to put them in? By height? By type?
Hi Sue! I will try to add an explanation to the post…but I begin with the tallest flowers. They act as a stabilizer for the smaller flowers with thinner stems. After the tallest flower, I add something that’s bushy, or full. Last, I add the small elements with thin stems.
Thank you.
Great post filled with so many helpful hints. I so much enjoyed seeing all of your floral designs.